• Welcome to the new NAXJA Forum! If your password does not work, please use "Forgot your password?" link on the log-in page. Please feel free to reach out to [email protected] if we can provide any assistance.

O.K. B's Build Thread

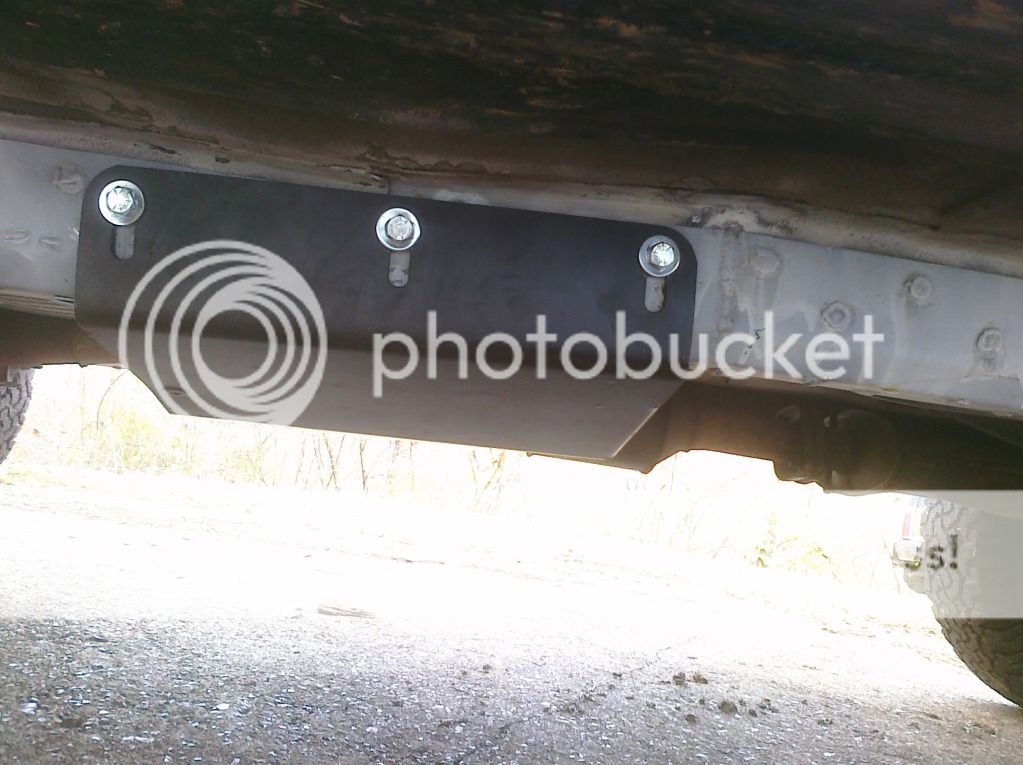
and behind the cover it is insulated and divided by a cardboard piece i cut , I was concerned it might not breathe well but with it all buttoned up it filled the first time to the 145 pressure switch and i promptly opened it and it was not hot to the touch so i think it breathes just fine .

CIMG0040.jpg


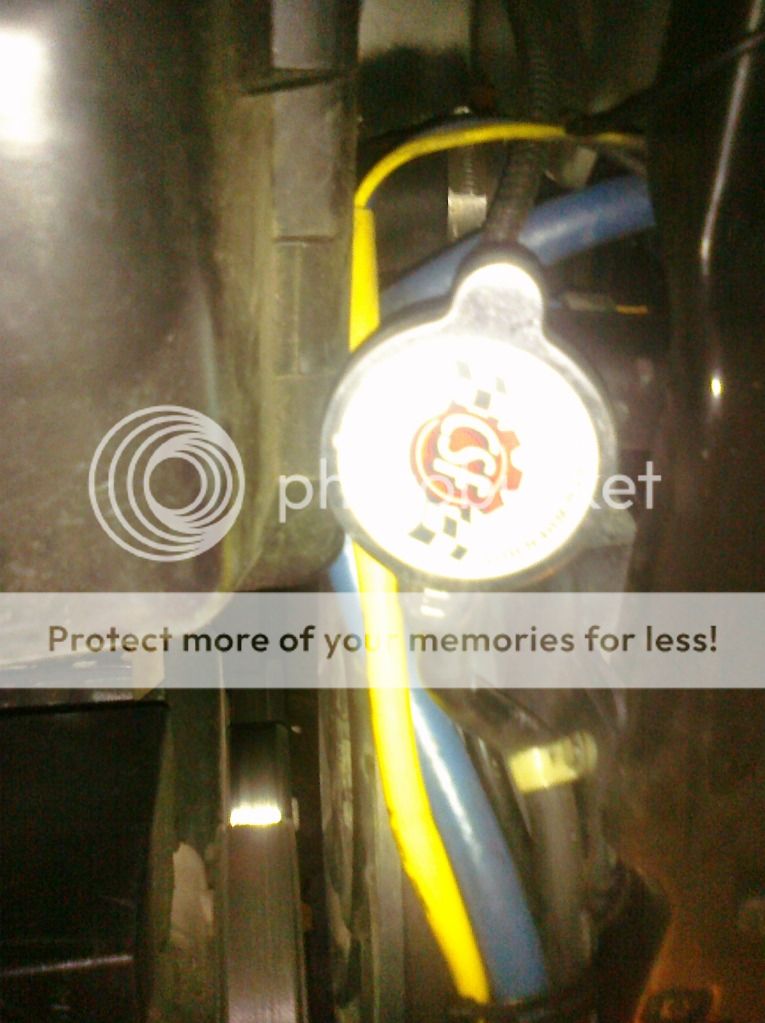
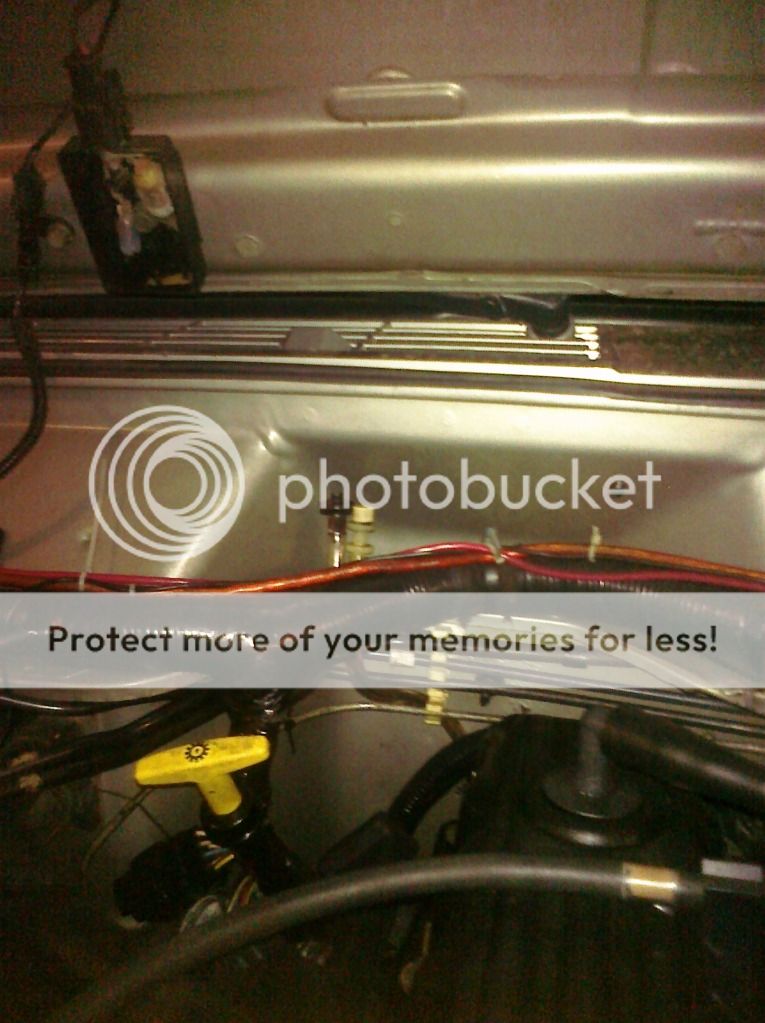
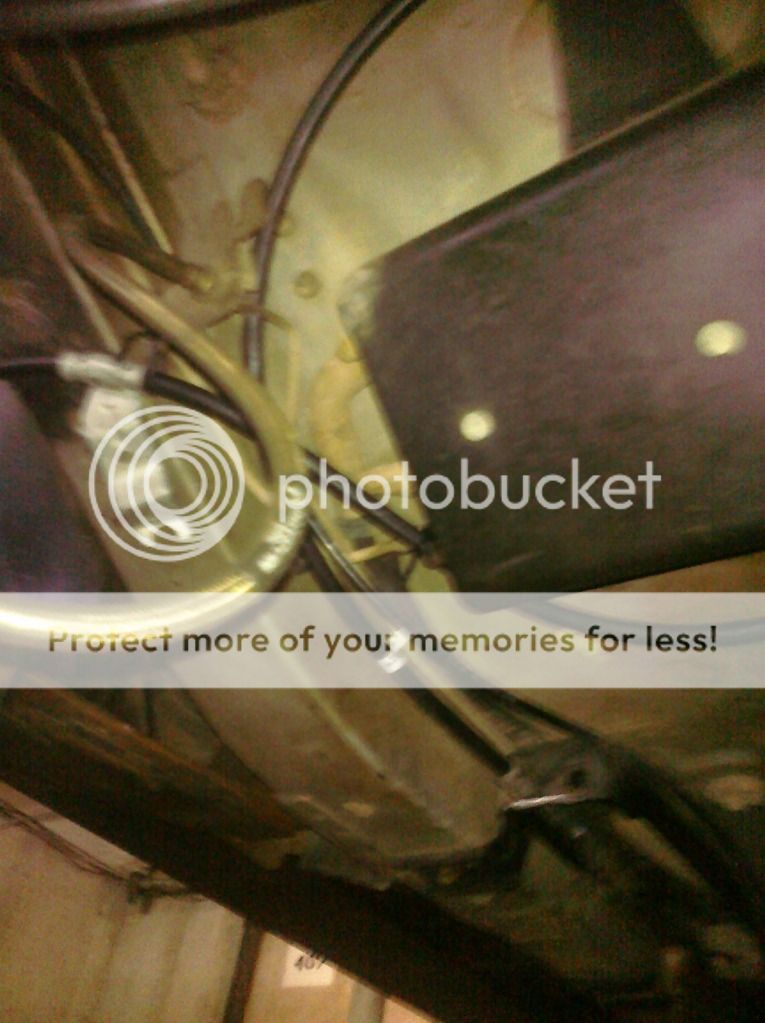
This pic probably should be with the switches part of the build but here's where the vent lines from the locker switches vent. Im not shure if its because of the smaller line i used or this diffuser on the end but i dont have a very loud PSSSSHT sound when using or disengaging my lockers in fact you cant really hear them much at all when your trying to.

CIMG0011.jpg


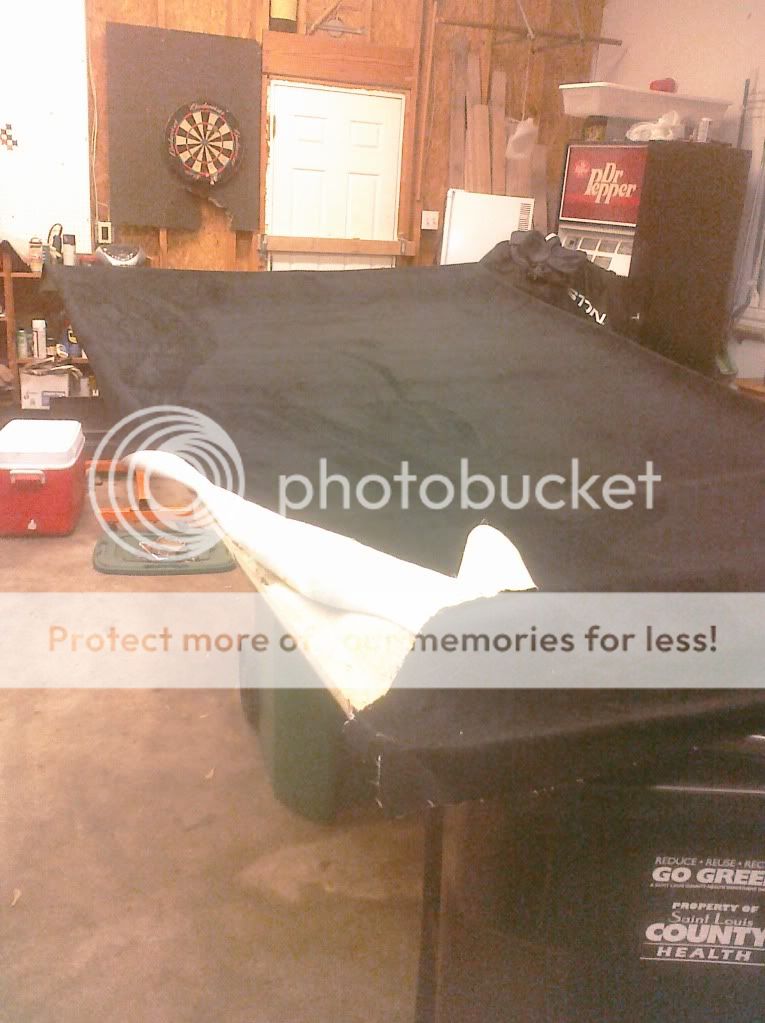
My rear cargo looks something like this usually plus my big box for my ratchet and wrench set that fits nicely right where the warn bag is. .

CIMG0125.jpg
 
Last edited:
Also to get the switches to fit right i had to cut a chunk out of the air duct under the switches and i taped it back to get that minimal amount of a/c that i actually get in the rear for my kid.
You can see the black where the air duct was in the way earlier in this thread when you can see under the switches in the pic

I had a diagram of how i ran all the lines and fittings if i can find it i will post it .

In the end i am really happy with the setup it holds air for weeks without the pressure gauge moving if i leave it with pressure. and left the lockers engaged overnight without losing pressure as well.
I will need a better compressor when i can afford one but im not shure when that will happen being that this setup does work as long as you dont expect the compressor to handle as much work as it should
 
Last edited:
Digging up the diagram of how the lines were ran probably wouldn't help anyone but here's a few details i remember about the job in general.

My fittings were 1/4 O.D. Push to connect fittings , And the ones that met a threaded part were all 1/8Npt to 1/4 o.d. adapters

My vent hoses from the switches went to a Y to become one line shortly after the switches to avoid running 2 lines all the way out to vent under the hood.

The bulkhead fitting at the axles was the most annoying part to get the 1/4 o.d. air brake line attached to.
I was told it was a 1/8bpst thread so I ordered 1/8bpst male to 1/8 npt female adapter from autometer.
Of course it did not fit. (wrong thread)

If i remember correctly it turned out to be Machine thread and i could not find that anywhere, i did find that a normal compression fitting in the plumbing section had this thread if you remove the screw on end cap and the ferrule (or whatever the ball with the hole in it that actually compresses is called).
I used a straight connector in this manner and it threaded right into the bulkhead fitting.

On the other end of that fitting a 1/8 npt female screwed on with a bit of thread tape to help seal it surprised me as a male 1/8 npt did not thread into the bulkhead.
But whatever it worked

when i tried this in the front i found that the front bulkhead was stripped but luckily a buddy had a tap set that had 1/8 bpst so we tapped it and the front went right together..

I would advise anyone doing this to just tap the bulkhead to the size you will use , it could have saved me a bunch of wasted effort trying to find a piece that would fit.
Just be sure to have the differential open and some brake cleaner or something to thoroughly clean out the differential afterwards.

I did have to order the little o ring that goes on before you screw into the bulkhead fitting to compress around the little copper line that goes into your differential.

also Don't over tighten that bulkhead fitting or the little o ring will compress and then twist the little copper line until it breaks . after re running the little copper line i used a bottle of soapy water in a spray to see when the fitting was tight enough and then gave it one more 1/4 turn.

I haven't had any problems with this setup yet
 
Last edited:
Just a quick one today ill show you my Black Microfiber Headliner.

My headliner was droopy so after researching threads on doing it myself I bought fabric from a local store and Adhesive spray.

After removing the headliner i peeled off the remaining headliner and used a wire brush to clean the foam off of the fiberglass headliner panel. After that i sprayed the glue (do not let it puddle) and let it partially dry before smoothing the new headliner down on it.

I called around and found a great place called Top shop that specializes in boat tops convertible tops and upholstery work. Its a small buisness with the "old guy" in there doing the work himself and i always like places like that.

I dropped off some fabric and my Visors to be wrapped in the new fabric ..
And while i was at it the fabric for the bottom of my drivers seat to get the vinyl that faces the drivers soor replaced as it had cracked..

Since i removed and brought these peices in it was super cheap and he did a fantastic job.

I already had the seat disassembled because we had to weld the lower right rear part of my drivers seat frame (for the second time) Because it had broken turning my drivers seat into a rocking chair that twisted to one side.
This time we welded it like we meant it and added some braces and i havent had any problems since

It was weird at first with the headliner being black the roof felt closer and it looked smaller almost in there (if thats possible) but i love it ..

Its soft and if you run your finger the opposite of the way the fabric lays you can draw on it .

This worked really well until the hottest of the summer months i saw a little drooping in one area. I want my rig to be nice so i pulled the headliner and bought some more of the same fabric and just brought him the headliner this time .

He said i had used the wrong fabric and it might not come out perfect ,but i think he did a great job and it has been up since the begining of last summer and lasted through the hottest months last year.

He mixed the glue to the consistency he wanted and let it tack up and basically did the same thing i did. I had used the 3m spray adhesive extra strength version and whatever he had mixed seems to be quite a bit stronger.
 
Have not posted on this in a while but i just did some new stuff im exited to add to this , but before that i will Post some stuff i did since the last time.

My Motor Blew a few months back and i beleive the 0331 head crack issue may have played a part in that .

So I decided to Get the Revised new casting by Odessa Cylinder Heads.

CIMG0036.jpg


The Shop i was having do the rebuild said the block was ruined so i ended up with a JASPER short block 4.0 w new thermostat /water pump etc.

While i was at it i put in some new Motor mounts and Trans Mount , I would like to get the brown dog Brackets and Mounts But Couldn't afford it while getting my motor rebuilt.

Kind of hard to take a pic of the new block but i got this

CIMG0006.jpg


I didn't like the Idea of my New Motor having the old Original dirty radiator cycling crud through my new motor so I Did a CSF Heavy Dusty 3 Row Radiator And all new hoses To keep It Clean and Cool.

CIMG0001.jpg
 
A quick bit of old stuff already done .
I extended the breathers for water crossings (I still avoid deep water)

The front axle vent went up to the top of the engine compartment so i just left that as is .

For the Transfer Case and Transmission i extended them using a barbed fitting and some hose .

I decided to route them up to the top of the engine compartment on the firewall and reused the stock vent caps
CIMG0003.jpg


For the rear axle I completely replaced the vent hose .
excuse all the red silicone it was my first time putting a diff cover back on!

CIMG0101.jpg


I Ran The rear up To Inside the Fuel door next to the gas cap

CIMG0097.jpg
 
So my upper control arms bushings went bad again and when i replaced them the first time i told myself i'd upgrade when this happened so i got the matching JKS uppers for my rig !

Here you can see the comparison , i cut the old one out because it was easier to get it out that way as i always seem to have a hard time getting the axle supported in the right position to take the pressure off the bolts to get them out.

CIMG0029.jpg


And on the rig
CIMG0031.jpg
 
Looking great man keep up the good work. Will be nice to wheel with you this year at WF.
 
Next is my rear Disk brake conversion , I never really had the drums in what i considered perfect adjustment despite my best efforts.

This time after completely redoing them and still not having them work properly I decided not to waste any more money on those trashy drum brakes.
I could have probably done the junkyard swap from a ZJ and saved some $ but there didn't seem to be any with all the parts in the local J-yard's.

What i was seeing was Liberty's with the 8.25 axle (same as what i run) on Craigslist being parted out .
So i Decided to do a Libby rear conversion but no one wanted to let me open the axle to get the shaft out of the way to get the brake backing plates.
I found a set of backing plates off a 2005 liberty at a auto salvage in NY that i found online .
Then i Had them ship them to me and all of a sudden i couldn't find any liberty parts , after waiting a few months i just bought the remaining parts new .

I used the Brake lines from a ZJ (more on why in a min )
And the Liberty E-Brake cables Worked great and went right into the cherokee e-brake setup.

I still came in a few hundred dollars cheaper than any kit (with a working e-brake),
And i can walk into any part store and get replacement parts .

Here is a Pic with the old brakes coming off

CIMG0033.jpg


While i was at it I did new Bearings and seals for the axle .
I thought i might get away without getting the puller tool for the bearing and wasted a bit of time before getting the proper tool as a loaner from the parts shop and then it was a breeze.

CIMG0036.jpg


Here they are all new and pretty looking !

CIMG0043.jpg


Here You can see the Brake hose from the Caliper , it is from a ZJ because it bolts right to the caliper and screws right into the existing hard lines on the cherokee.
Apparently the Liberty Line does not come apart where it changes from soft to hard line making it a pain to use .

For some reason this pic is upside down

CIMG0048.jpg


The Passenger size Liberty E-Brake cable was the perfect length and fit like a glove into the cherokee E-Brake setup.

CIMG0008.jpg


The Drivers side was a bit long so i made a loop to take up some slack.

CIMG0004.jpg


And The Part that makes me smile every time i notice it

CIMG0045.jpg


I feel like my braking has improved , I especially notice it when stopping downhill. My old Poorly adjusted (maybe it was my fault) Drums weren't doing much so my rig didn't stop very well before this.

A cool thing about the Liberty swap was I didn't have to change out the studs that mount the backing plates like you have to on the ZJ Swap, the Libby ones fit just fine since they were made for an 8.25 axle.
 
Hi, I made it over from the Expedition thread - nice build thread man!

Hey where did you get those leaf spring U-bolt plates with the bumpstop extenders?

:cool:
 
Hi, I made it over from the Expedition thread - nice build thread man!

Hey where did you get those leaf spring U-bolt plates with the bumpstop extenders?

:cool:

I got them from DPG Offroad (great company to work with)

They are the JKS rear adjustable bump kit i think the part # is JKS 1150
It looks as if JKS might have discontinued them, But I found them here after a search:

http://www.carolinaclassictrucks.com/JKS-1150.html

It looks like DPG has re released their version of them That i beleive is a bit cheaper ,If these were available when i bought my lift id probably have gone with them.

Of course one could always fab a set if the skills and tools are available to you.
 
OK ! its been a while i figured id add more to this Thread .

I Did Mid Stiffeners from HD OFFROAD that i got at Winterfest and a Transfer case Skid plate from JCR OFFROAD.

Here You can see the bend in the Stiffener that helps it to fit to the uni Body snugly.

Midstiff.jpg


After Cleaning the metal up for welding i sprayed it with a Weld through coating to prevent rust.

rrrrrr.jpg


There were Probably like 50 holes on each stiffener to plug weld onto the uni body. and it runs from the L.C.A. Mount to the Front Leaf Spring mount. It Is VERY solid.

Here You Can see the painted Transfer Case Skid

CIMG0058.jpg


And Both Installed , The Stiffeners got painted white because thats what i had laying around . They will get sprayed black later.

Transskid.jpg
 
While Im At It I recently replaced my leaky T-Case With a Built One I Got Off of a member Here , And while i was at it got a Speedo gear to correct my Speedometer.

It Is a JB Conversions np231 With Full HD Slip yoke Eliminator, Wide Tooth Main Sprocket with Wide Chain, And Six pinion planetary Gear .

http://naxja.net/forum/showthread.php?p=245716076

Heres a pic Installed

BuiltCase.jpg
 
Looking good....Glad you will be wheeling with the group this year at WF.
 
Back
Top