• Welcome to the new NAXJA Forum! If your password does not work, please use "Forgot your password?" link on the log-in page. Please feel free to reach out to [email protected] if we can provide any assistance.

XJ Buildup III

Thanks!

Here's a few more of the finished product, showing the vent fitting above the brake booster and all the wiring completed.

100_2372.jpg


Manifold fittings from left to right- 85psi-105psi relay/pressure switch--pressure relief valve--ARB switches IN line--Air Tank supply line--pressure gauge-supply line from compressor--female quick connect air fitting

100_2375.jpg


Finished shot of 2 Gal air tank.

100_2378.jpg
 
Btw, do you detail that thing after every trip? :D
I know there's dust in Utah but that thing is SUPER clean under the hood.
 
Ive been researching the viair OBA setups, and I noticed that the heavy duty kit actually fills up the tires faster than the constant duty cycle that you have,

you seem like you know your stuff on the oba systems so what do you think would be best for me.

I am going to be running arb's front and rear. but I never air down my tires when I go wheeling, so the only time I would ever need to is If I got a flat and had to patch it or something. would the heavy duty be alright? would I need to let it rest every once in a while?

btw, your jeeps really coming together, I really like that bumper.
 
ChrisRFewell said:
where did you get the plating for the frame rails? i cant seem ro find any with a 45* bend

I think he has the T&T customs, But I could be wrong....


Justin
 
ChrisRFewell said:
where did you get the plating for the frame rails? i cant seem ro find any with a 45* bend

The lower frame rail is plated with a TNT customs product and the outside of the front frame rails from the end of the TNT product to the steering box area is plated with TMR racing 1/8" plate product. The steering box area is plated with the SBS product that used to be from Offroad General Store, but somebody else makes it now. I can't remember their name. Perhaps you should search a little more! Jeff
 
where did you get all of the little fittings, like the Y connectors, the 90 degree pushin fittings on top of your switches, and stuff like that. thanks.
 
their is a password on the photobucket web link posted in the first of the thread..does anyone know it.?
 
Spent much of the summer working on yard projects, but have squeezed in some fab time on the Jeep, so I guess it's time to update the thread.

Universal Swaybar installation

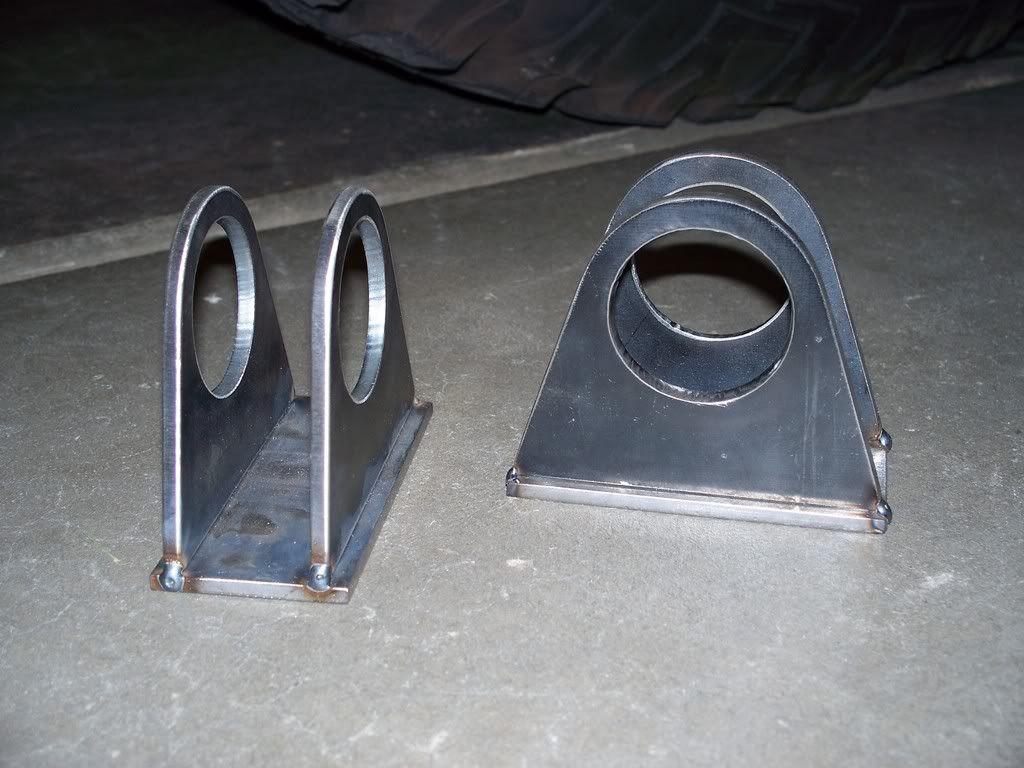
I ordered the Currie 35.75" wide kit which requires you to fab your own mounting brackets. I had some custom brackets cut for me by Ben Hank's Racing on their plasma table. w
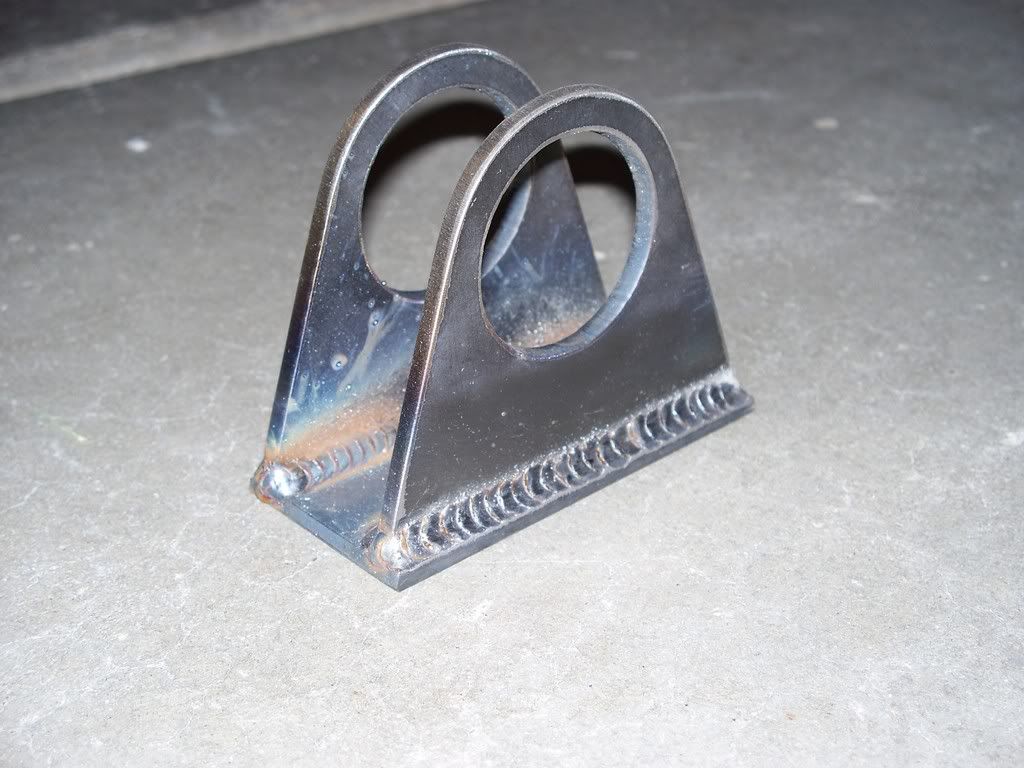
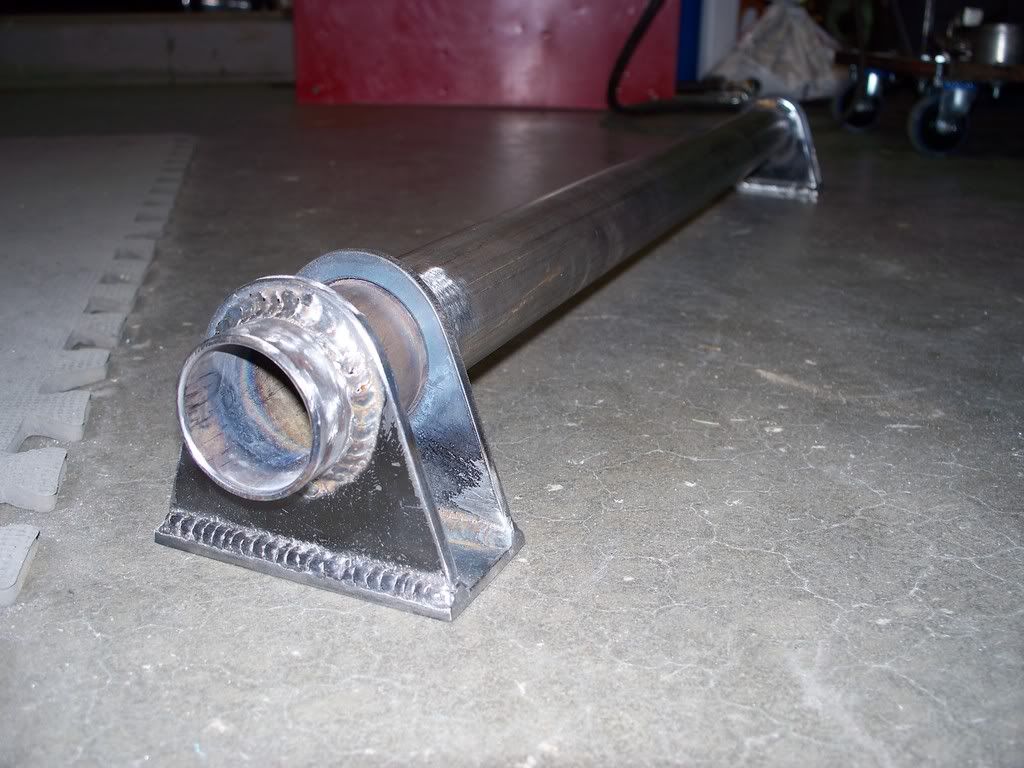
ww.benhanksracing.com The brackets are 4" w and 3.25" h, which I then welded to the base plate, made from 1/4" t x 2" w strap.
100_3191.jpg


100_3195.jpg


I did some test fitting on the Jeep and when everything was lined up properly, I welded the brackets to the supplied crosstube.

100_3271.jpg


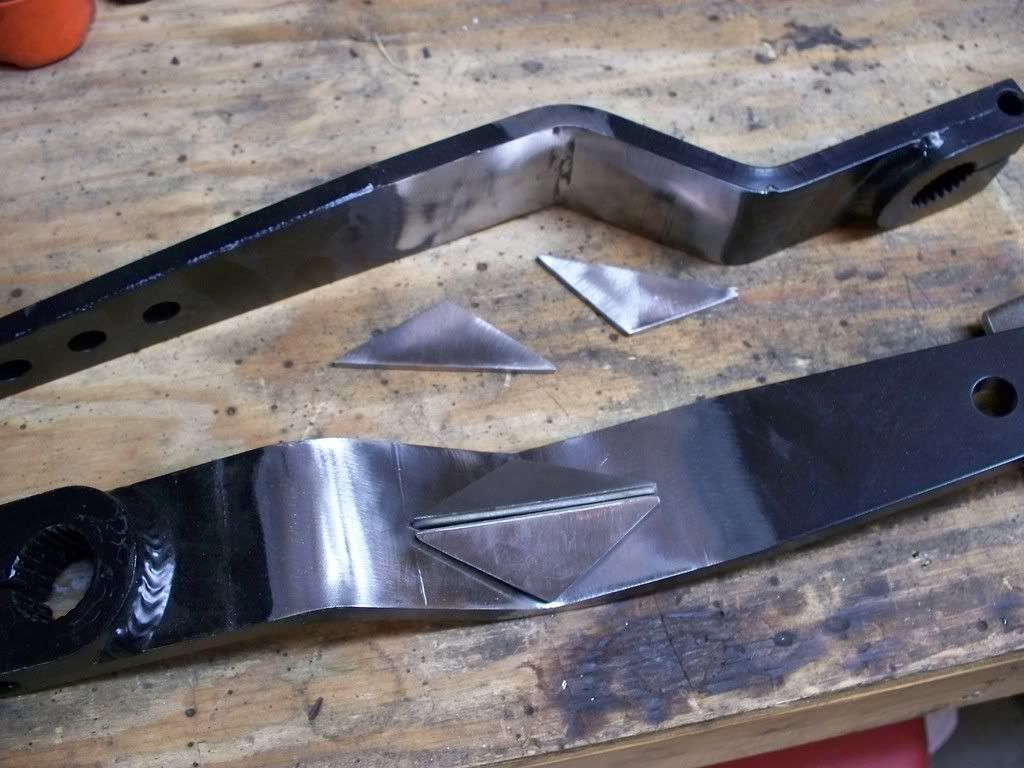
I also had the folks at BHR bend the arms for clearance and to provide proper alignment with my endlink axle brackets. Bending the arms also shortens their overall length (17" is the shortest arm available, which is still too long for the XJ, requiring you to cut off an adjustment hole or two) which allowed me to retain 4 of the original 5 endlink mounting holes for more tuning options. Von at BHR also suggested adding a gusset to the bend, as they've seen some lateral twisting occur on the bent arms they've installed on their comp buggies when not gusseted......simple fix, so why not? I used some 1/8" t strap I had laying around for these gussets.

100_3272.jpg


I welded the crossbar assembly to my Jeep, then on to primer and finish paint on everything.

The endlinks tubing comes pre-threaded with left and right-hand threads for easy adjustment, but are a cut-to-fit design. Since the tubes were only threaded about 2" deep, my solution was to take measurements for overall endlink length, then chop the middle out of the tubes and weld the pieces back together, netting the proper endlink length. Worked perfectly.
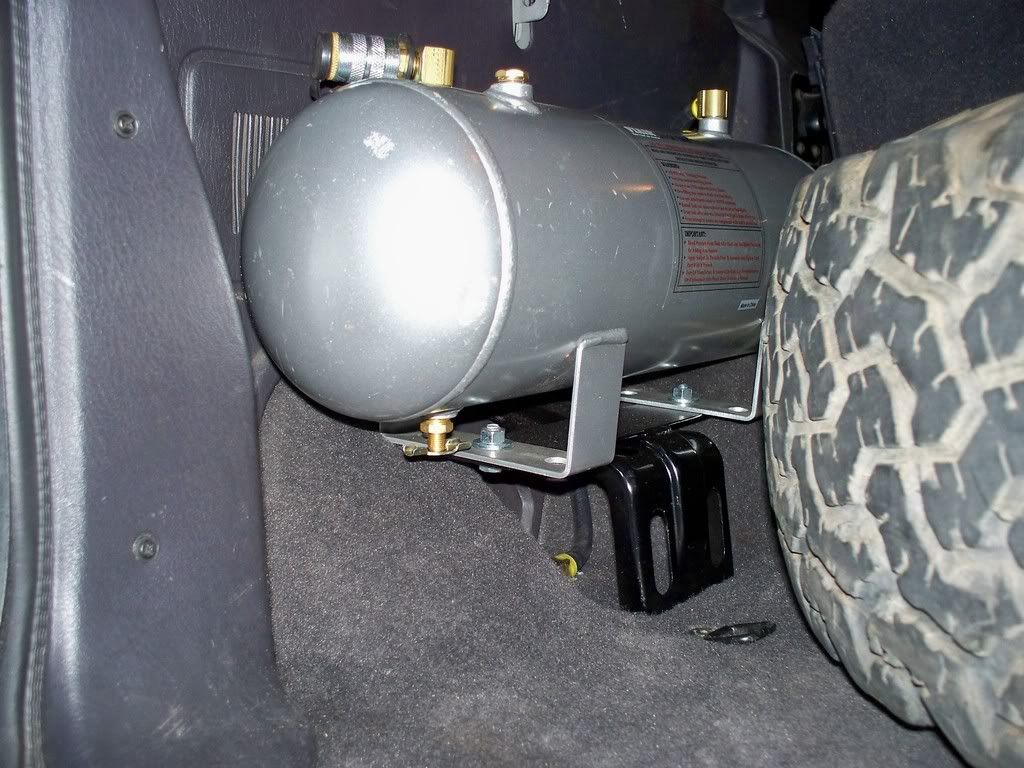
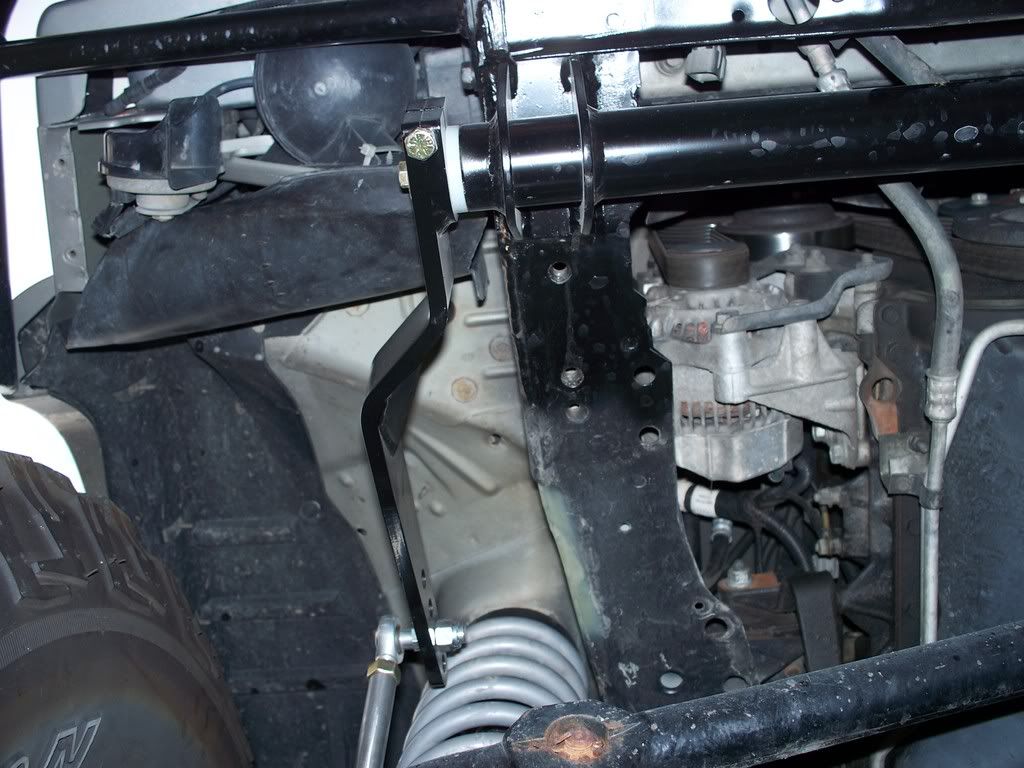
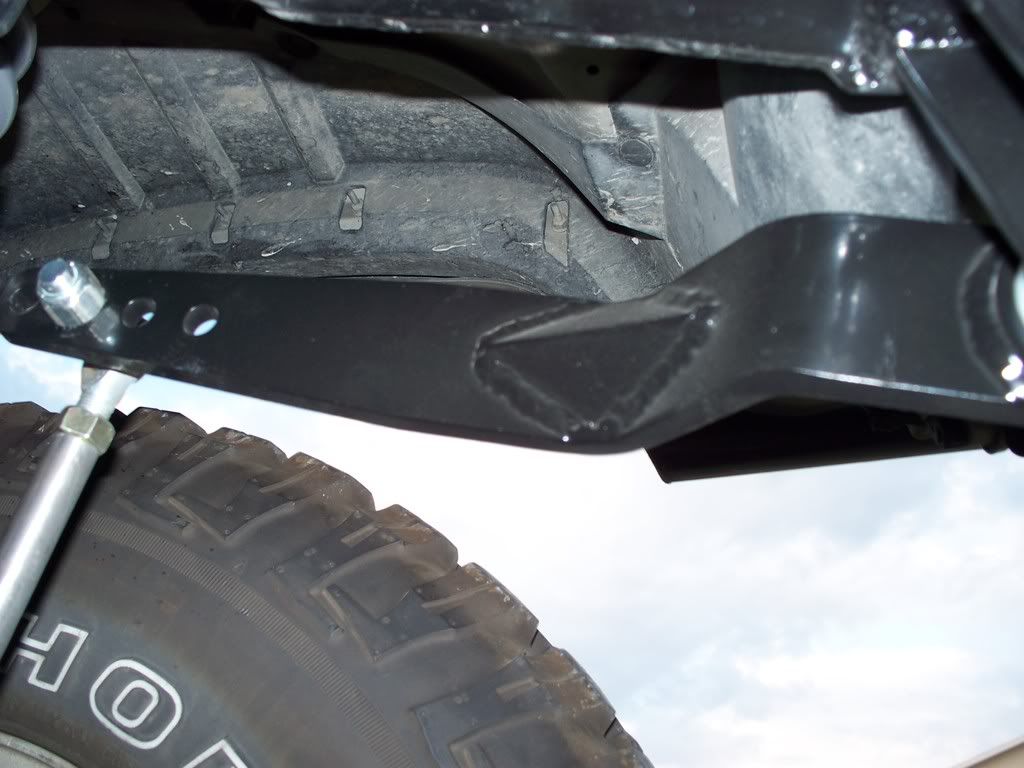
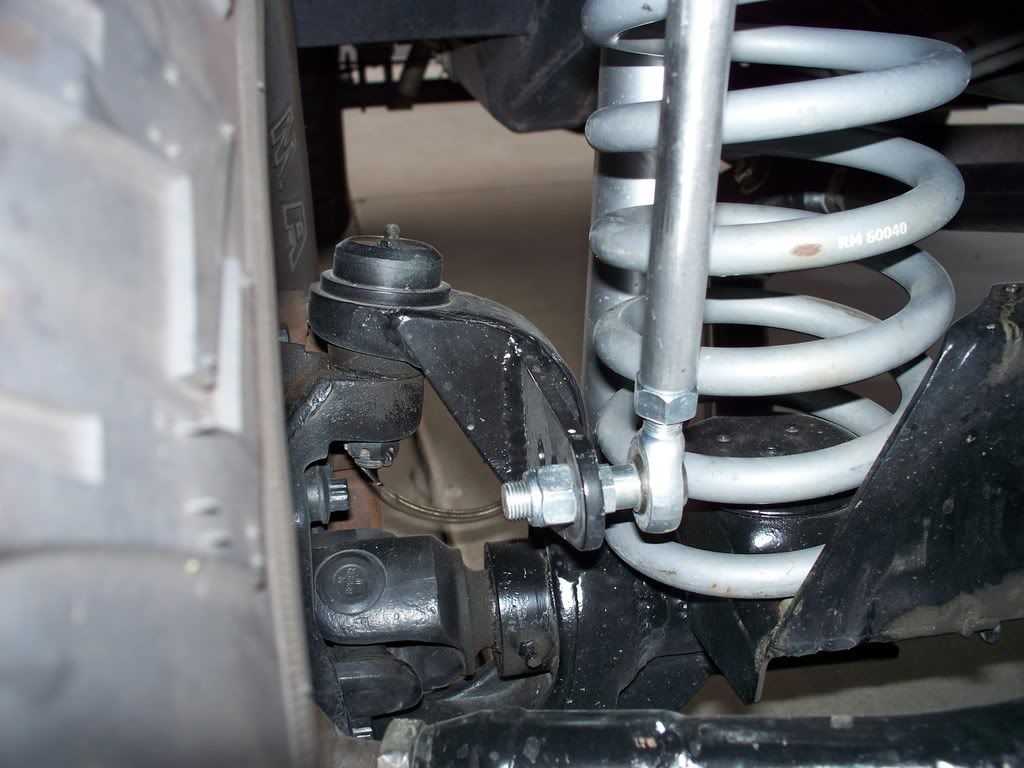
Installed photos:

100_3446.jpg


100_3456.jpg


Gusset view
100_3447.jpg


Endlink Axle bracket supplied with kit, which I attached to my gusseted knuckle.

100_3457.jpg
 
Last edited:
the compressor setup is freakin clean as hell! killer work on it all
 
Seriously, the whole build is b-e-a-utiful. Your OBA is the cleanest set up I have seen and is pretty much what I want to do to mine.
 
Von at BHR also suggested adding a gusset to the bend, as they've seen some lateral twisting occur on the bent arms they've installed on their comp buggies when not gusseted......simple fix, so why not? I used some 1/8" t strap I had laying around for these gussets.

100_3272.jpg


100_3446.jpg

Did you only gusset one of the bends? If so why only one?
 
Back
Top