chrslefty
NAXJA Forum User
- Location
- centeral phx az
so i know that this has been cover befor but i tought that i could maby add to it a little or at least add a differnt prospective for anyone thinking about maby doing this .
i did a lot o searching and some people have some good pics like skipkid and a few others . but the prosses was missing so ill try to fill in a little .
just a fyi u can get a adapter permade from hesco but it'll set you back 125 bucks . u used a total of 5 $ in parts .your experance my very .this was done using tb's from a 89 and a 99 xj's .
i dont have spell check avabile .i will try to fix spelling and gramer asap !so please go easy on me .thankyou !!
so onwards with the pics :yelclap: ..
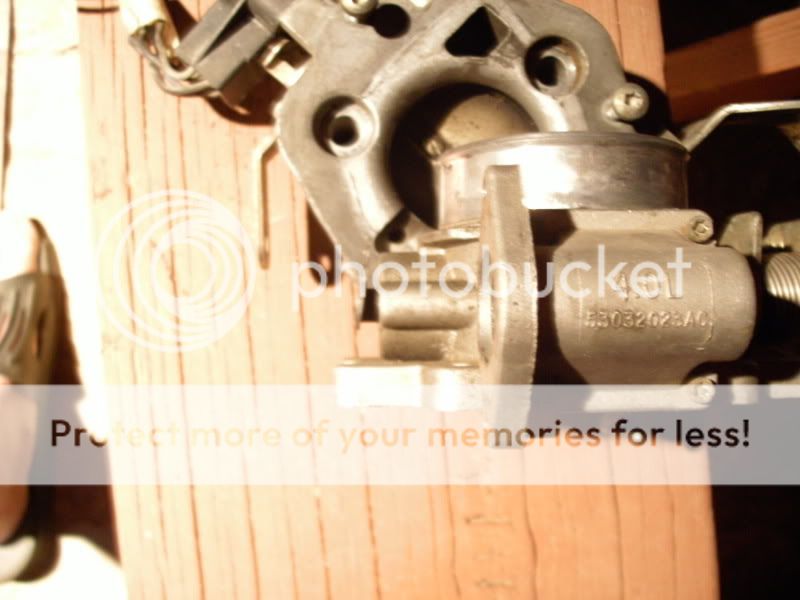
the final out come .
comared to stock
how i got there !!
well i was fornate to have a spare tb set up avabile to play with. so here what i did .
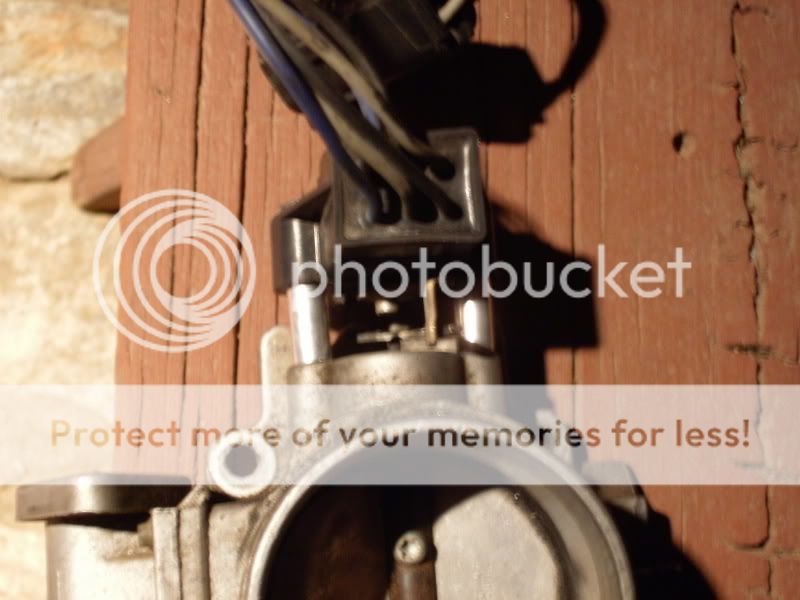
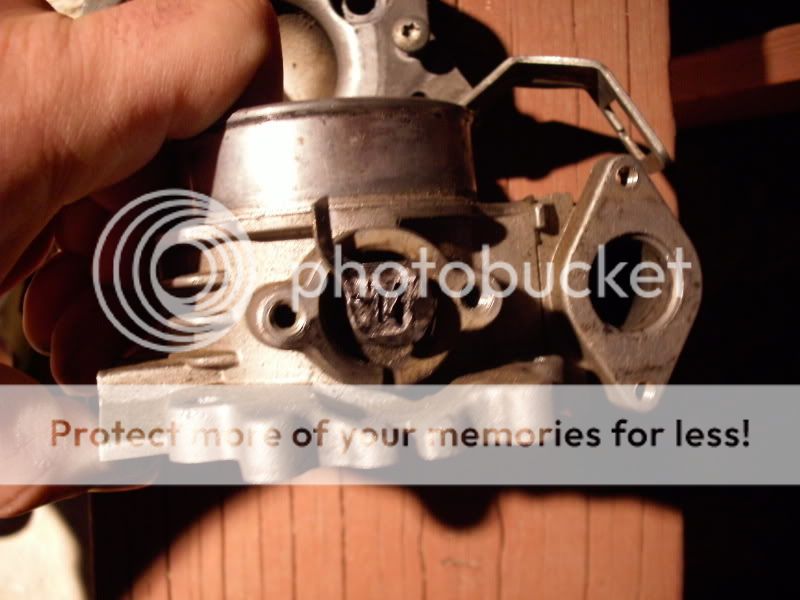
1. disconect and lable all aproprate wires and what they connect to .remove tb from intake manifold .this also goes for the new tb.
2. mark and mesure were the wiper is set on your stock set up (tb ) befor removing the tps .
3. remove the tps . when you do this youll see the wiper arm attached to the end of the renix tb,shaft .
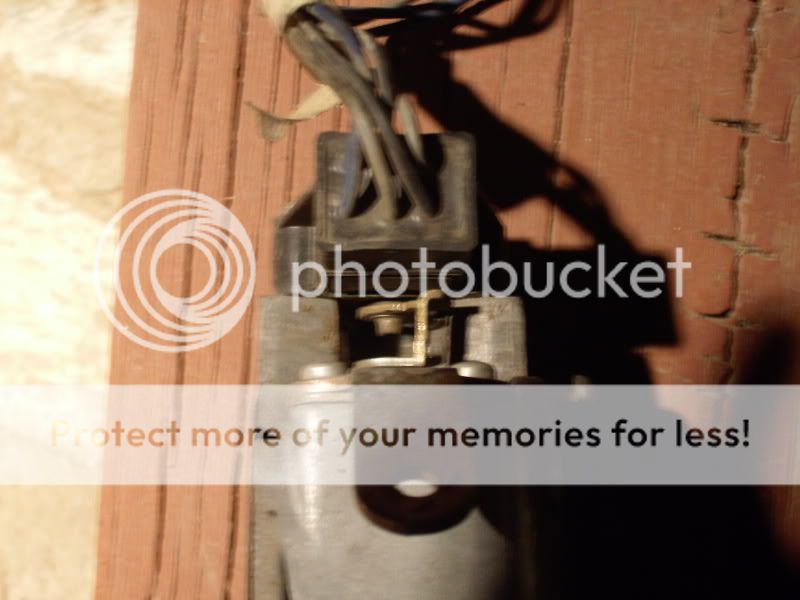
4. so what needs to happen now is is to remove the shaft from the renix tb. you can do this by removing the butterfly plate in the tb ,and then removing the nut on the other end .
youll have to pry down the retaing thingamgigger ,also theres a brace on the other side that needs to be removed.
5.the hole shaft should now slide out on the tps side .i then put the shaft in a small vice .using a drimmel i carfully cut the wiper off of the shaft ,i did this by cutting the front and then going lightly around the back of the wipe/shaft with the cuttoff wheel . i was then able to gently tapp it off of the shaft . you can then discard the shaft .it became part of my inprogress scuptre lol.
6.so heres the fun part !!you have to figure out the correct placement of the wiper onto the shaft. un fortanly the hole in the wiper is to small to slide onto the new shaft also it is not in quite correct orintation .so out with the drimmel again .sorry i dont have any pics of this part of the proces. pretty much i marked it in what i tought was the correct orintation ,flipped it over and then cut a small groves on the back side so that it would recess onto the new shaft .
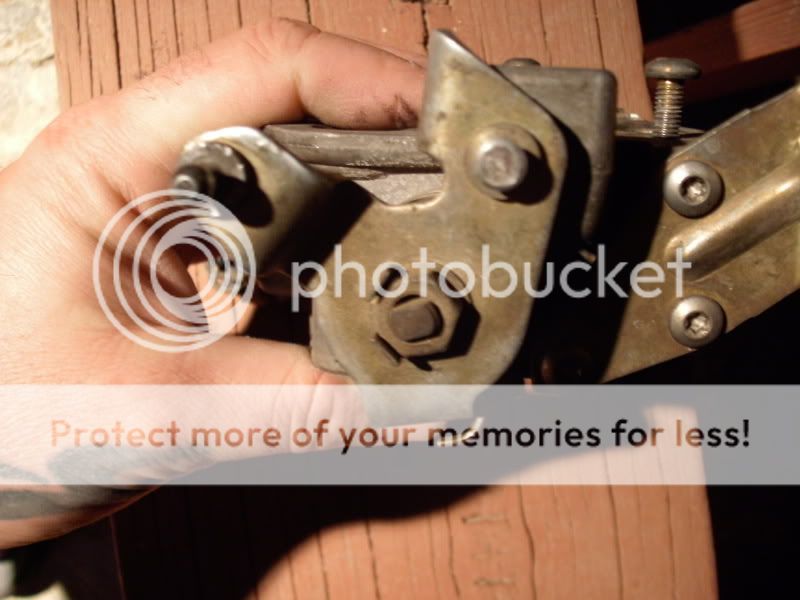
7.so once you have the correct orintation and have done your grinding .its time to affix the two pices together . " i did a couple of test fittings with glue to check how every thing worked and to make sure that the wipers will be sorta close to stock. " i then put a couple of tack welds to permanitly affix the pices together . " others have used JB weld . you can pick your posion . im sure either will work just fine .
please dont make fun of my shity welding and butty fab :gee:
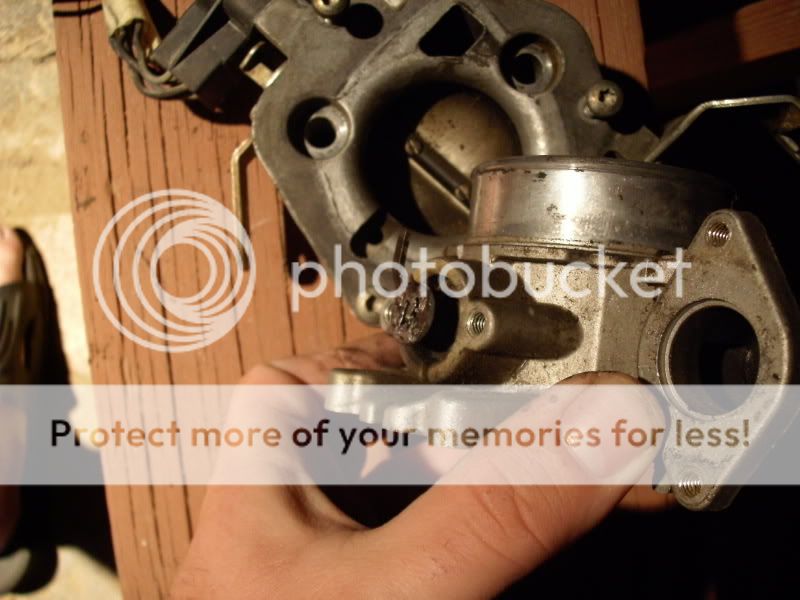
8. i then used some 3/4" alumin spacers ,i cut them down a little to make sure i had good contact between the two wipers . i used 2 " long screws .

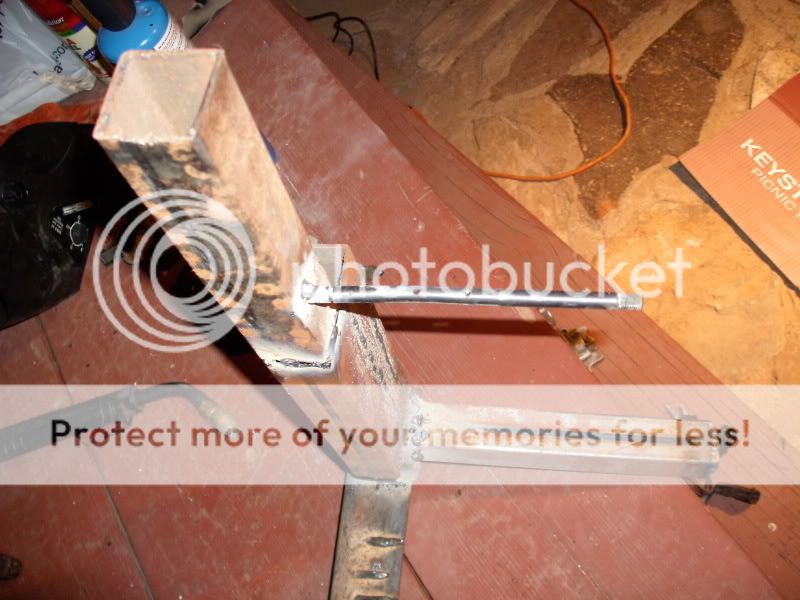
9. screw together and wyla ur done !!
10.reinstall and adjust as needed
i have more pics but there kinda blurry . if there any ?'s please feel free to ask .or if you have anything to add " except for spelling remarks " please feel free !!
al in all this was pretty easy to do . i hope this helps someone .
i did a lot o searching and some people have some good pics like skipkid and a few others . but the prosses was missing so ill try to fill in a little .
just a fyi u can get a adapter permade from hesco but it'll set you back 125 bucks . u used a total of 5 $ in parts .your experance my very .this was done using tb's from a 89 and a 99 xj's .
i dont have spell check avabile .i will try to fix spelling and gramer asap !so please go easy on me .thankyou !!
so onwards with the pics :yelclap: ..
the final out come .
comared to stock
how i got there !!
well i was fornate to have a spare tb set up avabile to play with. so here what i did .
1. disconect and lable all aproprate wires and what they connect to .remove tb from intake manifold .this also goes for the new tb.
2. mark and mesure were the wiper is set on your stock set up (tb ) befor removing the tps .
3. remove the tps . when you do this youll see the wiper arm attached to the end of the renix tb,shaft .
4. so what needs to happen now is is to remove the shaft from the renix tb. you can do this by removing the butterfly plate in the tb ,and then removing the nut on the other end .
youll have to pry down the retaing thingamgigger ,also theres a brace on the other side that needs to be removed.
5.the hole shaft should now slide out on the tps side .i then put the shaft in a small vice .using a drimmel i carfully cut the wiper off of the shaft ,i did this by cutting the front and then going lightly around the back of the wipe/shaft with the cuttoff wheel . i was then able to gently tapp it off of the shaft . you can then discard the shaft .it became part of my inprogress scuptre lol.
6.so heres the fun part !!you have to figure out the correct placement of the wiper onto the shaft. un fortanly the hole in the wiper is to small to slide onto the new shaft also it is not in quite correct orintation .so out with the drimmel again .sorry i dont have any pics of this part of the proces. pretty much i marked it in what i tought was the correct orintation ,flipped it over and then cut a small groves on the back side so that it would recess onto the new shaft .
7.so once you have the correct orintation and have done your grinding .its time to affix the two pices together . " i did a couple of test fittings with glue to check how every thing worked and to make sure that the wipers will be sorta close to stock. " i then put a couple of tack welds to permanitly affix the pices together . " others have used JB weld . you can pick your posion . im sure either will work just fine .
please dont make fun of my shity welding and butty fab :gee:
8. i then used some 3/4" alumin spacers ,i cut them down a little to make sure i had good contact between the two wipers . i used 2 " long screws .
9. screw together and wyla ur done !!
10.reinstall and adjust as needed
i have more pics but there kinda blurry . if there any ?'s please feel free to ask .or if you have anything to add " except for spelling remarks " please feel free !!
al in all this was pretty easy to do . i hope this helps someone .