epd166
NAXJA Forum User
- Location
- Emmett, Idaho
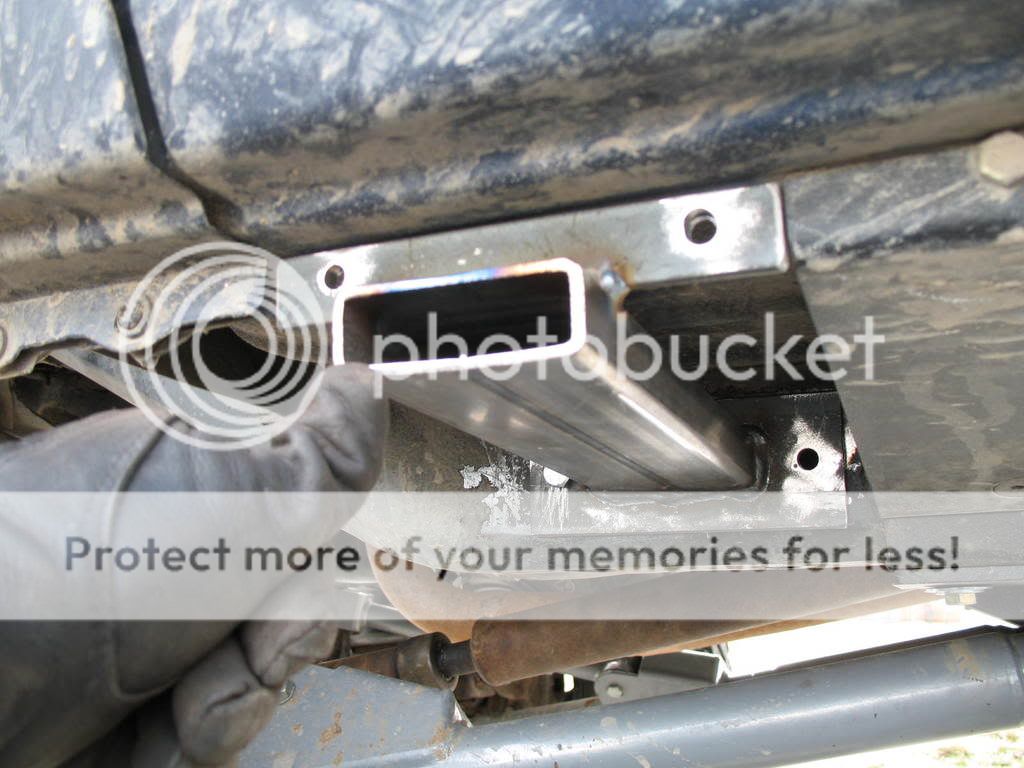
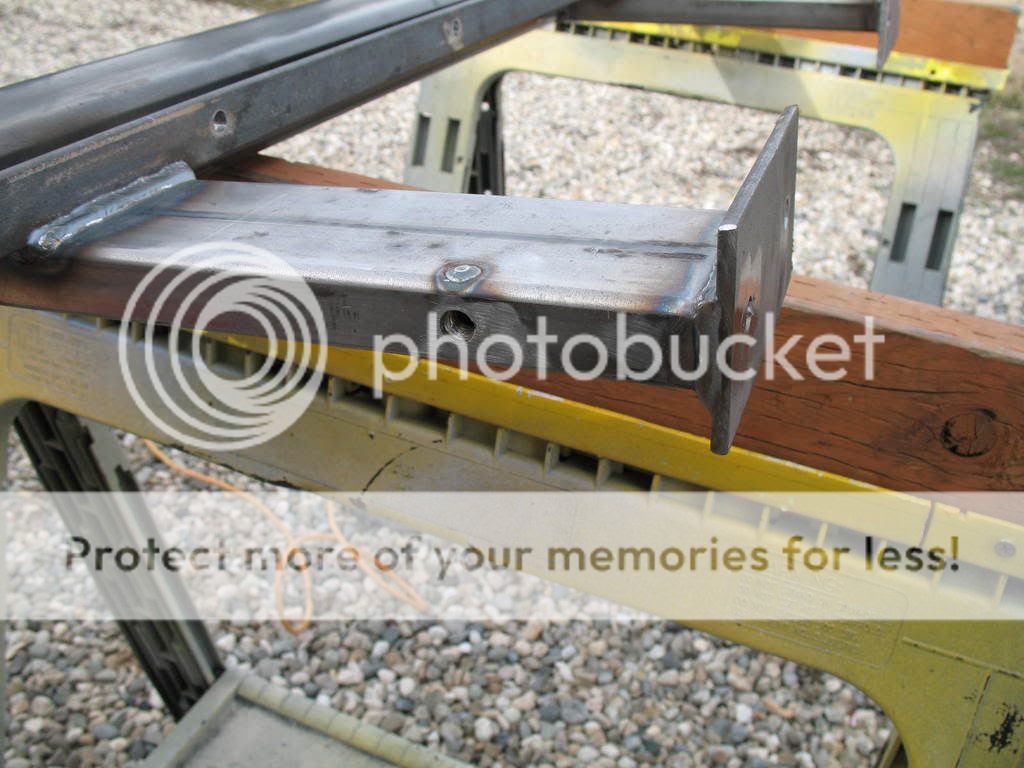
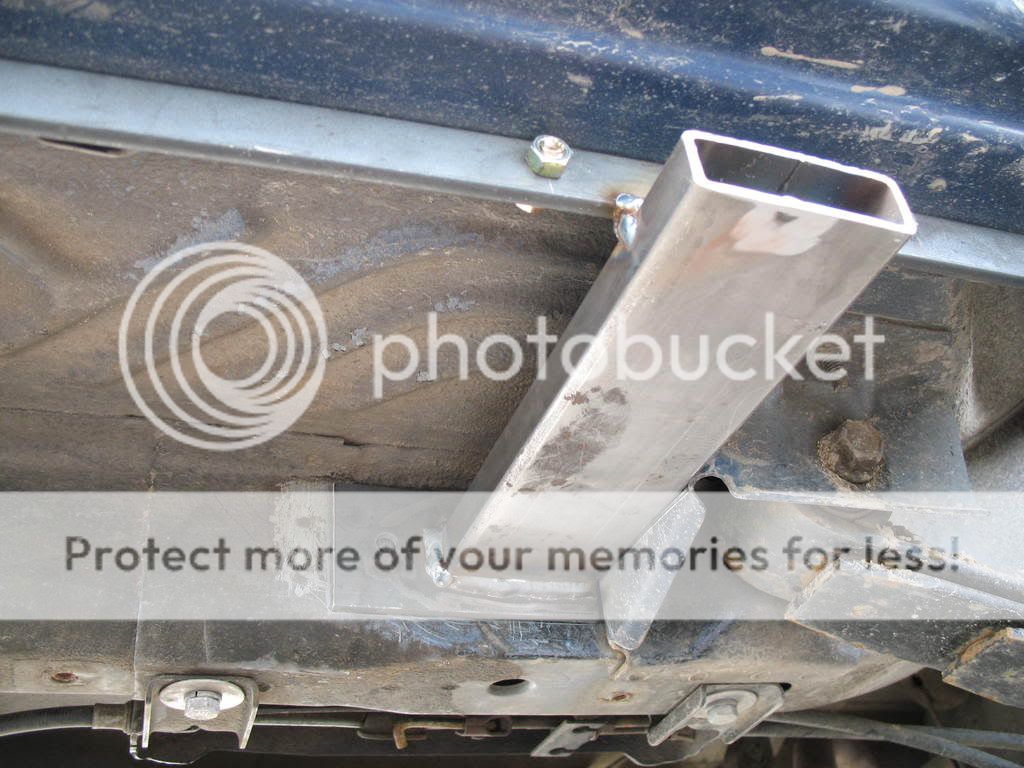
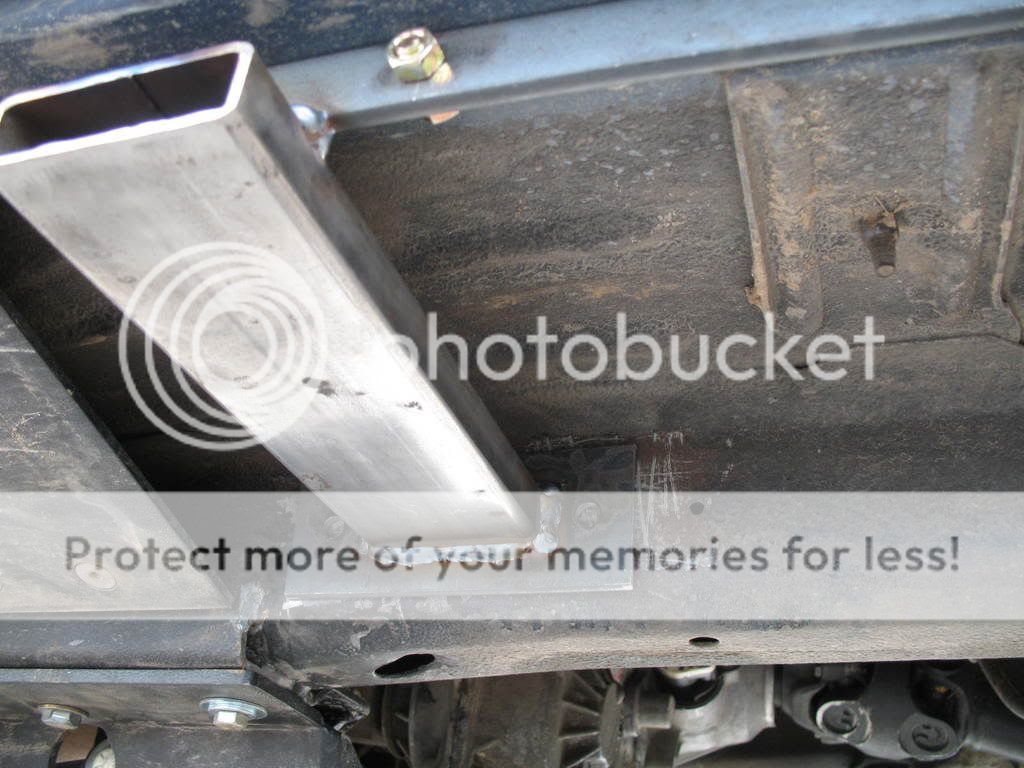
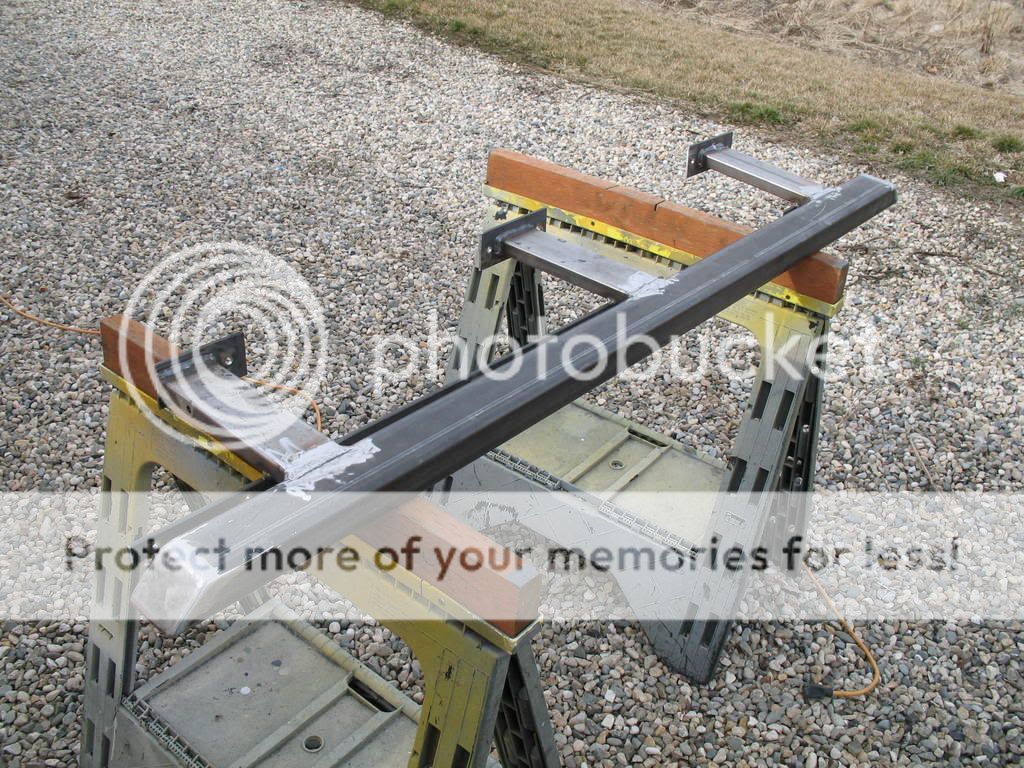
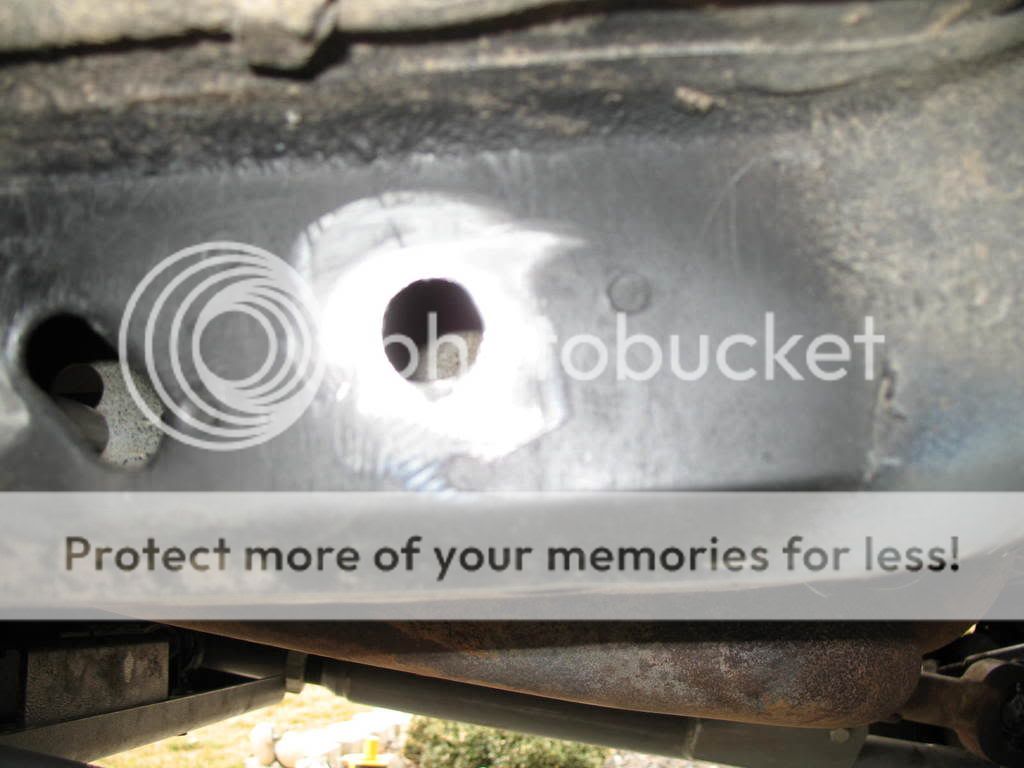
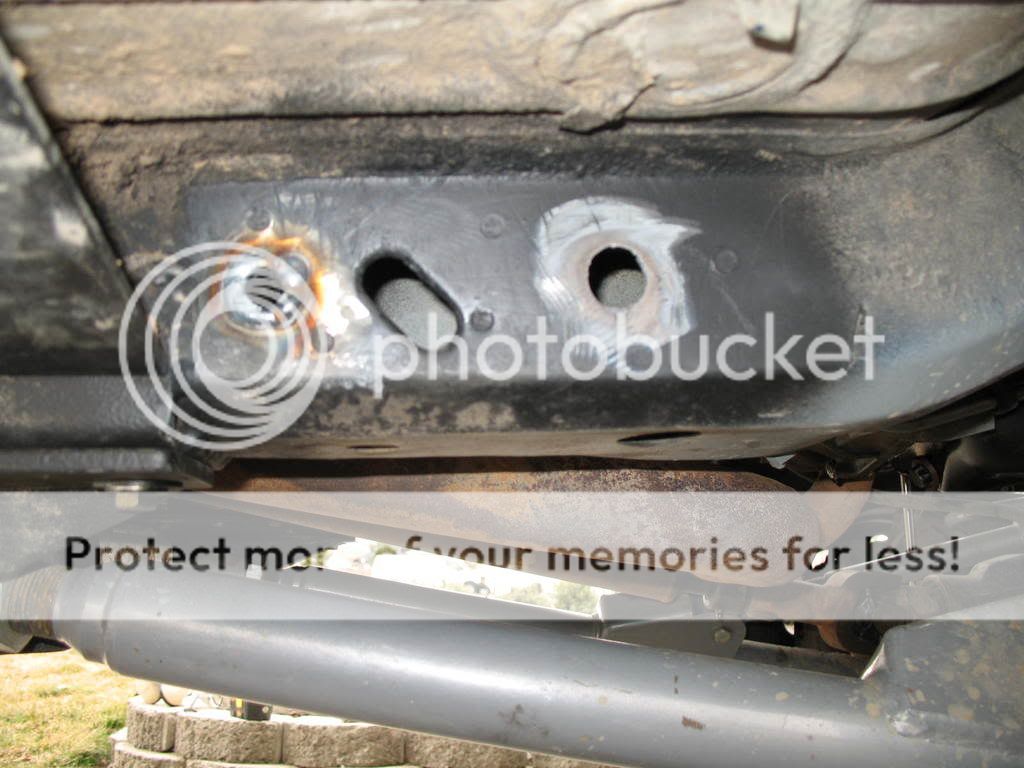
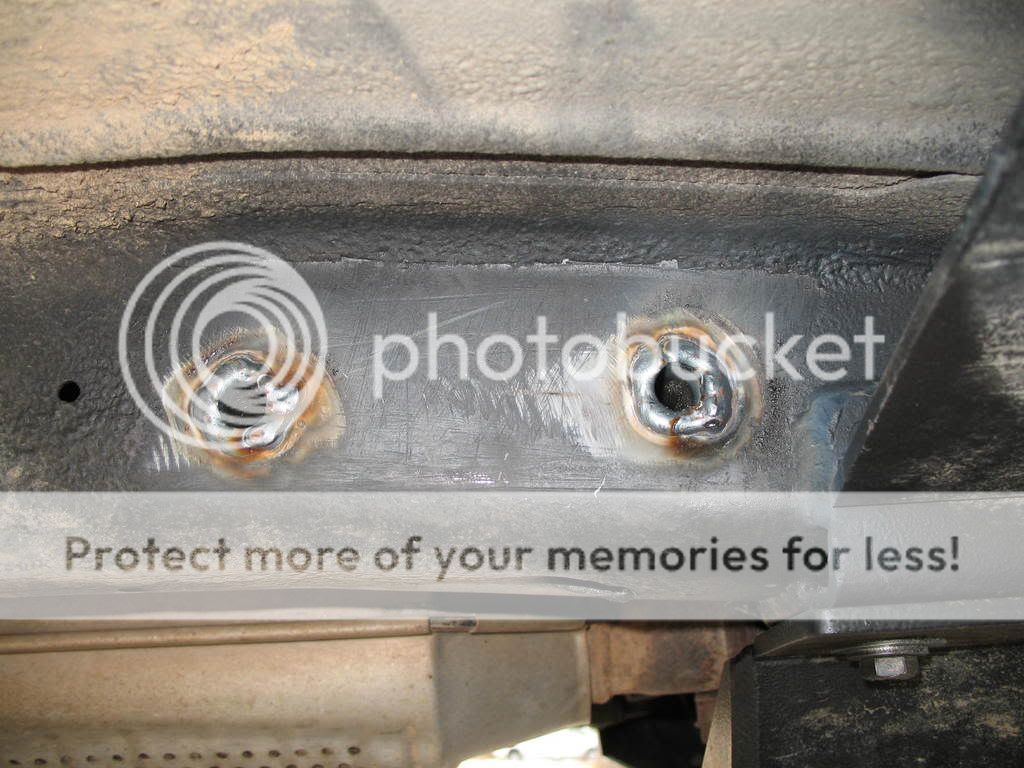
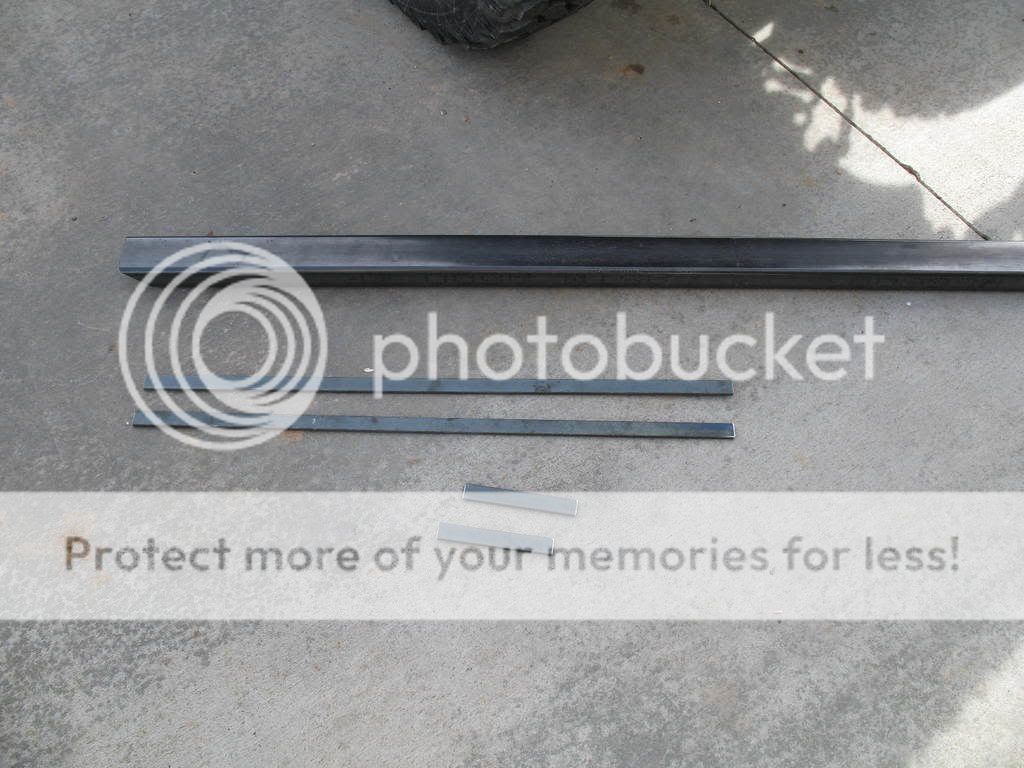
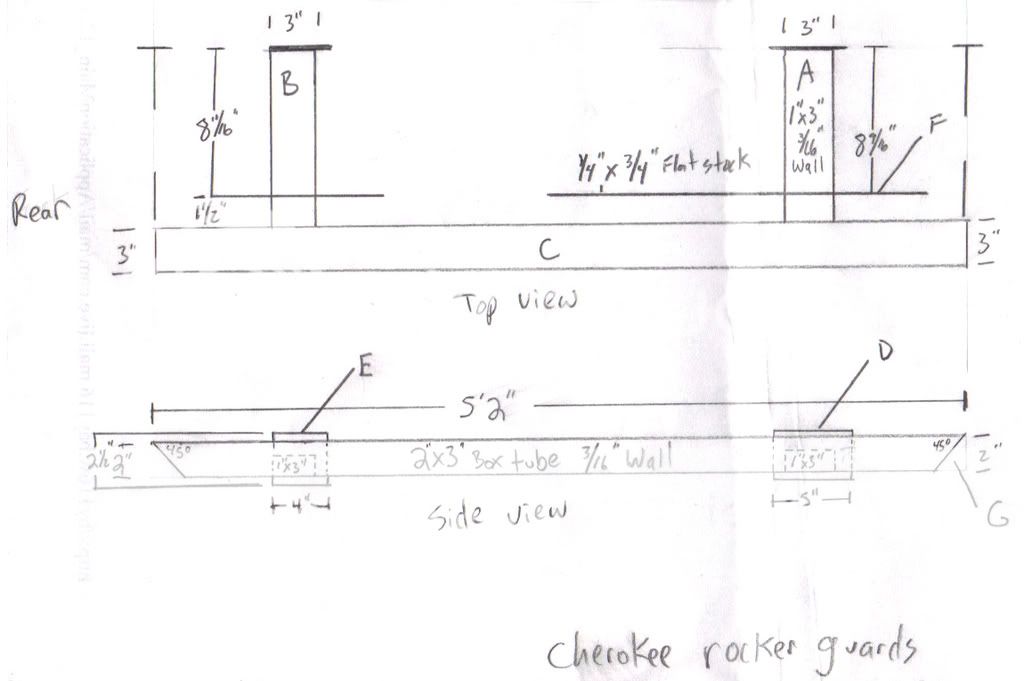
I have used  for a long time and only recently signed up to post. I figure I should contribute to the forum since I have been using it for a while now. I have planned on building some rocksliders or rocker panels guards for some time and recently decided to do it once I saw how easy it was to damage my XJ (my brother-in-law ran into the door and caved it in). I am going to start a thread for homemade rocksliders with the Rubicon Express long arm suspension.
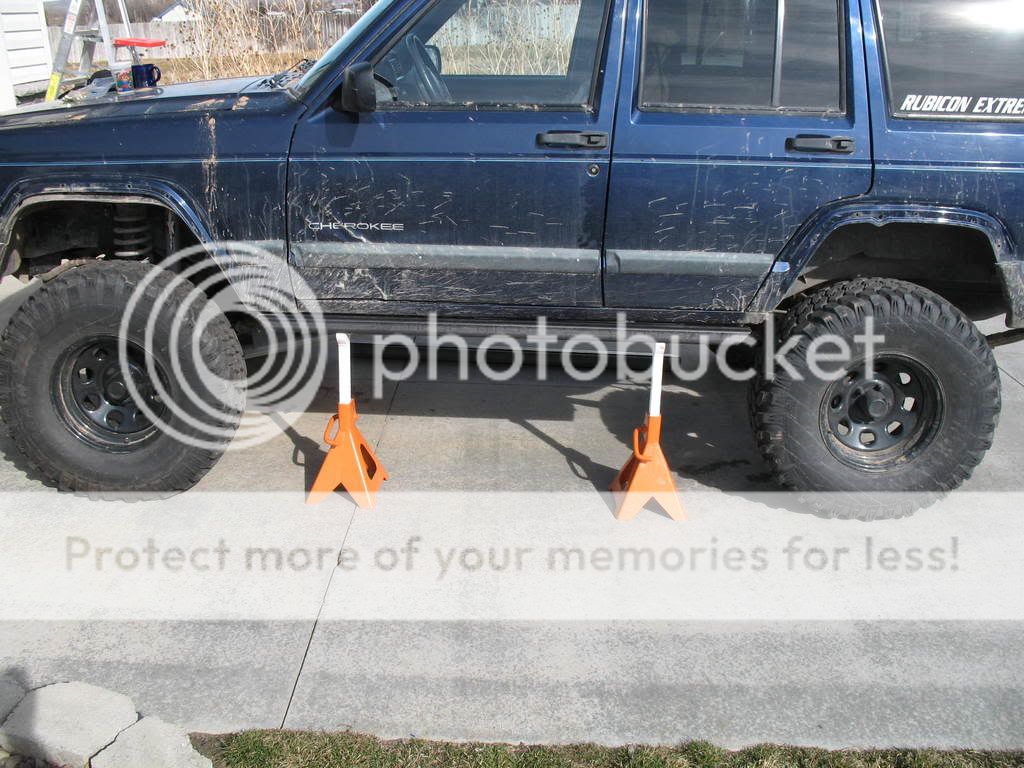
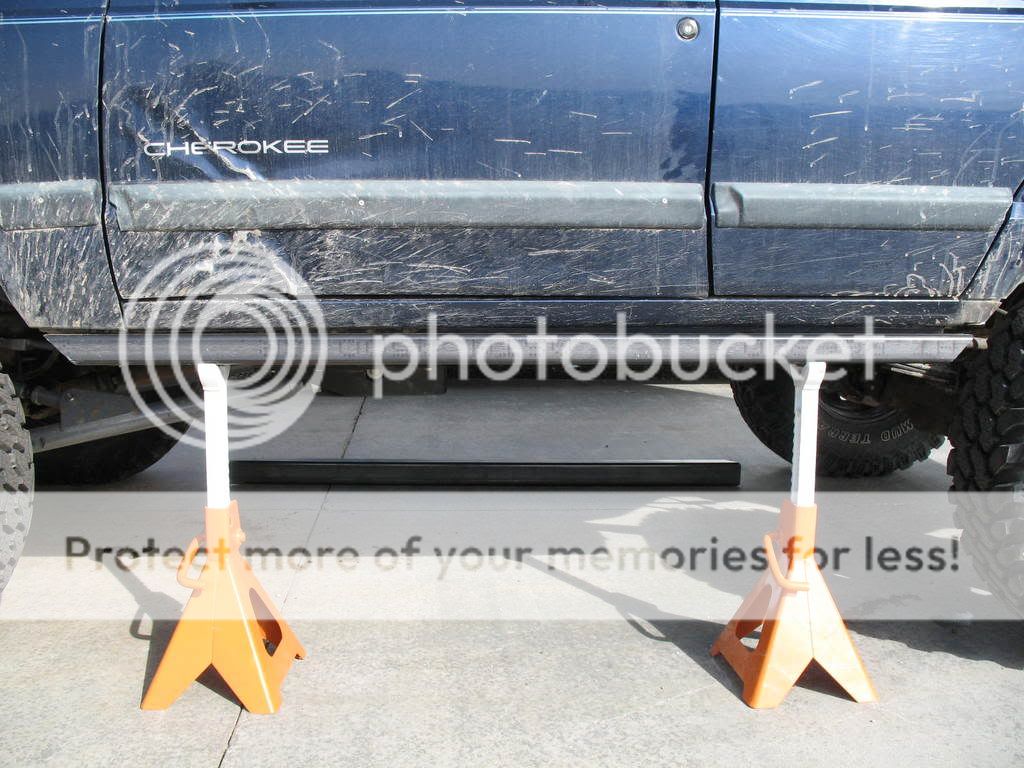
Here is a picture of it before I started.
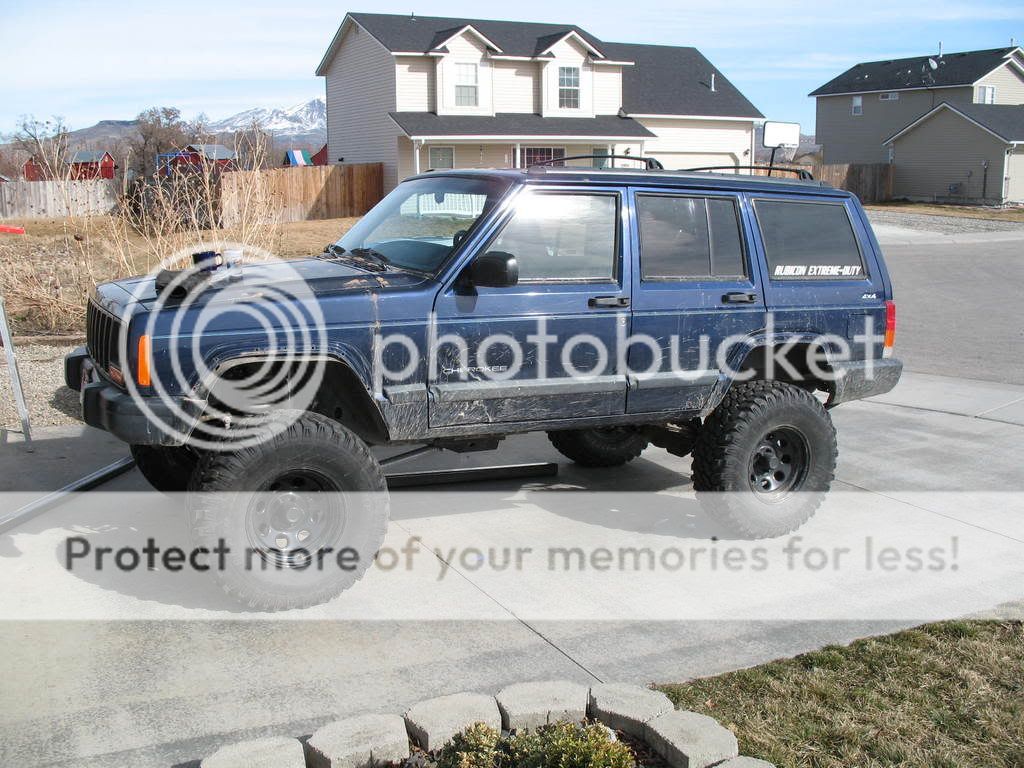
for a long time and only recently signed up to post. I figure I should contribute to the forum since I have been using it for a while now. I have planned on building some rocksliders or rocker panels guards for some time and recently decided to do it once I saw how easy it was to damage my XJ (my brother-in-law ran into the door and caved it in). I am going to start a thread for homemade rocksliders with the Rubicon Express long arm suspension.Here is a picture of it before I started.


")