furrymcmonst
NAXJA Forum User
- Location
- Monroe, WA
I joined today so I can post pictures. I've received a lot of great help on this forum and really appreciate it.
I've been working on replacing the radiator, water pump, harmonic balancer and alternator. I have the water pump and alternator installed and am working on the HB.
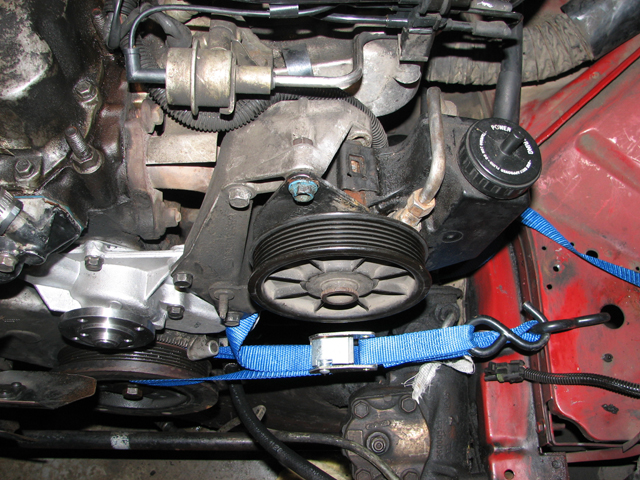
I finally got the old balancer out. For those who have never done it before (this was my first time) here is how I held the balancer steady while cranking on the main bolt.
Here is a picture of the crankshaft end after the balancer was removed.

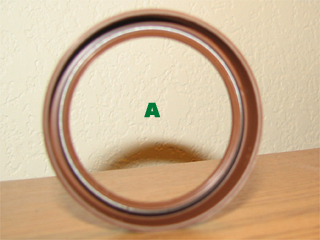
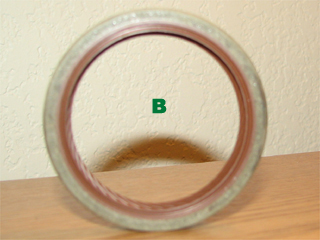
1.) Can someone tell me if these chips labeled A,B, and C should cause any worry?
2.) Is the part labeled "D" the seal that people have mentioned in other threads? What is the exact name of the seal to use if I go try to purchase one at NAPA or other store?
3.) How do you remove the seal?
4.) I assume "E" is the key. Should I take that out or just leave it there and put the new HB over it?
Any other advice or obervations are appreciated.
I've been working on replacing the radiator, water pump, harmonic balancer and alternator. I have the water pump and alternator installed and am working on the HB.
I finally got the old balancer out. For those who have never done it before (this was my first time) here is how I held the balancer steady while cranking on the main bolt.
Here is a picture of the crankshaft end after the balancer was removed.
1.) Can someone tell me if these chips labeled A,B, and C should cause any worry?
2.) Is the part labeled "D" the seal that people have mentioned in other threads? What is the exact name of the seal to use if I go try to purchase one at NAPA or other store?
3.) How do you remove the seal?
4.) I assume "E" is the key. Should I take that out or just leave it there and put the new HB over it?
Any other advice or obervations are appreciated.