• Welcome to the new NAXJA Forum! If your password does not work, please use "Forgot your password?" link on the log-in page. Please feel free to reach out to [email protected] if we can provide any assistance.

Rear Bumper Thread...

DanMan2k06

NAXJA Forum User
Location
Damascus, MD
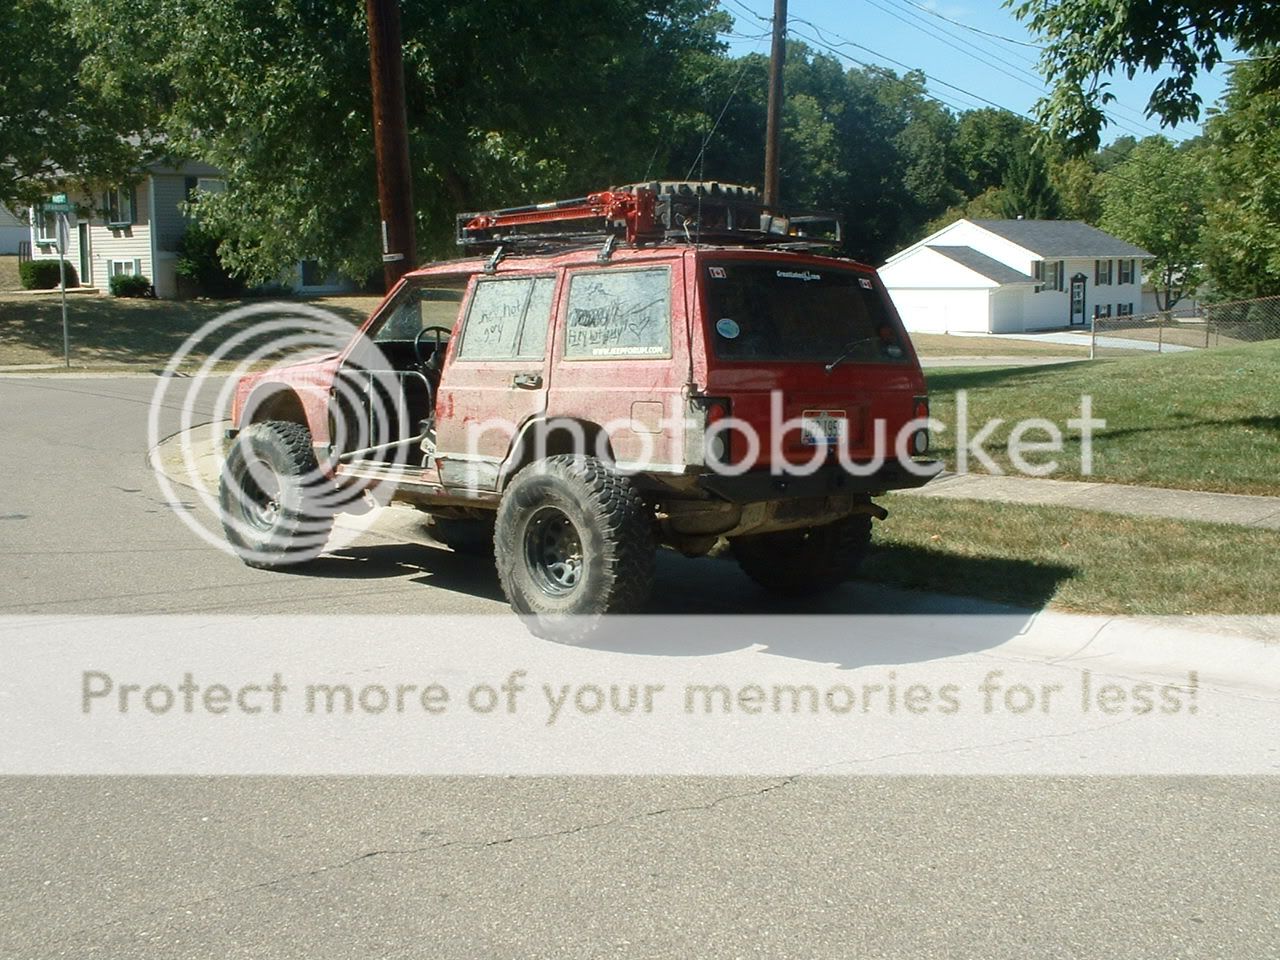
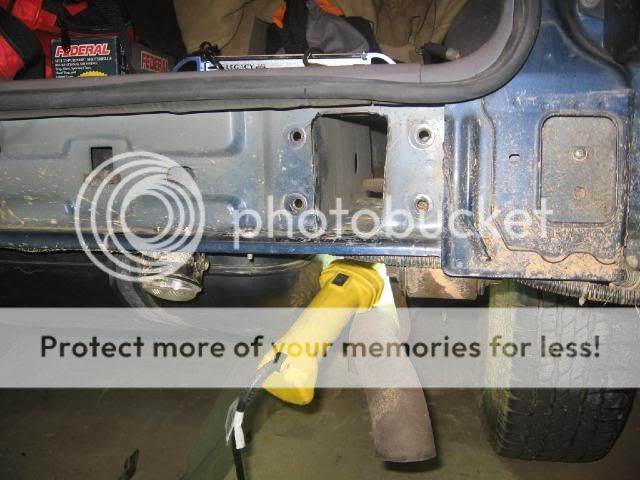
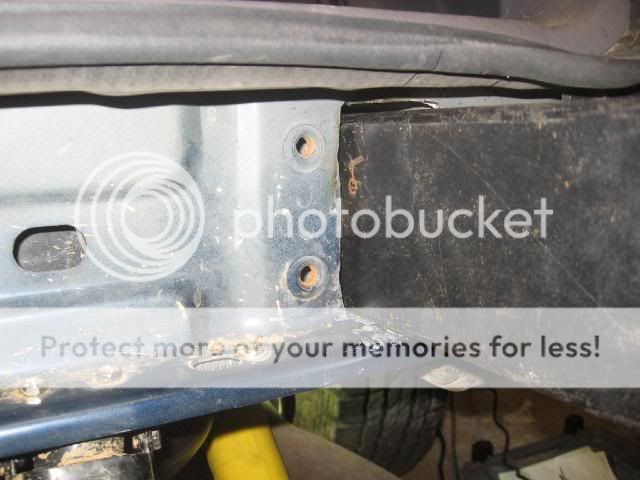
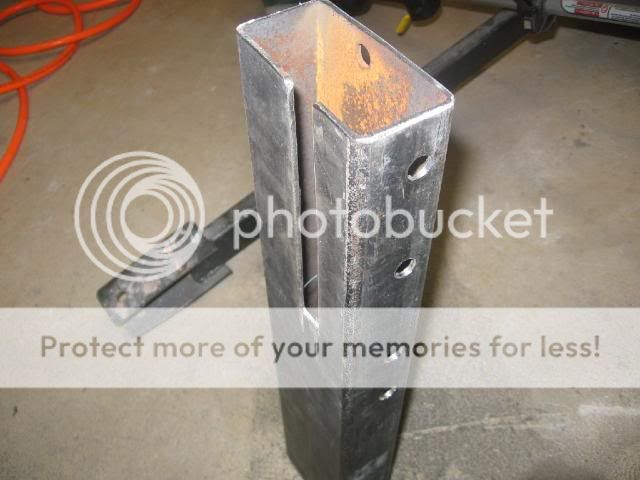
So I'm going to be fabbing up a new rear bumper soon. However, I want to encompass everything I think I will ever need. I hope to include, but certainly not limited to: Tire carrier, 2" reciever, recovery points, sunken reverse lights, and have mounting points at the stock location, as well as the stock hitch location. I started making the hitch and stock brackets today, but would like to see some pictures of everybody's aftermaket/homebrew bumpers before I go any further. I want it to look pretty slick as well, nothing too boxy.

Also, with your guys' bumpers, what works great - what sucks - and what do you wish you had that is currently missing?

Thanks!
 
Here my crappy bumper. 2 layers of 2x3 stainless pipe. I haven't finish it yet. I got some d ring mounts to weld on there and you can see the back lights that are there. Also got a 2" hitch mount right in the middle that welded in there now but not in the pic.
2523955_22_full.jpg
 
I would check out all the rear bumper and tire carriers from DPG, Rigidco, C-Rok, Warn, JCR, etc and pick out the designs you like.

Sorry if my pointers are obvious but I'm not sure what your level of experience is. But they would be:
1. If you install a tire carrier, make sure the pivot point is heavily reinforced behind the bumper or tied in with quarter guards.
2. Try to tie in the bumper with rear quarter guards for added protection but mostly for the tire carrier strength.
3. D ring tabs should not be just welded onto the bumpers. Make sure they are designed as a large piece that properly ties into the frame rails.
4. Dont design the bumper to be very flush with the hatch in case a hard hit causes your hatch to get jammed shut.

etc etc
 
1. Yea I know the carrier must be heavily reinforced or I'll just be shooting myself in the foot.

2. What do you suggets on the quarter guards? I took of the retarded plastic guards and there is only sheet metal with some stupid rivots behind it. Which I was pissed to find...

3. After building the Iron Scorpion front kit, I realize how heavily these need to be tied into the frame. They will be part of the main brackets, which will tie into the stock location and hitch locations.

4. Something I'll actually need to consider lol.

I seem to like the Warn design the best, but I can't see a picture of how the ends wrap around the corners (where the stock rivets are)
 
This thread shows my whole build. The only thing I'd do different is use angle running into the frame for the hitch tie in rather than flat bar. For the 32" I have on there it's no big deal and it's much more solid than a mates warn but if I were to go bigger, like 35's, then it would be a worthwhile change.

http://www.naxja.org/forum/showthread.php?t=899237

Cheers
Steve
 
Here is mine, it was made out of 2"x5"x1/4" tubing and has weld through tabs and a hitch welded through. Also it mounts like a hitch plus the stock bumpers holes so 7 per side.

jeep006-1-1.jpg


jeep004-1.jpg
 
Wow steve thanks for posting, I've been looking for your thread for a while and never seem to have any luck with the search button. Where did you get the bearing/carrier, mcmaster carr?
 
yes I did use standard wire but it still will won't rust or if it does it will take forever.
 
I started off with a Custom 4x4 bumper and then made some changes. I added a second piece of 2x2 to triangulate the spare, symmetrically. I also added the 1x1 to hold the Hi-Lift. To keep the base of the jack in place I just burned some metal rod in. I intended to run some 2x4 up under the lower quarters but I haven't yet. It's bolted on with the stock 8 bolts and then it also uses 2 of the frame rail nuts per side.

This was a final project I did after completing a mini welding class over the summer.

4y5mrnn.jpg


6akkyrm.jpg


Ooooops...the above pics are what it started out like. I was so thrilled when I finished that night. I stopped at the Safeway to get some groceries and when I went to open the hatch and empty the cart....the Hi-Lift on that design wouldn't let the hatch open. So I had to start over and move the jack drivers side like this:

6325jlv.jpg


6b43ped.jpg


I also welded everything where C4x4 had it bolted.

-river
 
Mine was made out of 2x6x3/16 with the ends boxed in with 3/16 plate. I used the 4 stock bolts(replaced with metric) and then extended the mounts down the framerail with 4 1/2" grade 8 bolts. All in all I'm happy and I am adding a tire carrier right now and I'll show you what I have so far


and here is the only crappy picture I have of it mounted

click to make em bigger
 
^ That's real clean man. :cheers:
 
Thanks I got alot of confidence after I made the quarter guards. I thought all I need to do is box it in and viola. If I did it again maybe I would use 2x5 but all in all I am very happy it has taken a few hits and hasn't flinched
 
baseballneal86 said:
My personal favorites are C-ROK and RigidCo.

C-ROK:
RD-Rear_lg.jpg


C-ROK with tire carrier:
Carrier-On-2.jpg
That tire carrier is awesome. I've seen it before and I would do something like that but I have no tubing bender so I'm out
 
Yea I plan on making the tire be centered in the rear window, at an angle like that one. I really like the c-rok now, but those stupid rivots have gotta go...
 
Well I made some progress tonight, I pretty much have the bracket design figured out. I'm using 2.0x4.0x1/8 tubing, which will push all the way into the frame, and bolt in underneath, as well as the stock locations. I also cut a slot down the tubing so that the shackle bolt slides in nicely. I don't think it should have any effect on overall integrity. Heres some pics.

Heres the 4 holes.
IMG_1501.jpg


Heres what I had to cut out to get the tube to fit
IMG_1500.jpg


Like a glove
IMG_1499.jpg


Heres the slot
IMG_1502.jpg


A few holes drilled
IMG_1505.jpg


And of course a look down the tube to see how it all lines up.
IMG_1508.jpg


The nuts will be welded inside the tube, and then bolts will be used to secure everything to the frame. I should have more pics on the stock flange/plate in a few.
 
Back
Top