XJ_Jeeper01
NAXJA Forum User
- Location
- Avondale, AZ
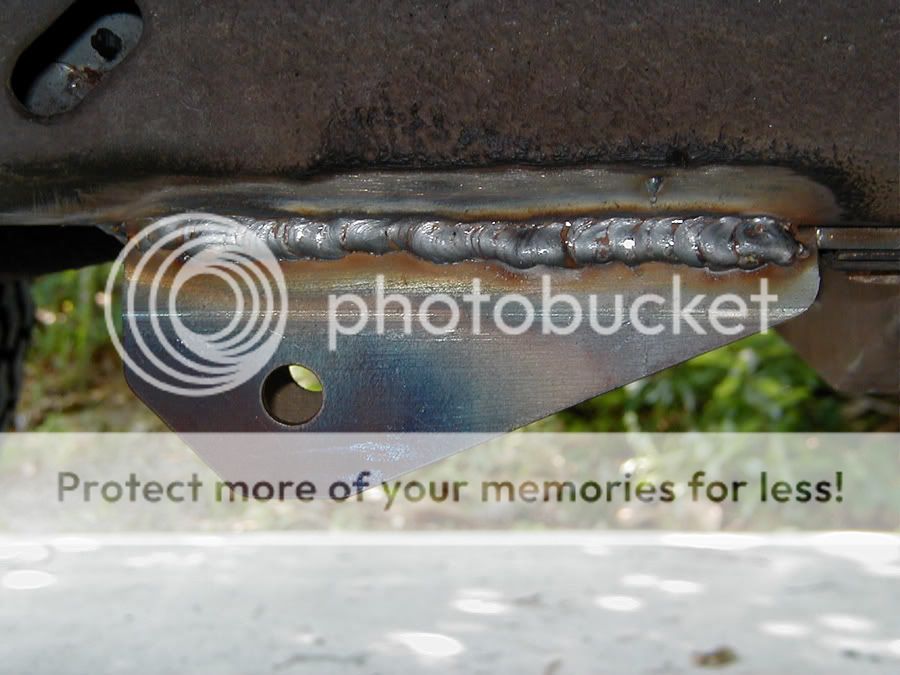
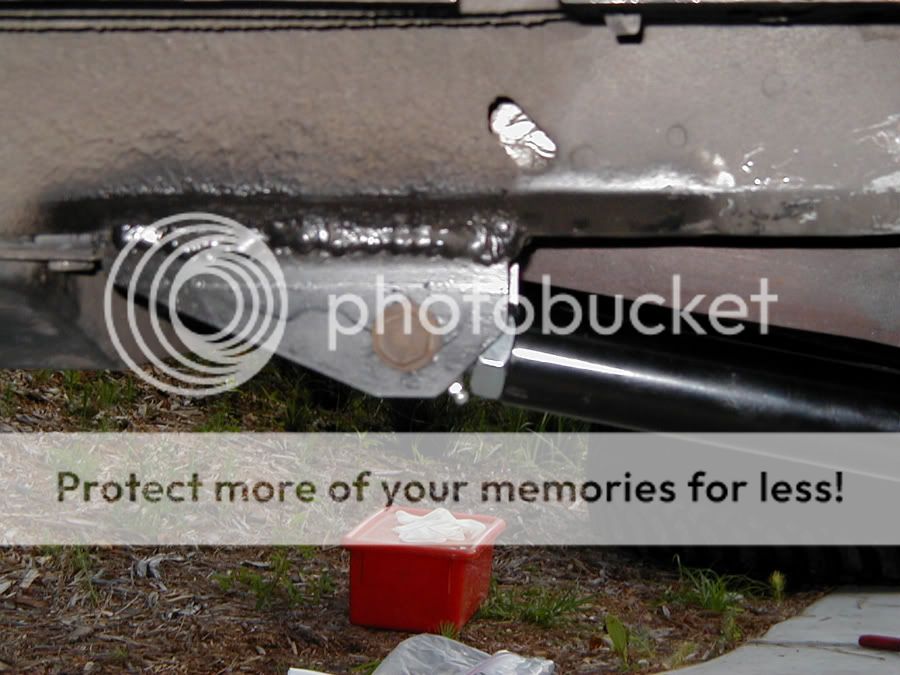
I have seen many threads about the Rock Krawler stuff and no real install/writeup with pics for the 3-Link kit, so I thought I would post one up. I went to a local welding shop to have the lower brackets welded on. 15 bucks and a ride to the gas station for a 12-pack was all it cost me.  Prior to having them welded on, I had to grind the undercoating off on the framerails to bare metal. Here they are welded on and ready to be painted.
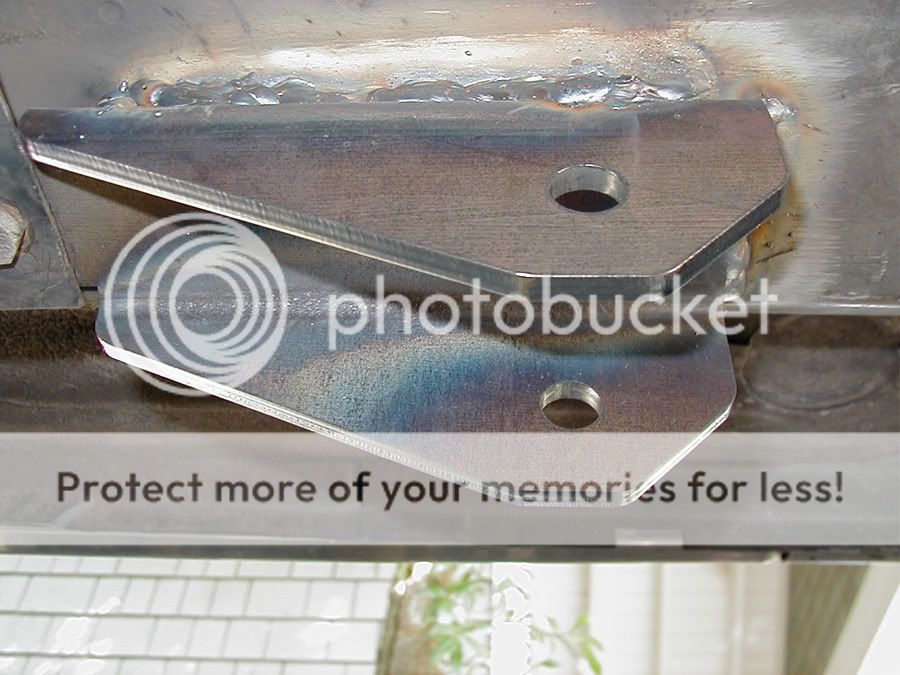
The front lip.
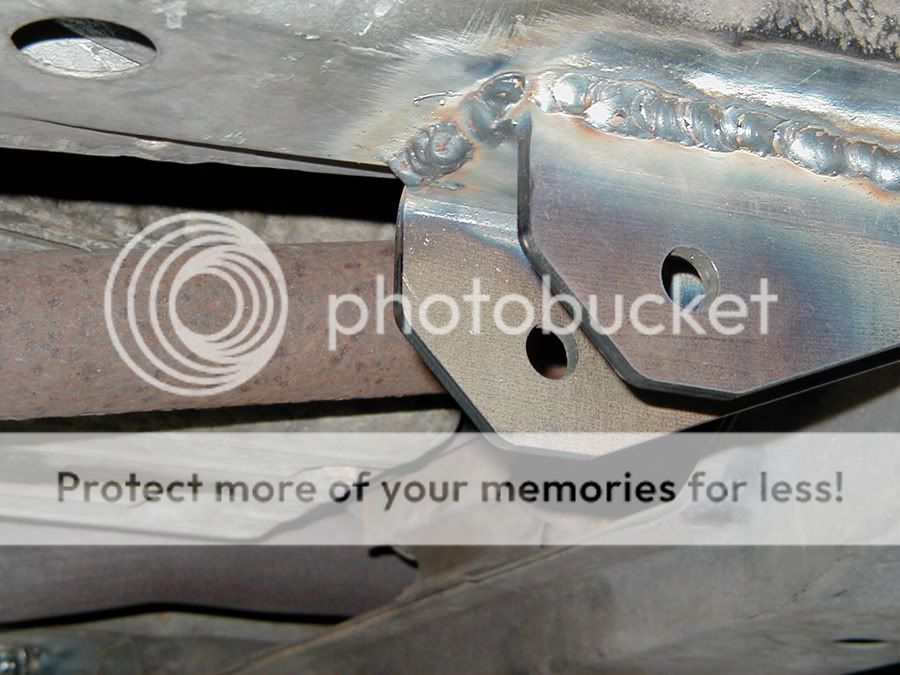
The inside lip.
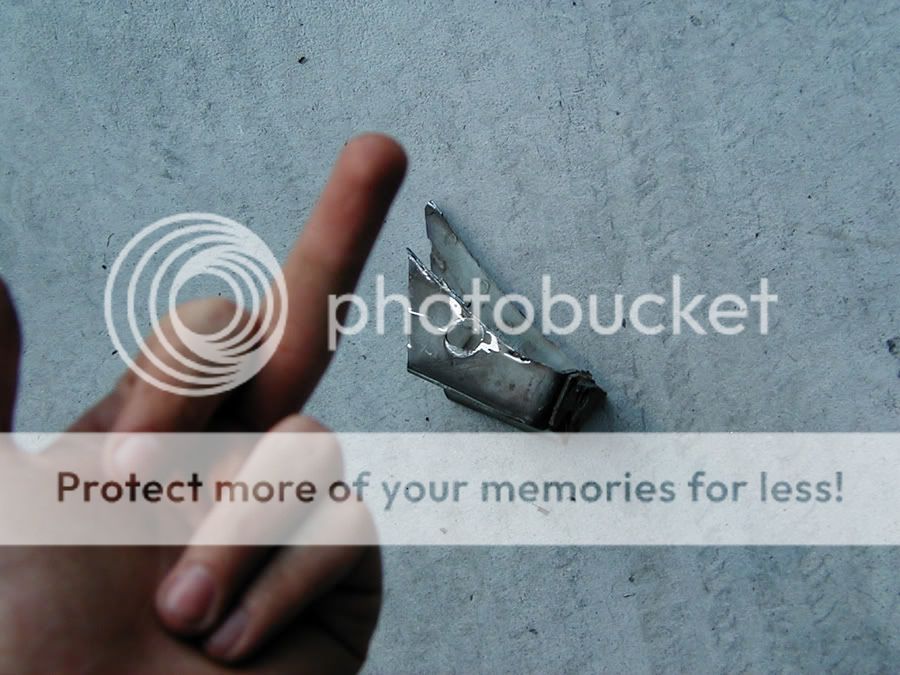
I used some rustoleum black to paint them. Once this is all done it's time to take it all apart. I found after supporting the body and axle on jackstands that i didn't need to detach the draglink, track bar and sway bar end links. I started with taking off the lowers first. After they are off, the factory lower brackets will need to come off. I had a good bit of trouble with this because all I had was a dremel and a semi-decent angle grinder. The directions that Rock Krawler gives says to drill out the spot welds to get the brackets off. It works, but is very slow going and you will need a couple very good drill bits. I needed to have the jeep ready to go by sunday becuase i had work monday. So i decided to cut off as much of the bracket as I could and I will at some point go back and drill out the spot welds to get a better, cleaner look.
Here is what i cut off.
After much swearing, I finally got those brackets off. Now it is on to the upper bracket. The Rock Krawler instructions tell you how to measure and line up the bracket to drill the holes. Pretty much you line up the center of the first hole(the farthest left one) with the front edge of the lower bracket and score or in my case used white chalk, a line straight up the framerails.
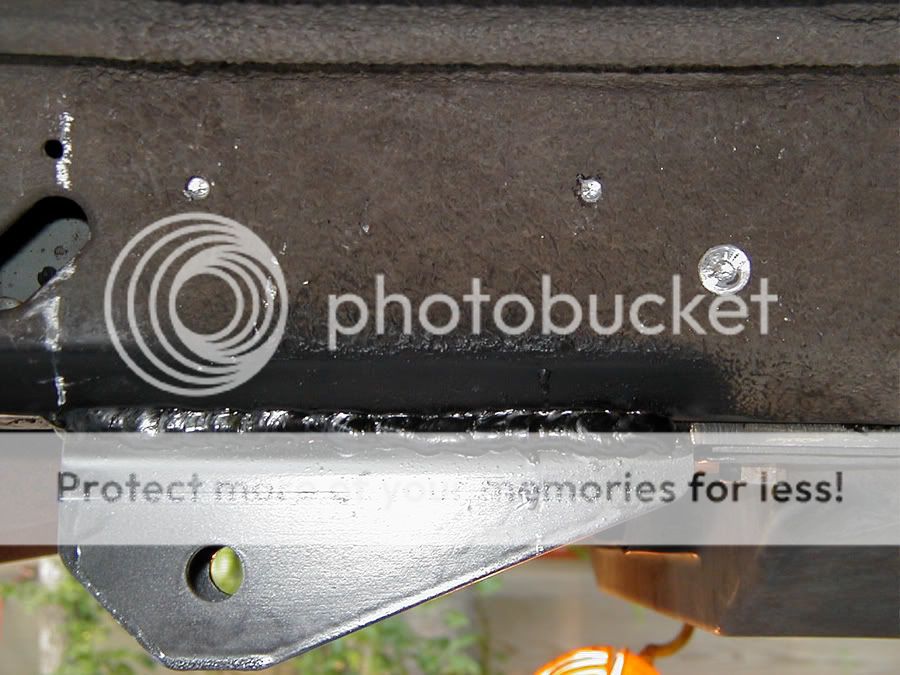
Here you can see that the slot to the left in the framerails is where the fourth hole needs to be, but some of the metal still needs to be drilled away because it wasn't a perfect fit. I found the easiest way to do this was to drill the other 3 holes and bolt the bracket up then drill that hole. Drilling the outer framerails wasn't that much of a problem. A good drill bit goes a long way. Drilling the holes through the inner framerails were another story. With a heavy duty drill you can't get it perfectly level on the top 2 holes beacuse of the lip on the rocker panels. A 90* drill would be very helpful here. I didn't have one so i had to slot the holes to get a perfect alignment. Make sure to pull the fuel lines away from the frame when drilling the holes. I used a piece of 1/4" angle iron to put behind the fuel lines so the drill bit would hit that. I forgot to take a pic of the upper bracket installed, but i'll take one and post it later. Doh! Now you can install the lower arms. Rock Krawler gives measurements for the length of the arms, but they will have to be adjusted depending on your lift height.

Now you have to take off the upper arms and pound out the rubber bushing and metal sleeve on the upper bracket on the driver side. Rock Krawler gives you a new flex joint to replace the bushing. This gave me a hard time too. The sleeve had seized itself the the bracket. I left it overnight soaking in PB Blaster. Pounding on it with a BFH didn't do anything. In the end it took drilling out the rubber bushing, pulling out the inner sleeve, then taking a chisel and a BFH to pound out the metal sleeve from the bracket.

Here is the new joint all setup.

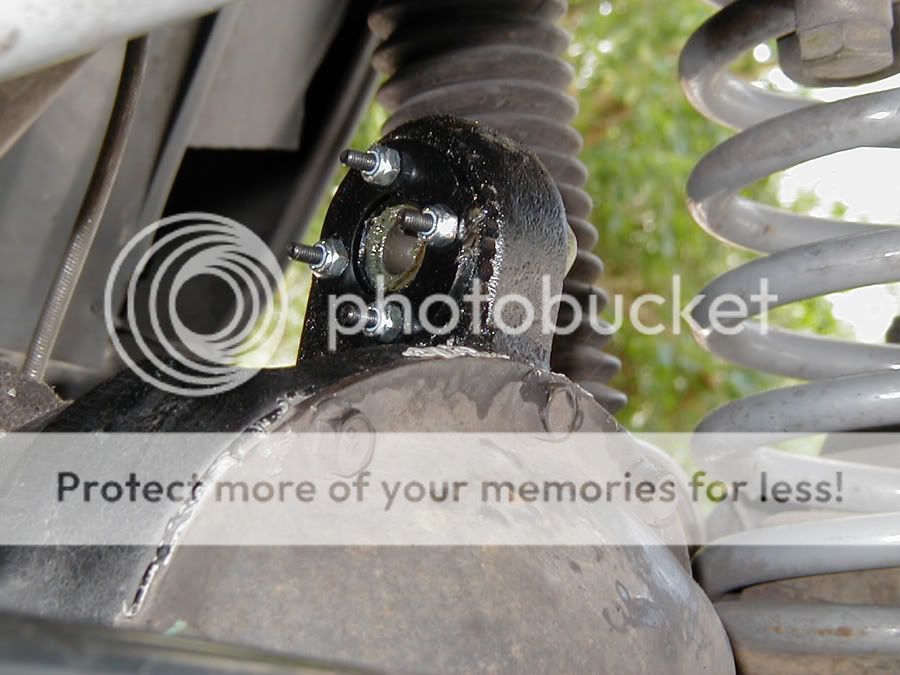
The joint will need to be well packed with grease before putting it all together.
The upper arm needed to be adjusted more than the lower arms because I needed to rotate the axle up for a better pinion angle. It took a little trial and error to get a good pinion angle, but I think I am happy with what it is at.

All the arms installed, and all the bolts tourqued. I used locktite on all the bolts. And here it is back on it's wheels and set to go!
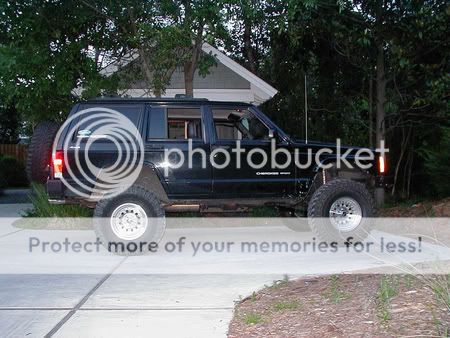
All in all i'm very happy with this kit so far. The on road ride is sooooo much better than with the short arms. I haven't taken it offroad yet since I just put it on this weekend. I think that the install was fairly easy for a mostly bolt on kit. And the arms are super beef. Never breaking those! Let me know what you guys think.
-Matt
Prior to having them welded on, I had to grind the undercoating off on the framerails to bare metal. Here they are welded on and ready to be painted.
The front lip.
The inside lip.
I used some rustoleum black to paint them. Once this is all done it's time to take it all apart. I found after supporting the body and axle on jackstands that i didn't need to detach the draglink, track bar and sway bar end links. I started with taking off the lowers first. After they are off, the factory lower brackets will need to come off. I had a good bit of trouble with this because all I had was a dremel and a semi-decent angle grinder. The directions that Rock Krawler gives says to drill out the spot welds to get the brackets off. It works, but is very slow going and you will need a couple very good drill bits. I needed to have the jeep ready to go by sunday becuase i had work monday. So i decided to cut off as much of the bracket as I could and I will at some point go back and drill out the spot welds to get a better, cleaner look.
Here is what i cut off.
After much swearing, I finally got those brackets off. Now it is on to the upper bracket. The Rock Krawler instructions tell you how to measure and line up the bracket to drill the holes. Pretty much you line up the center of the first hole(the farthest left one) with the front edge of the lower bracket and score or in my case used white chalk, a line straight up the framerails.
Here you can see that the slot to the left in the framerails is where the fourth hole needs to be, but some of the metal still needs to be drilled away because it wasn't a perfect fit. I found the easiest way to do this was to drill the other 3 holes and bolt the bracket up then drill that hole. Drilling the outer framerails wasn't that much of a problem. A good drill bit goes a long way.
Drilling the holes through the inner framerails were another story. With a heavy duty drill you can't get it perfectly level on the top 2 holes beacuse of the lip on the rocker panels. A 90* drill would be very helpful here. I didn't have one so i had to slot the holes to get a perfect alignment. Make sure to pull the fuel lines away from the frame when drilling the holes. I used a piece of 1/4" angle iron to put behind the fuel lines so the drill bit would hit that. I forgot to take a pic of the upper bracket installed, but i'll take one and post it later. Doh! Now you can install the lower arms. Rock Krawler gives measurements for the length of the arms, but they will have to be adjusted depending on your lift height.
Now you have to take off the upper arms and pound out the rubber bushing and metal sleeve on the upper bracket on the driver side. Rock Krawler gives you a new flex joint to replace the bushing. This gave me a hard time too. The sleeve had seized itself the the bracket. I left it overnight soaking in PB Blaster. Pounding on it with a BFH didn't do anything. In the end it took drilling out the rubber bushing, pulling out the inner sleeve, then taking a chisel and a BFH to pound out the metal sleeve from the bracket.
Here is the new joint all setup.
The joint will need to be well packed with grease before putting it all together.
The upper arm needed to be adjusted more than the lower arms because I needed to rotate the axle up for a better pinion angle. It took a little trial and error to get a good pinion angle, but I think I am happy with what it is at.
All the arms installed, and all the bolts tourqued. I used locktite on all the bolts. And here it is back on it's wheels and set to go!
All in all i'm very happy with this kit so far. The on road ride is sooooo much better than with the short arms. I haven't taken it offroad yet since I just put it on this weekend. I think that the install was fairly easy for a mostly bolt on kit. And the arms are super beef. Never breaking those! Let me know what you guys think.
-Matt