Colorado_XJ
Village Idiot #1287
- Location
- Colorado Springs
But it appears I need to take a beer break and hit it again tomorow. Regardless, here's a try at image hosting:
http://img78.photobucket.com/albums/v338/Colorado_XJ/?action=deletepic&pic=100_0909.jpg
Been working on some bumpers for the XJ. The front one is most of the way there. I added some things to it and reinforced the driver's side plate/bracket to tie into all 3 steering box bolt holes. I also made a spacer plate (like C-ROK's) to go between the frame and the steering box to eliminate any frame failure potential. The bumper mounts to 9 points on the driver's side and 6 on the passenger side. It's constructed of 6x2x3/16 tube, 1/4" diamond plate (top flat section), 5/16 A36 plate (mounting bracket/upright and winch tray), 1" A36 plate (shackle mounts), and 1" ID .120 wall HREW. For now, I am happy with it, until I need to increase the approach angle. Then I will start over and make version 2.
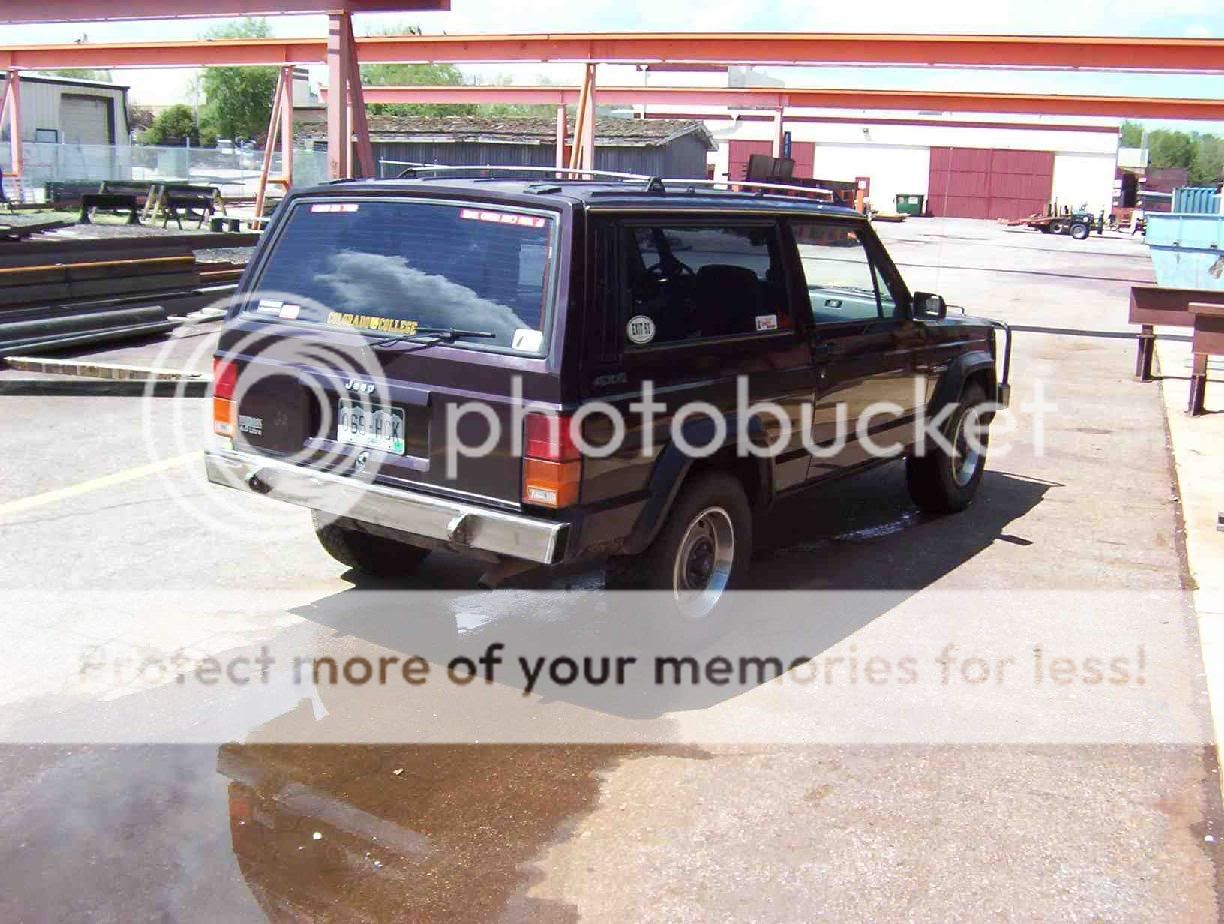
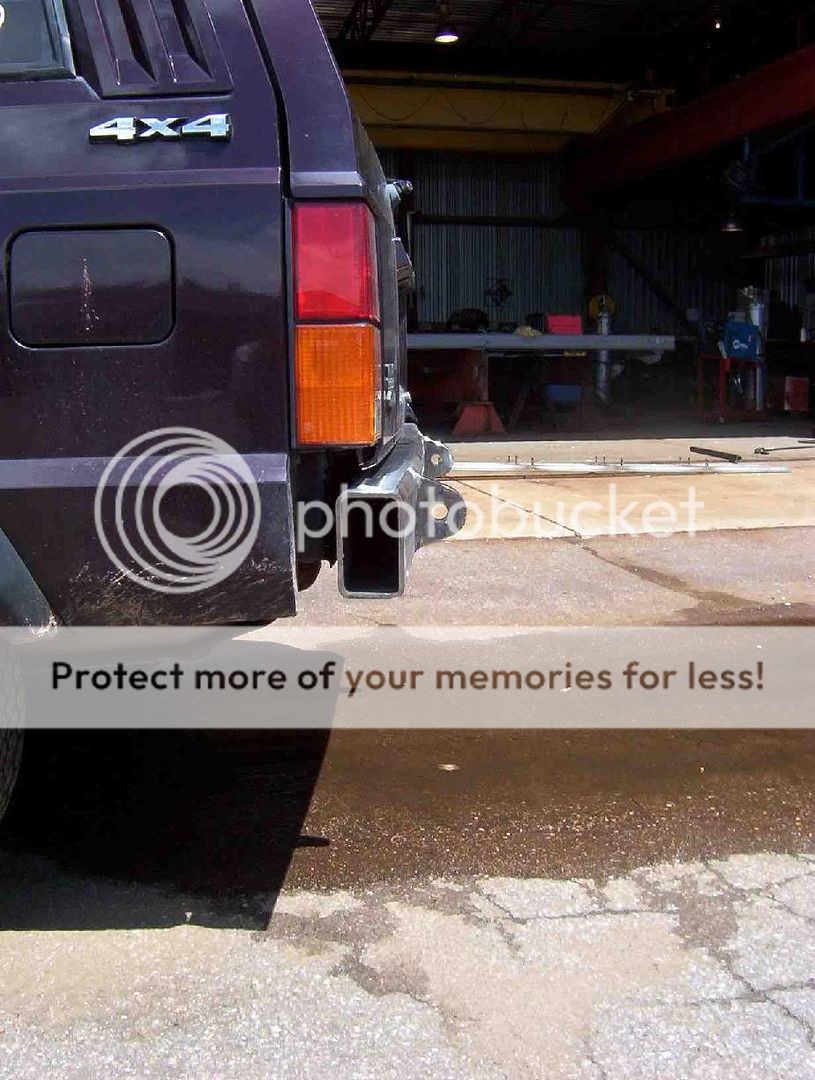
The rear is my latest project, and I am most of the way there, in parts. The main tube (5x3x1/4) is fabbed and shackle mounts (1" A36) are welded/sanded. The end caps will be bent plate to mimic the rear body lines. I have it tied into the frame at all 8 bumper points, plus 6 of the 8 tow hitch points. I really don't think I need to worry about the 2 holes (one in each side) that are in the sheet metal lip at the rear-most edge of the body. If anyone thinks otherwise, I can make it work. It'll just be a bear since I snugged the bumper up pretty close to the body. The rear bumper may also serve as an air tank (it's about 3.25 gallons), but that's down the road when the AC runs out of juice and becomes OBA. The shackles front and rear are alloy body and alloy pin, giving a WLL of 7 tons while still using a 7/8" pin.
Currently working on a gas tank skid for the oversized replacement tank I have in there. I'll post some pics of the AR-400 t-case skid/dropped x-member when I crawl under there again. Didn't lose any clearance, and dropped the t-case about 1/2".
http://img78.photobucket.com/albums/v338/Colorado_XJ/?action=deletepic&pic=100_0909.jpg
Been working on some bumpers for the XJ. The front one is most of the way there. I added some things to it and reinforced the driver's side plate/bracket to tie into all 3 steering box bolt holes. I also made a spacer plate (like C-ROK's) to go between the frame and the steering box to eliminate any frame failure potential. The bumper mounts to 9 points on the driver's side and 6 on the passenger side. It's constructed of 6x2x3/16 tube, 1/4" diamond plate (top flat section), 5/16 A36 plate (mounting bracket/upright and winch tray), 1" A36 plate (shackle mounts), and 1" ID .120 wall HREW. For now, I am happy with it, until I need to increase the approach angle. Then I will start over and make version 2.
The rear is my latest project, and I am most of the way there, in parts. The main tube (5x3x1/4) is fabbed and shackle mounts (1" A36) are welded/sanded. The end caps will be bent plate to mimic the rear body lines. I have it tied into the frame at all 8 bumper points, plus 6 of the 8 tow hitch points. I really don't think I need to worry about the 2 holes (one in each side) that are in the sheet metal lip at the rear-most edge of the body. If anyone thinks otherwise, I can make it work. It'll just be a bear since I snugged the bumper up pretty close to the body. The rear bumper may also serve as an air tank (it's about 3.25 gallons), but that's down the road when the AC runs out of juice and becomes OBA. The shackles front and rear are alloy body and alloy pin, giving a WLL of 7 tons while still using a 7/8" pin.
Currently working on a gas tank skid for the oversized replacement tank I have in there. I'll post some pics of the AR-400 t-case skid/dropped x-member when I crawl under there again. Didn't lose any clearance, and dropped the t-case about 1/2".
Last edited: