HobHayward
NAXJA Forum User
- Location
- MA
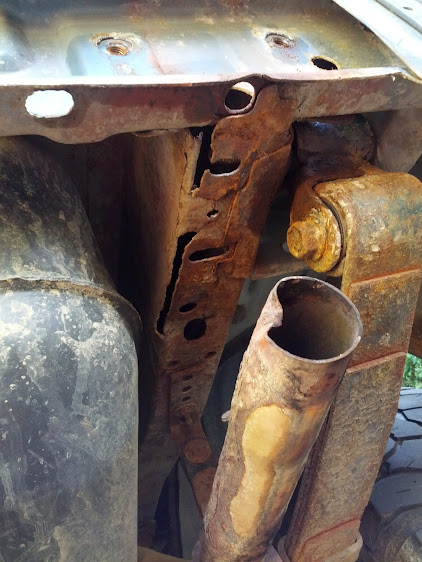
The PO of my XJ (unbeknownst to me when I bought it) overloaded the hitch towing a flatbed car trailer. These pics look rusty but its not nearly as rotted as it looks, the frame was cracked.

Not super likely that other people have the same issue, but this would have been helpful to me so figured I would post it. Alternatively maybe you just want some extra beef.
The dimensions of the cherokee's uni-frame at the back is 2.25" x 4.25".
I was able, after lots of searching to find 2.25"x2.25" square tubing. Expensive because its a random size and expensive to ship because I couldn't get it locally. I got it from Totten Tubes in AZ for iirc $70 shipped, I went with 1/4" wall because overkill. I believe it was a 6' length. http://www.tottentubes.com/square-steel-tubing
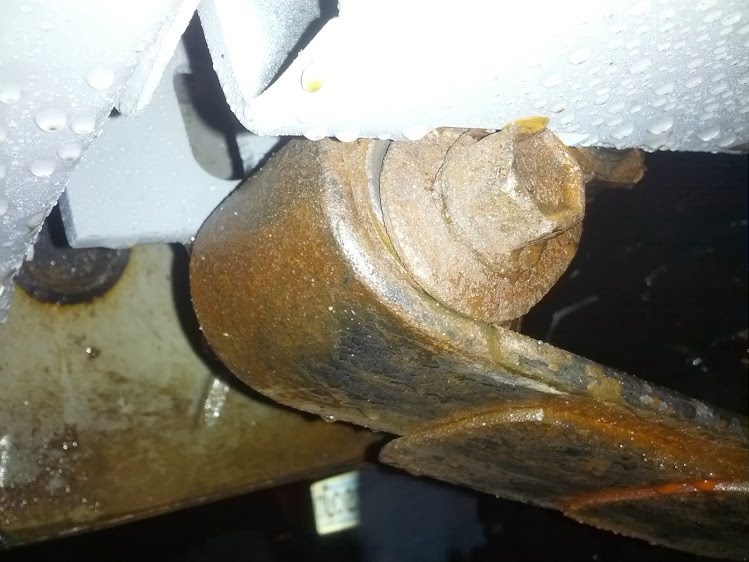
At the same time I decided to install the HD Offload engineering no lift shackle boxes for some extra beef.
Tubing:
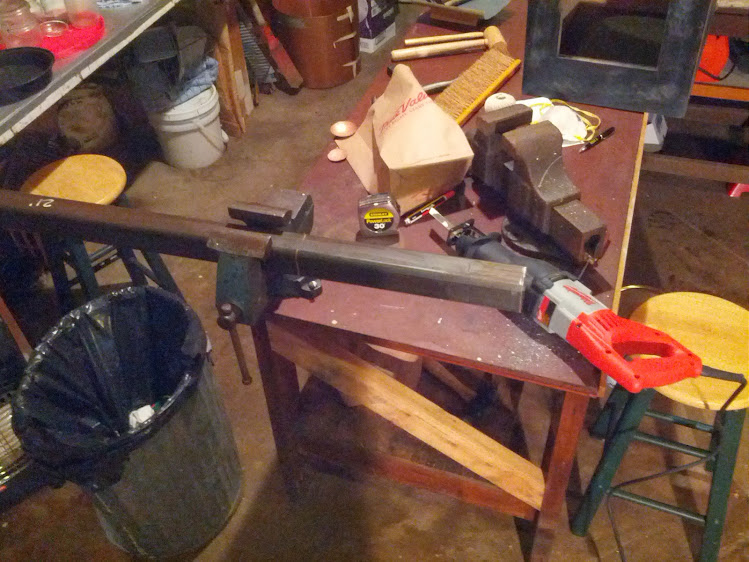
I made frame inserts from two pieces of stacked tube welded together. The cutout is for the fill and vent tubes. Frame inserts welded up:

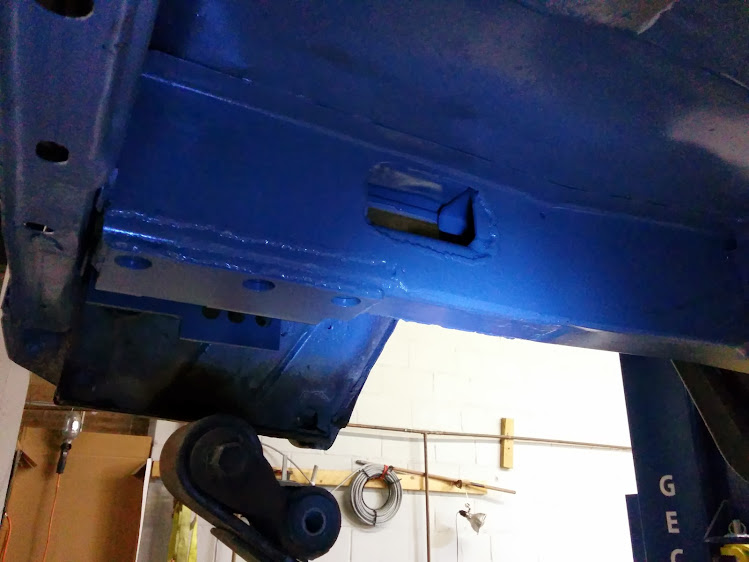
On the lift:

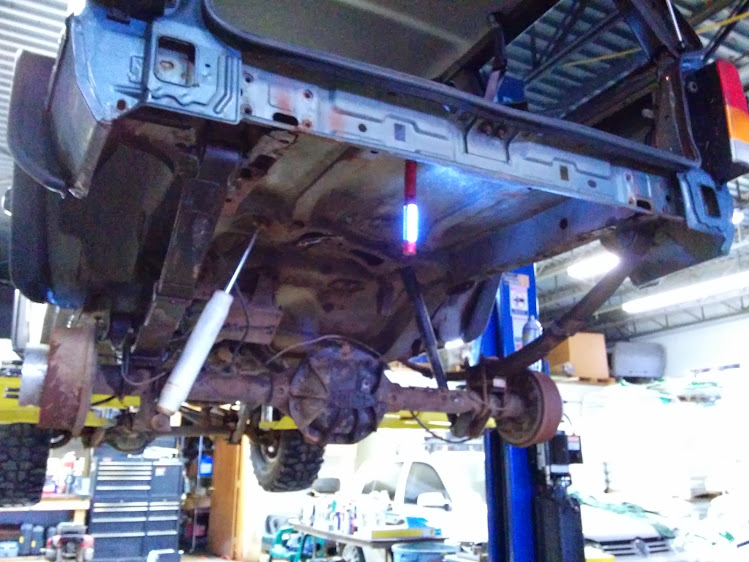
Gas tank out, sawzall in action:

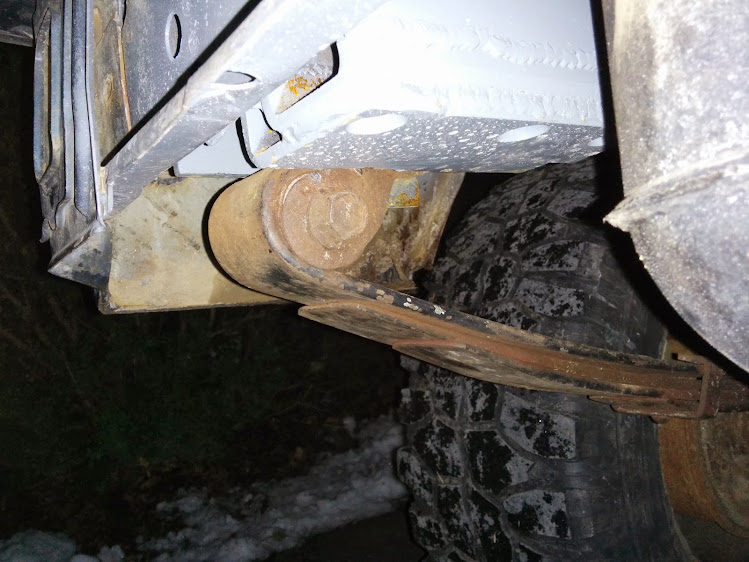
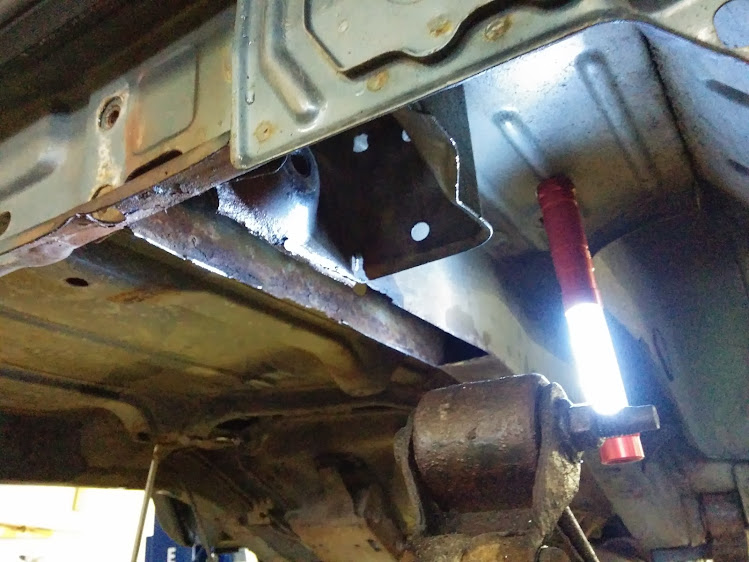
Bottom of frame cut out, shackle boxes next.. sawzall and an angle grinder with a cutoff disk made short work of the frame.
Getting the liner for the fuel filler lines out was a pain:


Ready for a little prep

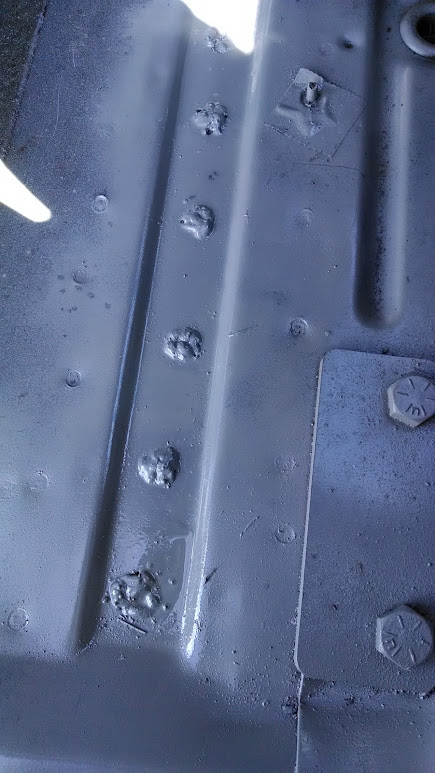
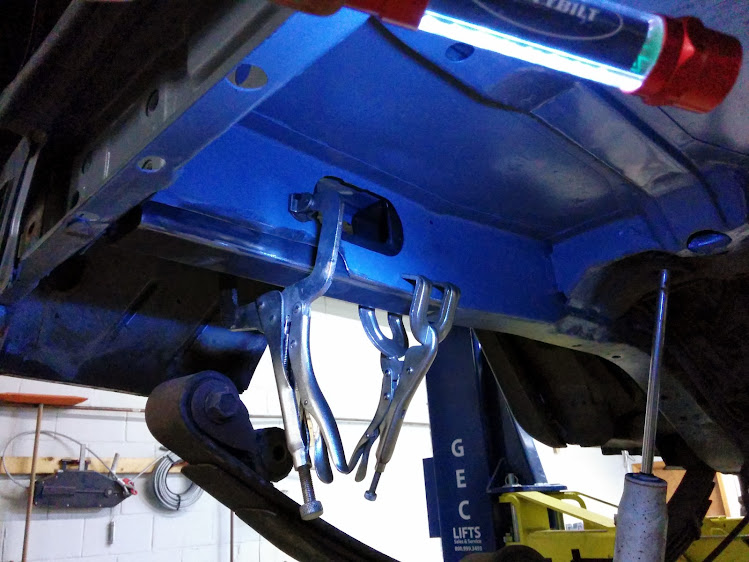
Painted and first insert clamped up

Not super likely that other people have the same issue, but this would have been helpful to me so figured I would post it. Alternatively maybe you just want some extra beef.
The dimensions of the cherokee's uni-frame at the back is 2.25" x 4.25".
I was able, after lots of searching to find 2.25"x2.25" square tubing. Expensive because its a random size and expensive to ship because I couldn't get it locally. I got it from Totten Tubes in AZ for iirc $70 shipped, I went with 1/4" wall because overkill. I believe it was a 6' length. http://www.tottentubes.com/square-steel-tubing
At the same time I decided to install the HD Offload engineering no lift shackle boxes for some extra beef.
Tubing:
I made frame inserts from two pieces of stacked tube welded together. The cutout is for the fill and vent tubes. Frame inserts welded up:
On the lift:
Gas tank out, sawzall in action:
Bottom of frame cut out, shackle boxes next.. sawzall and an angle grinder with a cutoff disk made short work of the frame.
Getting the liner for the fuel filler lines out was a pain:
Ready for a little prep
Painted and first insert clamped up