- Location
- Grapevine, TX
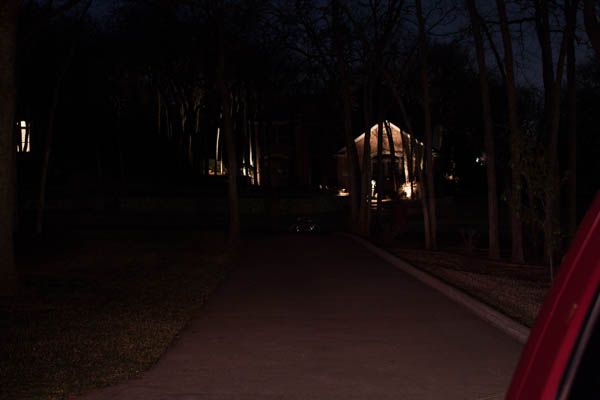
First up: The stock Cherokee dome lights leave much to be desired, especially compared to most newer vehicles. I always hated how dim the interior is, and especially hated having to break out a flashlight to find something in the cargo area after dark. Hence this illuminating project.
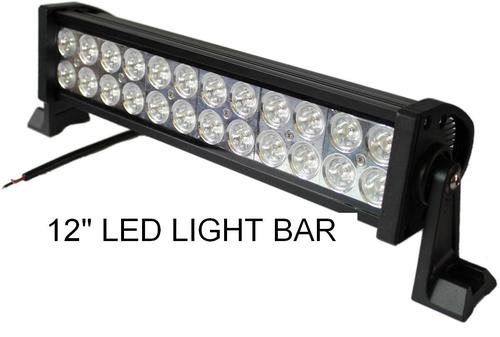
First up: replace the bulbs in the existing dome and courtesy (foot well) lights with LEDs. I chose these flexible LED light bulb replacements from Oznium.com:

The flexibility allowed them to squeeze into position in the overhead console with very little effort. I didn't even use the adhesive backing. And the multiple adaptors that come with each one ensure that you can use them to replace virtually any automotive light bulb (space permitting, of course).

In the footwells, the wire length allowed the LEDs to be more centered under the dash, and the adhesive backing made it a simple peel and stick installation.
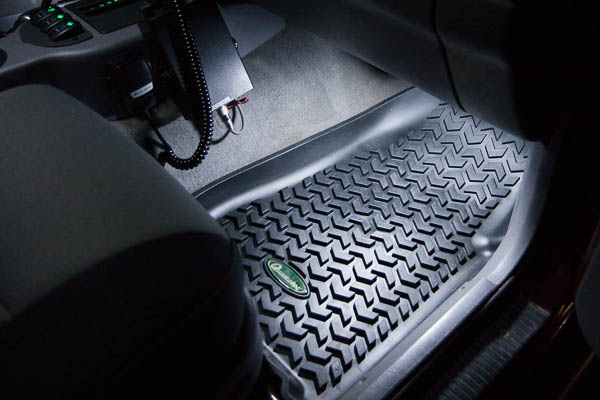
The results were mixed. The footwells were very well illuminated, but the rest of the interior showed little improvement -- yes, the quality/color of the light seemed better, but it wasn't significantly brighter than with the factory incandescent bulbs.
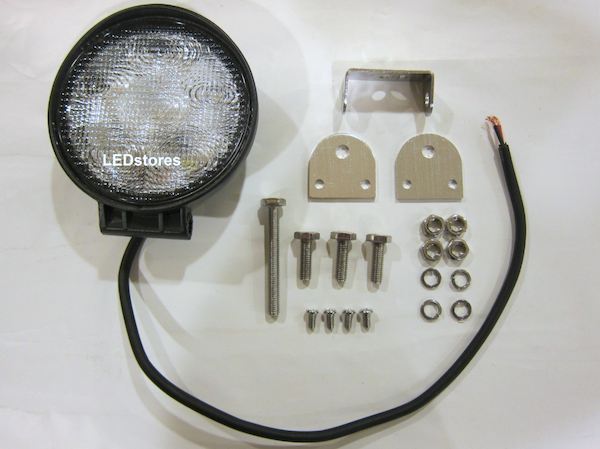
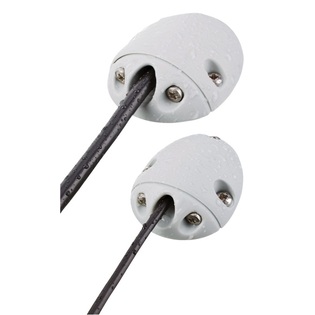
Clearly, more lights were needed. Next up was the addition of these surface-mount LED fixtures from autoillumination.com:
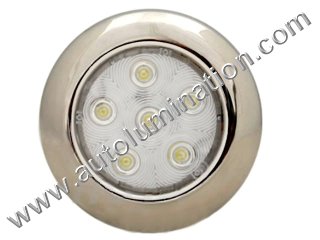
They're polished stainless steel and use 5 surface-mount LEDs. They draw only 220ma@12V and produce 240 lumens of output -- now we're talking!
Here they are without the lenses, being prepped for painting:

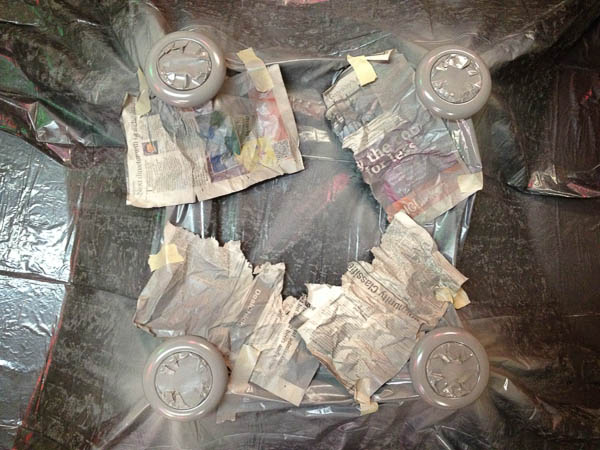
Lenses taped off and reinstalled:

In the uber-sophisticated paint booth (a 55-gallon drum liner cut up and draped over 4 spay cans on the garage floor):
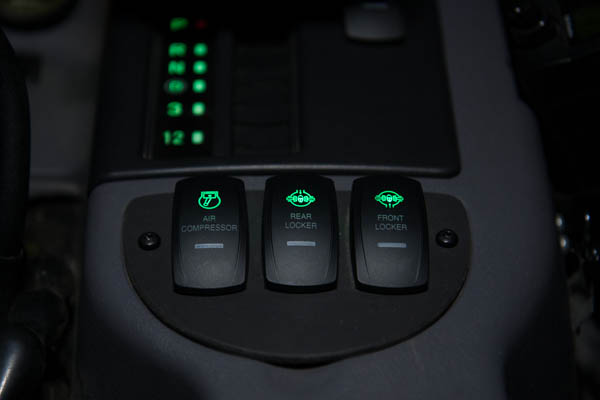
While the paint was drying, four switches were added to the overhead console -- each new light can be individually switched off in the event that some whiney passengers decide it's TOO bright:


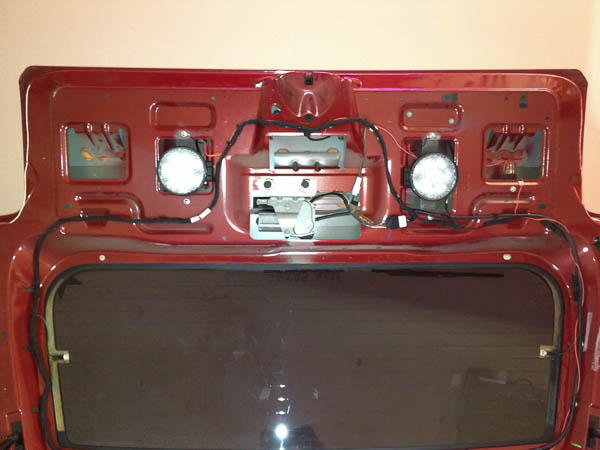
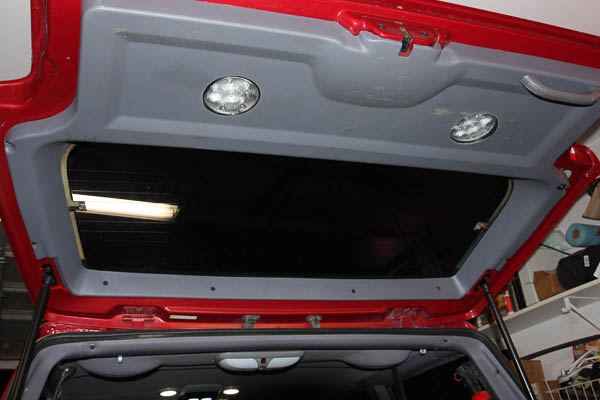
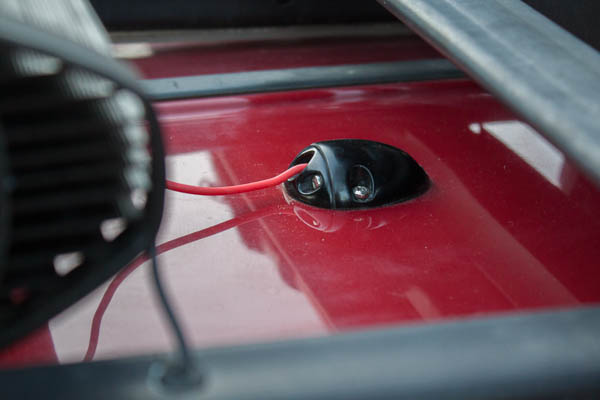
Installed:

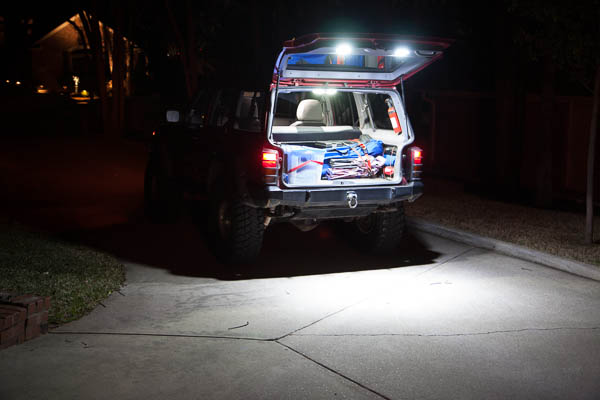
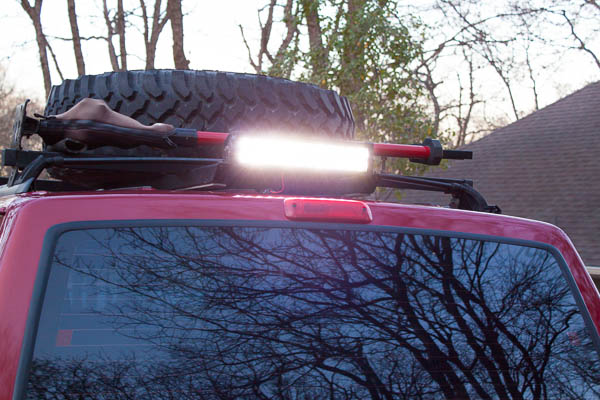
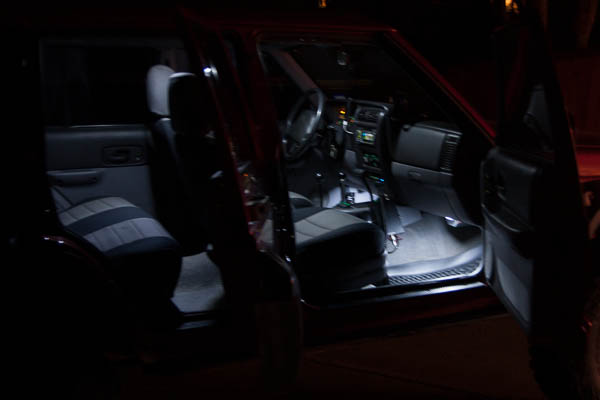
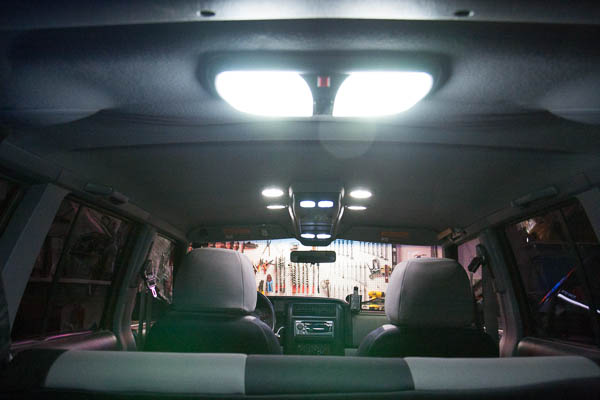
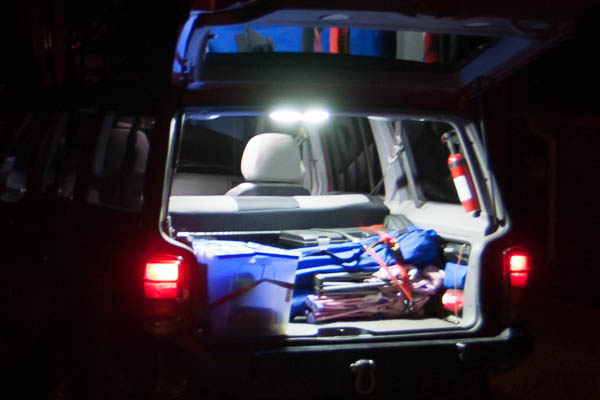
They work!


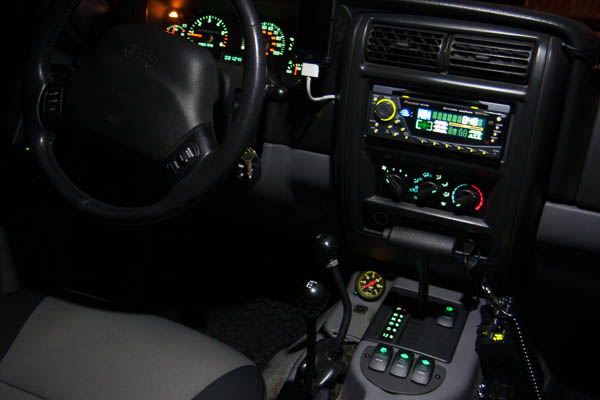
MUCH better -- the photos simply don't do it justice. The difference is huge; now we can see EVERYTHING in there.

More to come...
First up: replace the bulbs in the existing dome and courtesy (foot well) lights with LEDs. I chose these flexible LED light bulb replacements from Oznium.com:
The flexibility allowed them to squeeze into position in the overhead console with very little effort. I didn't even use the adhesive backing. And the multiple adaptors that come with each one ensure that you can use them to replace virtually any automotive light bulb (space permitting, of course).
In the footwells, the wire length allowed the LEDs to be more centered under the dash, and the adhesive backing made it a simple peel and stick installation.
The results were mixed. The footwells were very well illuminated, but the rest of the interior showed little improvement -- yes, the quality/color of the light seemed better, but it wasn't significantly brighter than with the factory incandescent bulbs.
Clearly, more lights were needed. Next up was the addition of these surface-mount LED fixtures from autoillumination.com:
They're polished stainless steel and use 5 surface-mount LEDs. They draw only 220ma@12V and produce 240 lumens of output -- now we're talking!
Here they are without the lenses, being prepped for painting:
Lenses taped off and reinstalled:
In the uber-sophisticated paint booth (a 55-gallon drum liner cut up and draped over 4 spay cans on the garage floor):
While the paint was drying, four switches were added to the overhead console -- each new light can be individually switched off in the event that some whiney passengers decide it's TOO bright:
Installed:
They work!
MUCH better -- the photos simply don't do it justice. The difference is huge; now we can see EVERYTHING in there.
More to come...


")