• Welcome to the new NAXJA Forum! If your password does not work, please use "Forgot your password?" link on the log-in page. Please feel free to reach out to [email protected] if we can provide any assistance.

the moneypit MJ...

Status
Not open for further replies.

moneypit_k5

NAXJA Forum User
Location
pdx
I guess I'll show ya'll whats in my garage...

So, Ive been kicking around the idea of a daily driver late model for awhile. I really like the late model xj interior, but they suck in the woods compared to the older bodystyle.

This was indeed a conundrum, as i already have a daily driver 92 xj. I cant justify two daily driver XJ's.

Thus, the obvious answer was to build a late model MJ conversion.
OK, but I knew that if an MJ was to be done, I have to satisfy my OCD tendencies and build it from the ground up. Sorry guys, I just cant drive a renix with a cosmetic slap.

As some of you know, I part out XJ's, so late model odds and ends arent hard for me to find.

My goal for this mj was to build a clean daily driver with every option. Essentially a 2001 Comanche Limited. But to satisfy the aforementioned OCD, it has to be a perfect swap. As in, if it ever went to the dealer for service, it would take a vin check to discern that it wasnt a factory '01 MJ.

THis means every hole, every sheetmetal bend, bracket, stud, ect.

It would be some work, but it wouldnt be worth it to me if it wasnt built that way.

So, in a perfect world, Id find a sweetheart of a 1991 4x4 shortbox automatic 4.0 with a bad engine, for 300 bucks. But thats not how it works. instead, after alot of looking, i settled on a 1987 2wd 5 speed turd wagon.

The body was hammered, the guy i bought it from used it to haul scrap. Truly- the way he used this, he should have had a 1.5 ton flatbed.
literally not a straight panel on it, even the cab itself was dented. the bed really needed to just be replaced, and of course the tailgate was u shaped.

but it ran and drove. I picked it up for 500 and drove it home.

the pictures really make it look better than it was.

The prize...
IMG_4081.jpg

IMG_4078-1.jpg


The interior was toast too, but that didnt really matter. this might be the fist blue XJ/MJ interior ive ever seen. hideous.

http://i226.photobucket.com/albums/dd227/epiccontracting/IMG_4075-1.jpg
IMG_4075-1.jpg
 
I'm glad you posted this Joe. ;)
 
So, the first order of business was to start rippin and tearing. Nearly everything went to scrap. I wanted to get it down to bare metal for my purposes, that meant every wire, panel, hose, line, glass, everything needed out.

IMG_4095.jpg


It took all day. I snuck some late model fenders on just for inspiration.


IMG_4097.jpg

IMG_4099.jpg


the PO had evidently spotted some leaks and lathered a myriad of adhesives and sealants on the front and rear glass.

I fought the rear slider window for the better part of 2 hrs, trying to salvage it. I realized it wasn't coming out in one piece. screw it. it was a turd anyway.

I let it sit in my driveway a few days until i got tired of it taunting me. Then phase two began: modifying the firewall.

I didnt take many pics of this process, but youll see the finished results later. It was here that I realized i hated my welder for sheet metal work.
Theres alot of info about the differences in the firewalls all over the internet, so im not gonna get into it. But basically, nothing is the same other than the brake booster location.

I am lucky to have several parter late models, so I just transferred measurements. in the end, sheet metal was added, sheet metal was taken away. I cut all the brakets off of a donor jeep, as well as the windshield flange to mount the dash.

I did make the HVAC fan hole a different shape than factory. it is a real PITA to remove the fans due to that hole being poorly thought out on OEM. that is no longer the case with mine.

Again, lots of ways to do the swap, but i want mine factory looking. in retrospect i should have tried to find all the bracketry aftermarket, as a weld on replacement. I lost hours, blades, and skin taking them off the donor.
006-2.jpg

005-2.jpg

004-1.jpg

003-1.jpg
 
After the firewall was completed, I moved to the floor.

The late models use a different seat mounting system, which meant i had to remove some braces unique to the mj floor. these were massive sucky to remove, because i wanted it to look like the bracket was never there. anybody else should just cut the bracket flush, and leave the bottom flap welded to the floor. its much less hassle that way, believe it.

this pic shows where the oem bracket was. the new seat mount bar needs to go there, and requires notching to go around the mj floor support.
001-2.jpg


I then decided i was going to run the XJ center ebrake. i like the foot brake, but the late model console looks stupid without it. so I cut out the hump and replaced it. I could have just mounted the brake handle, but I like the way the OEM xj hump had reliefs for the ABS module bracket. i was worried it might not fit under the console if it wasnt used.

Here is the giant hole, and you can see the seat mounting bars welded in. I also change the rear seat mount bolts. OEM uses on 13mm bolt on one side, and a 17mm nut on the other. I hate that, so I used two 15mm studs.

015-1.jpg

017-1.jpg


I found some rot in the drivers floorboard too. I ended up replacing nearly the entire floor on that side, peic by piece. I just kept chasing it.

IMG_4100.jpg


I really did pick the worst possible mj to rebuild.

When I pulled the doors off, I found this goobtastic weld abortion. it had to go away. there is no way im going to stare at that every time i open my door.
018-1.jpg


SO i cut the whole section out of a donor and matched it up. the late modedls of course use a different hinge type, but the offsets are the same. I only replaced the top one, it really didnt bother me that top and bottom were different.
021-1.jpg


Kick panels were modified slightly, holes were added, mounting for the dash was added.

Under the hood really didnt change much. some screw holes were added, mounting was added for the inner fender windshield washer tank.
 
At this point, it was ready for paint. I had set a deadline for myself when i started, at 1 month. if it wasn't ready for paint within a month, it was going to scrap. i barely made it the deadline. I really cant believe how much time it took to change it over. i was just a ridiculous amount of measuring and cutting.

I ordered a new header panel and grill assembly through keystone. hood was a used one off an '86 xj i had in the shop.

Headed to paint!
0032.jpg

0072.jpg
 
While the truck was getting bodywork done, i had to source a new tailgate. i finally found one at a upullit, but it was full of rust. still, it was better than the one i had. no pics of the rust, but I had to replace the majority of outside skin. I used sections of a 98 xj hood to match it. worked out well.
 
Finally, after 3 weeks, the truck was ready for me to pickup. i was pretty excited to see it one color.

I chose a factory chrysler paint color. its called "mango tango". and although an incredibly gay name, it is an awesome burnt orange/ copper color.


0022.jpg


I was doing some work on my pickup, so I grabbed it with my xj:

0033.jpg


I stuck it in the garage as soon as I got home.
0082.jpg

0092.jpg

0053.jpg


Reassembly time. this is where the real fun begins.

I decided going into this project that this thing would get all the cool stuff ive always wanted on a daily driver jeep.

First on the list is Dynamat. every surface in this cab will see dynamat. i want this truck to be quiet inside. for now, Ill just do enougha to put the dash in and the doors together.


0073.jpg

0102.jpg

0182.jpg

0172.jpg


That was yesterday.


Today I installed the new windshield, and rear window. I had a sweet CR Lawrence tinted rear slider ordered a few weeks back. it came, and it is sweet!

More to come.
 
I can't believe how awesome your MJ is looking! It makes me want to keep my MJ and convert it to late model.
 
Thanks man. Its been a long time coming. Its a colossal waste of money.
I just decided that if I didnt build it now, then I never would.

Im hoping to be finished out at around $5000. im creeping pretty quick though.

the finished build includes:

rhinoliner in the bed
tube work/ winch
protech tool box
HID headlights
custom sound inside
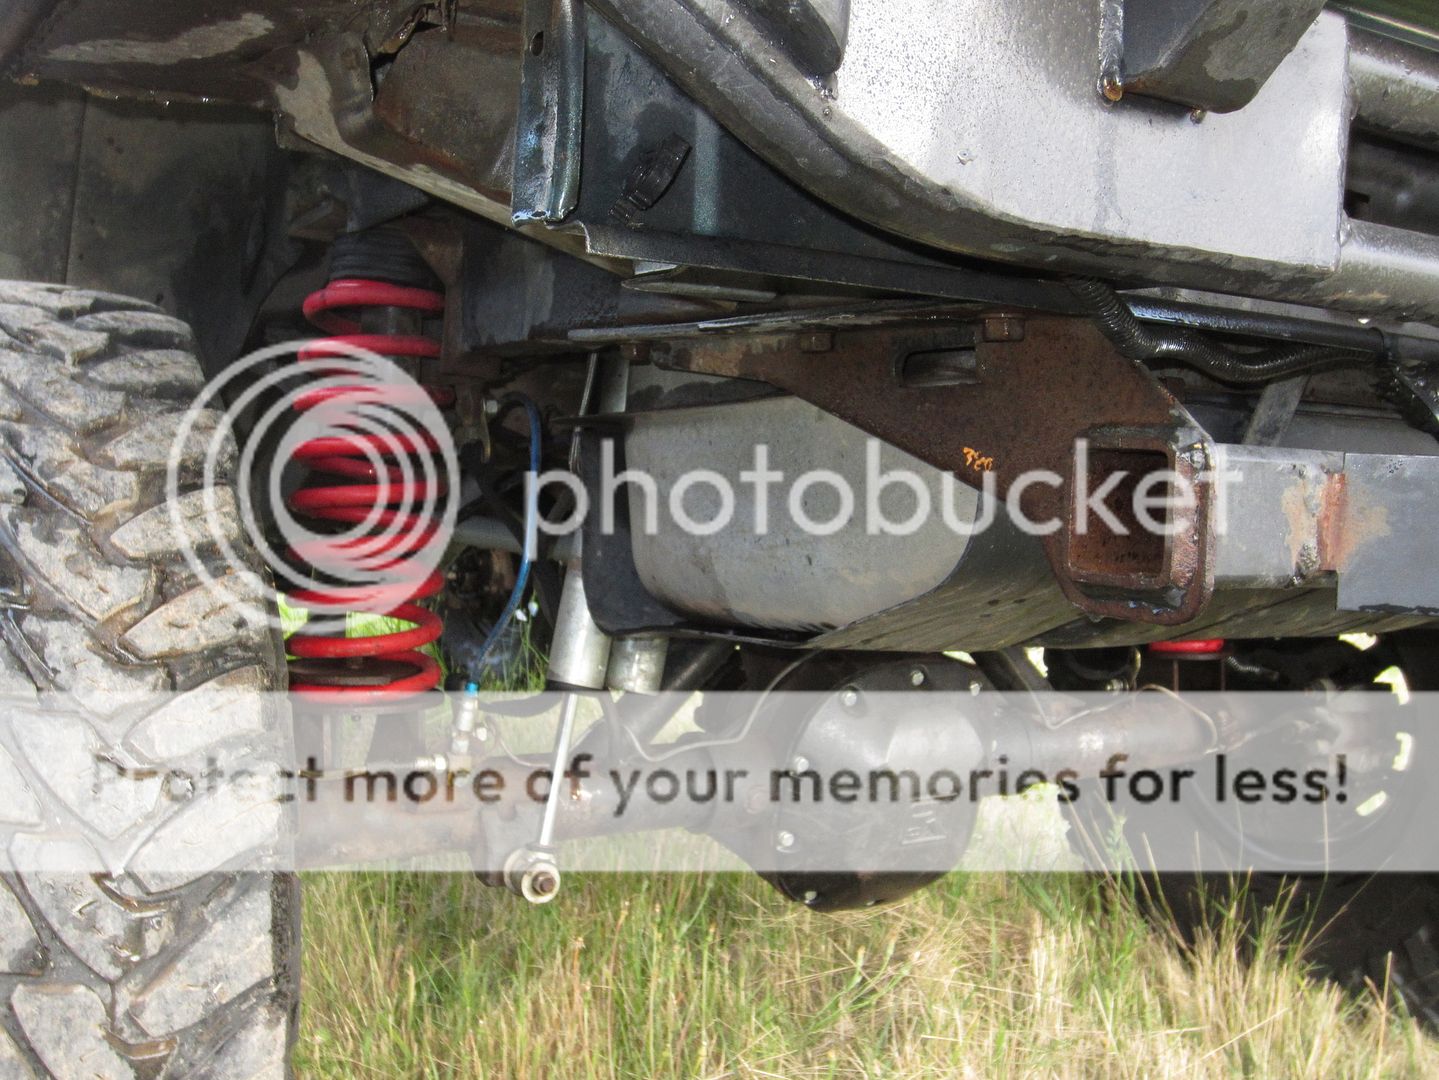
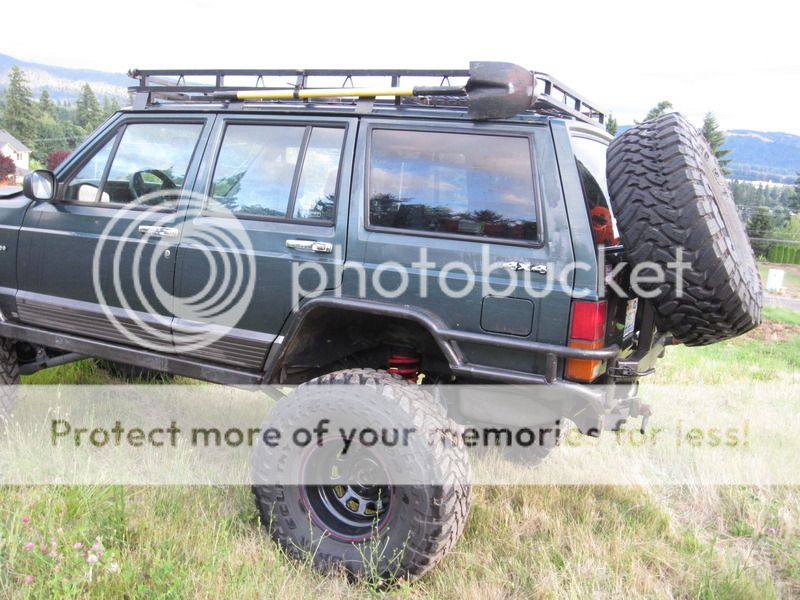
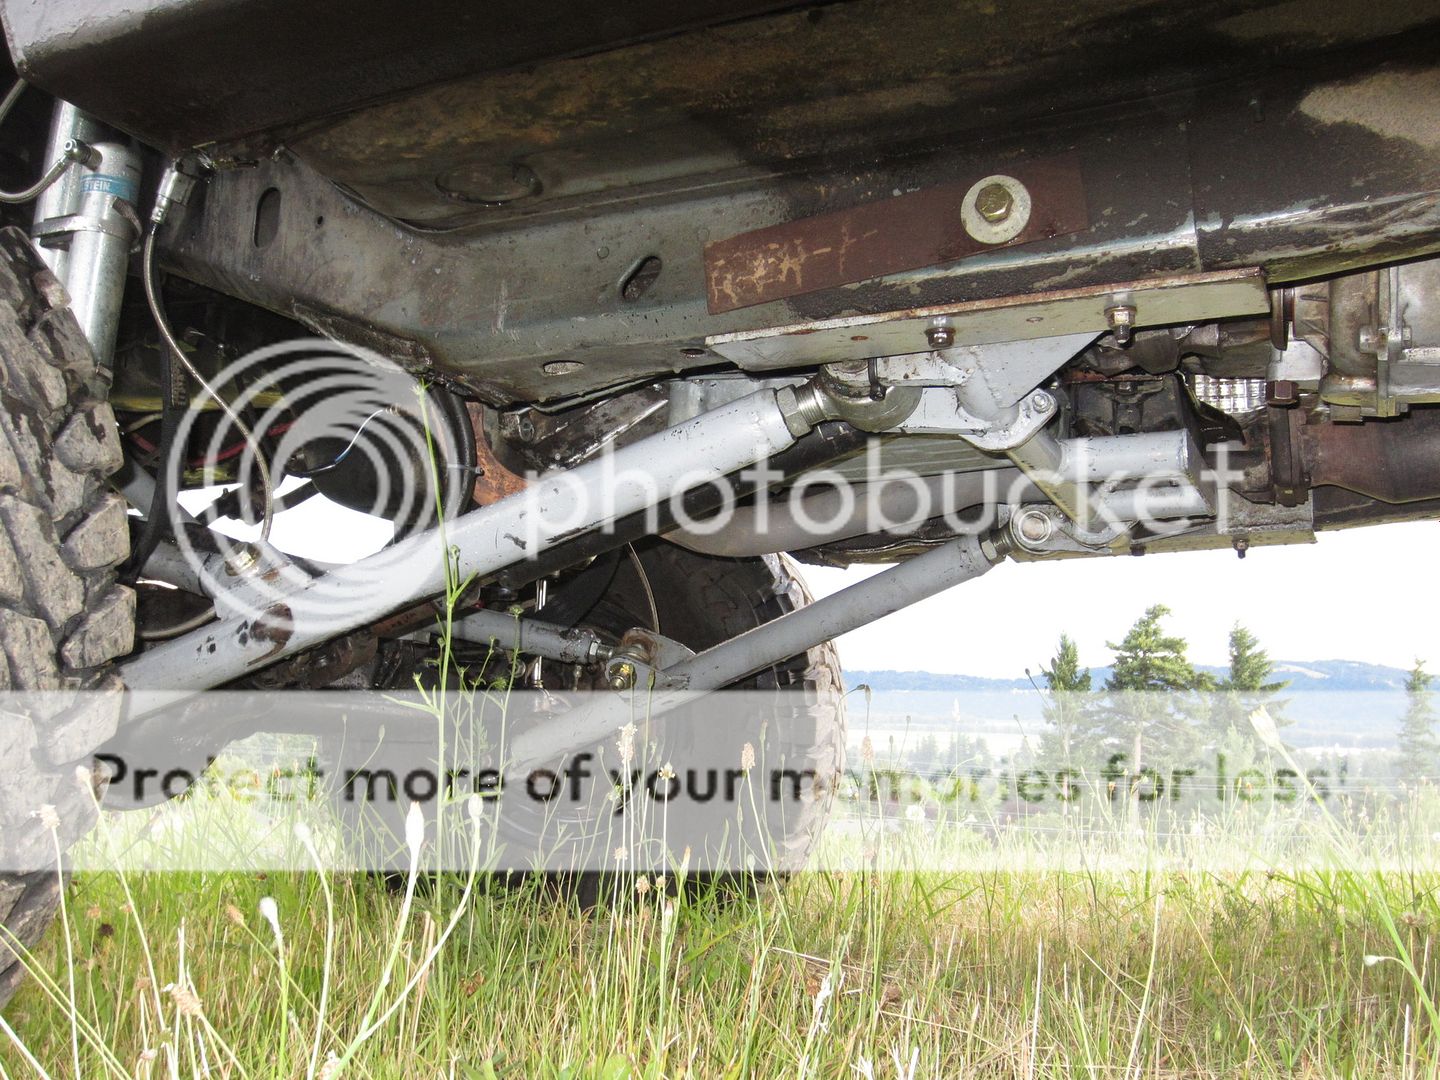
5.5" Rubicon express longarm
35" toyo mt's on black alloys
Axles out of Codys MJ with a few alterations. gears get 4.56, rear gets a detroit, front open.
I might be able to help you save some money/time.... I worked in the mobile electronics industry for over a decade and hold a First Class M.E.C.P. Certification.... if you need any help at all with any of the electrical or audio (even if you want to get all crazy with some custom fabrication with door pods, or sub enclosures, etc...), let me know. I'd be happy to lend a hand on this project.
 
This build is sick, very jealous! It's hard to find a halfway decent mj without the crazy renix electrical stuff, this is the Only way I would ever build a MJ unless it was meticulously taken care of prior. Love the color too, can't wait too see what it looks like when it's done.
 
figured Id post some progress.

Heres the sweet new tinted slider I installed the other day.

001-1.jpg


So today I started the wiring. My plan is to finish the interior, then start the engine bay, then tie up all the loose ends beneath the bed.

Unfortunately, it all works together.

I started with the hvac, and the dash. all in all it went smoothly thanks to my prior measuring. Although im not too happy with a bit of a gap between the finished dash and the windshield. my measurements were dead on, but it almost appears that the late model has a different radius... weird.

anyway, on to some pics.

003.jpg

006-1.jpg


I got all the wiring in, looks like Ive got an extra plug... Anybody know what the crap this goes to?

007.jpg


Started running the underhood harness. plug and play late model, now that the truck was switched. its like working on an '01.

011.jpg


at this point I got my windows back from a local tinter. I decided to install them right away rather than them kicking around the shop getting damaged.

My camera makes them look super dark, but they are only as dark as factory tint.

010.jpg


while I had the window in, i loaded the door, dynamatted it, and buttoned it up.

008.jpg


the door panels im using have obviously giant holes in them, which sucks. but these panels are near impossible to find in this color with the lmtd trim.

009.jpg
 
This MJ is going to be to die for!

the door panels im using have obviously giant holes in them, which sucks. but these panels are near impossible to find in this color with the lmtd trim.

009.jpg

You can fix that when you do your sweet audio set up with 6" round door speakers - or just put something like this in to cover the hole and use stock door speakers:

p2146.jpg
 
Status
Not open for further replies.
Back
Top