• Welcome to the new NAXJA Forum! If your password does not work, please use "Forgot your password?" link on the log-in page. Please feel free to reach out to [email protected] if we can provide any assistance.

My weekend Projects started Thursday

OverdriveXJ

NAXJA Forum User
Location
RICHFIELD, UTAH
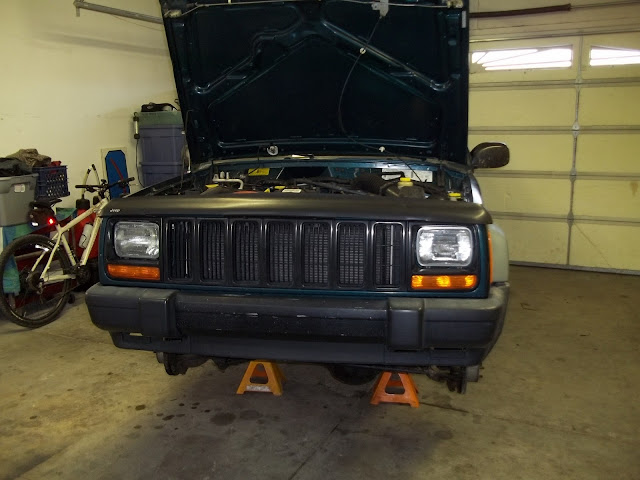
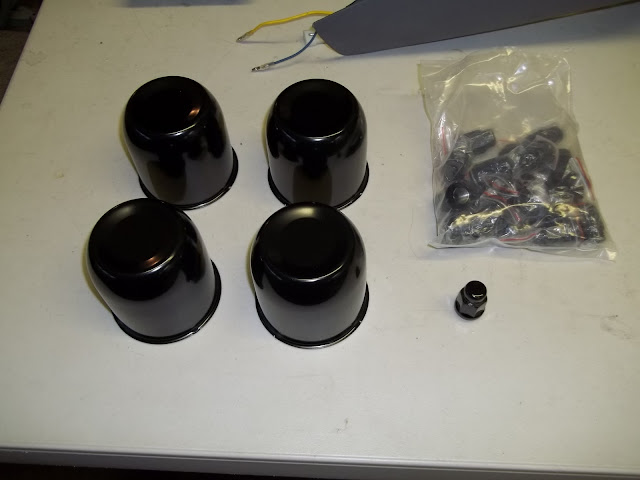
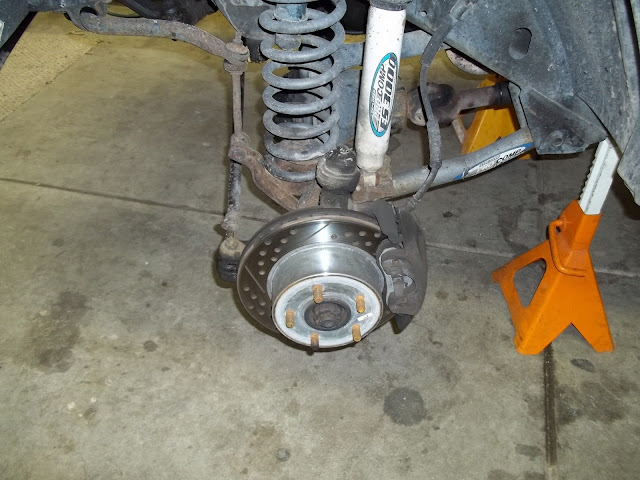
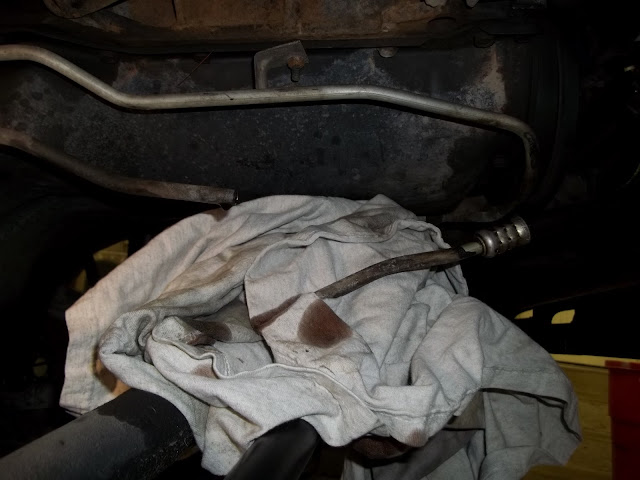
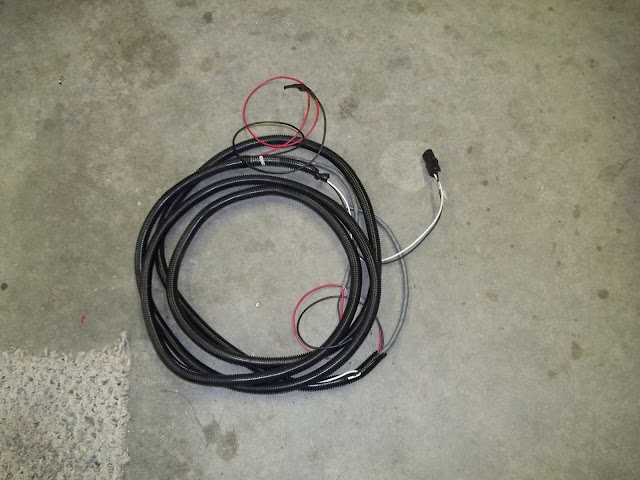
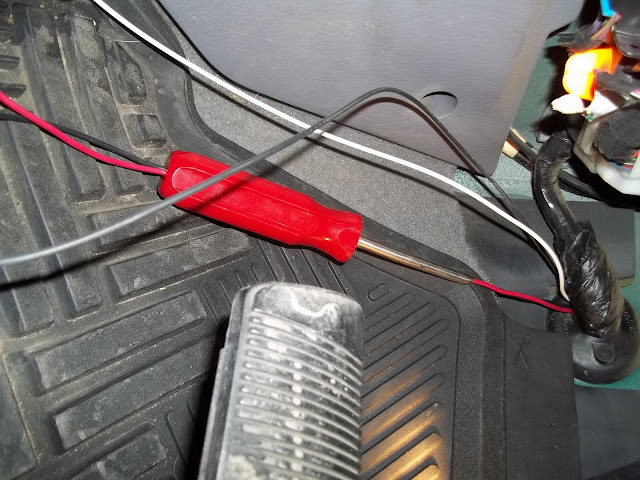
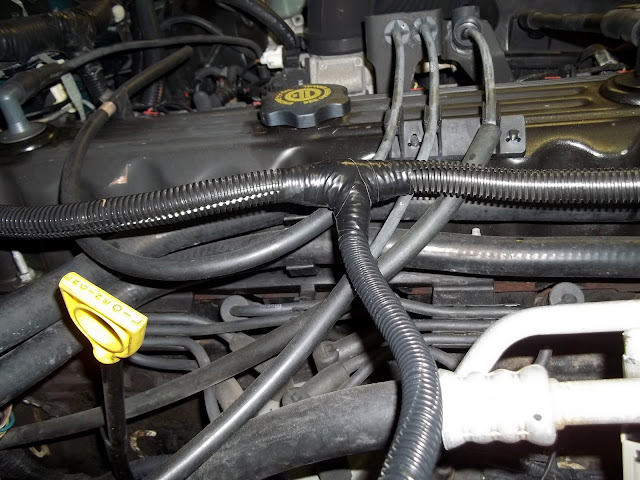
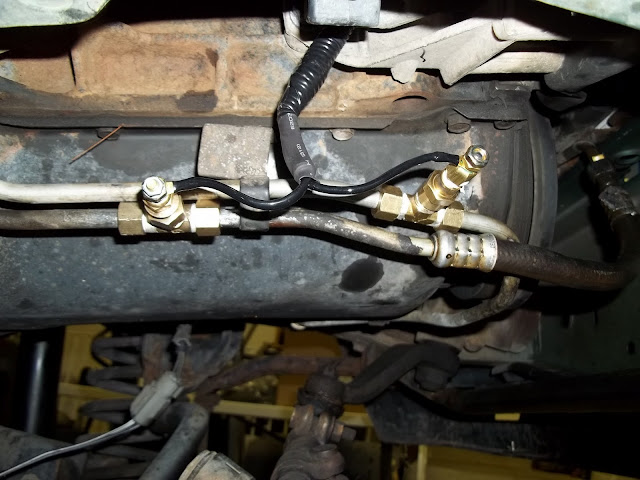
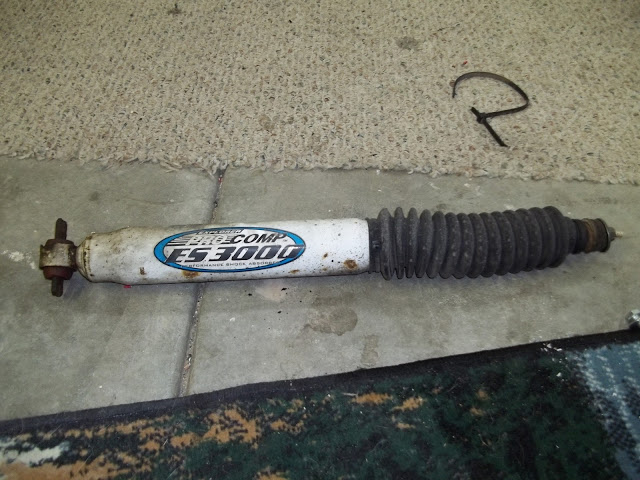
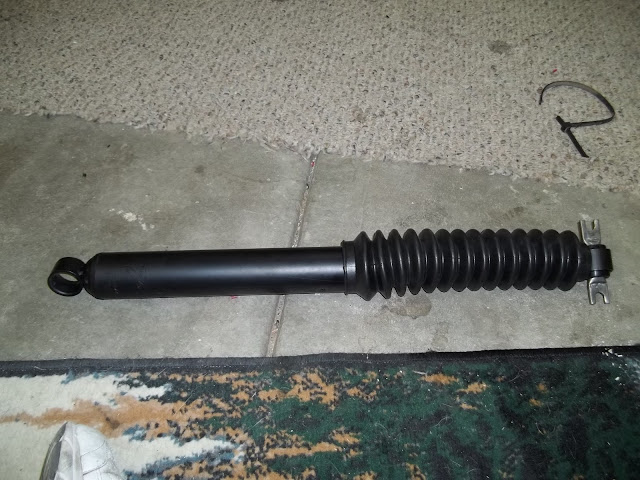
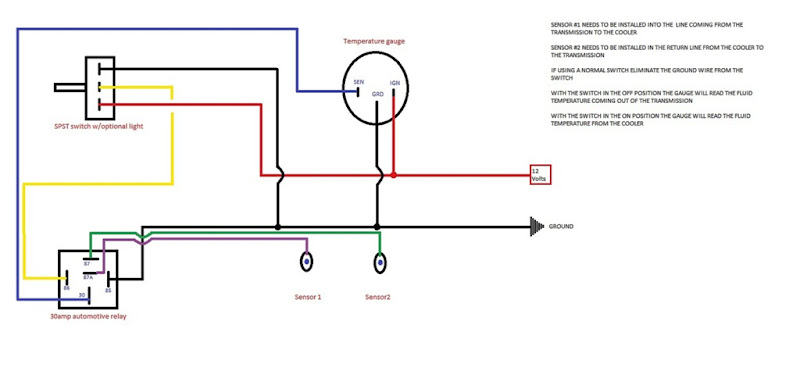
Well all my parts showed up for my weekend worth of Jeep work. This weekend I’ll be installing new shocks, a Trans Cooler w/Temp gauge, a Mounting solution for my GPS, and some other misc stuff.


Thursday 12/8/2011

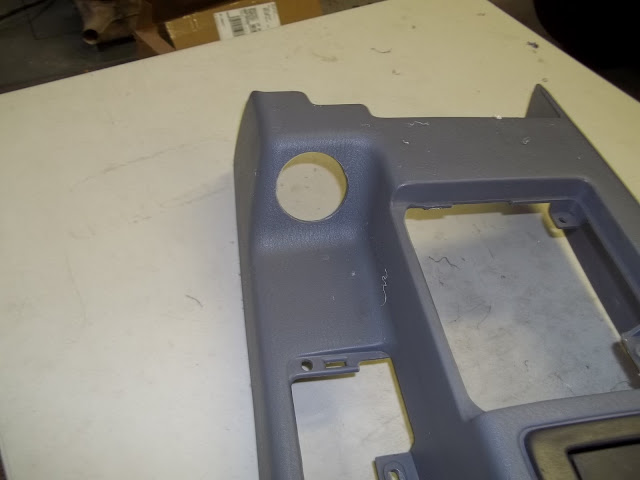
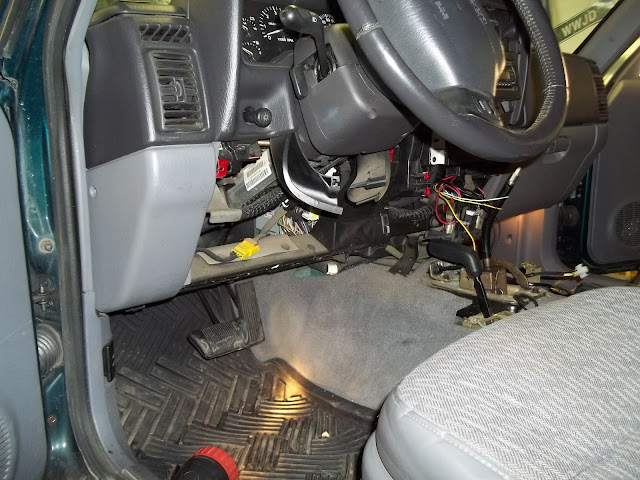
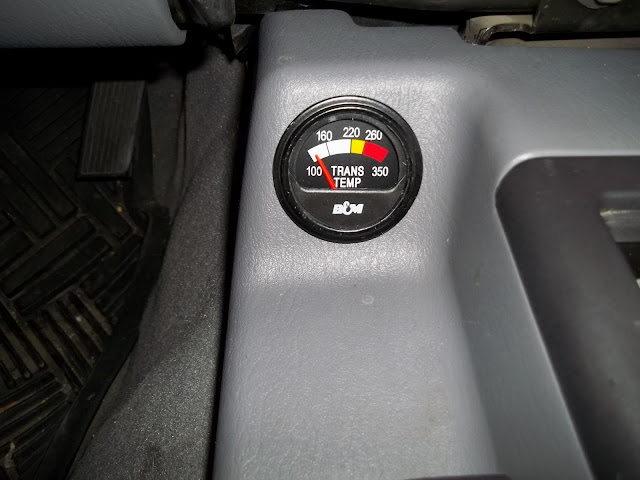
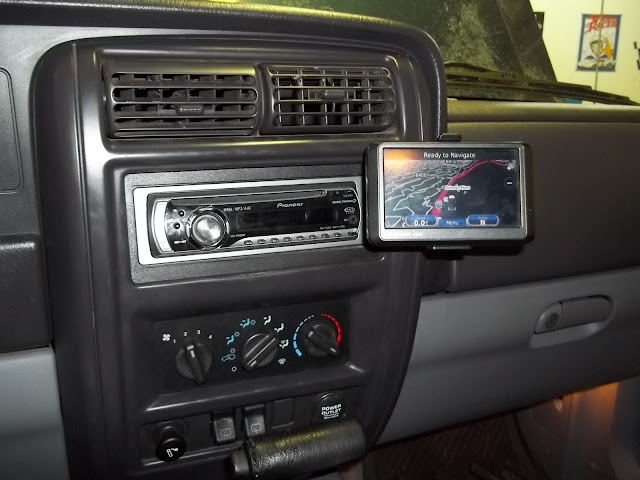
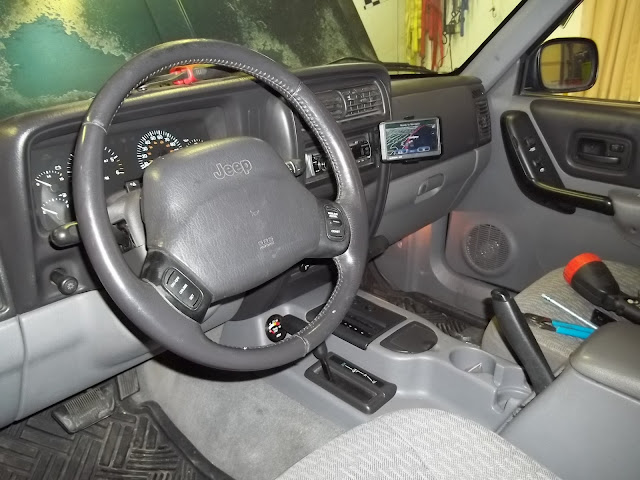
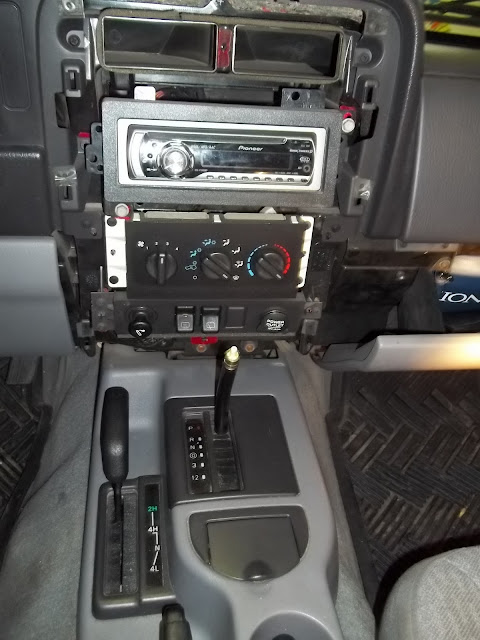
Well I started Thursday night and ripped out the Console and dash bezel. I had already decided to place my gauge in the console like others had done. Its actually the best spot for it. I like things to look as factory installed as possible.

100_1564.JPG


100_1567.JPG


100_1569.JPG


100_1570.JPG


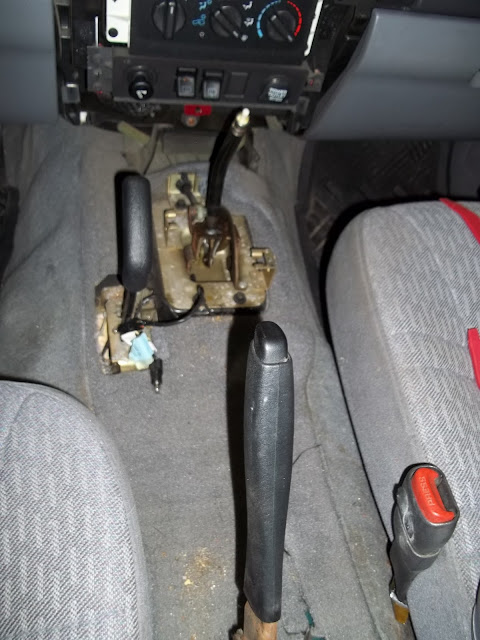
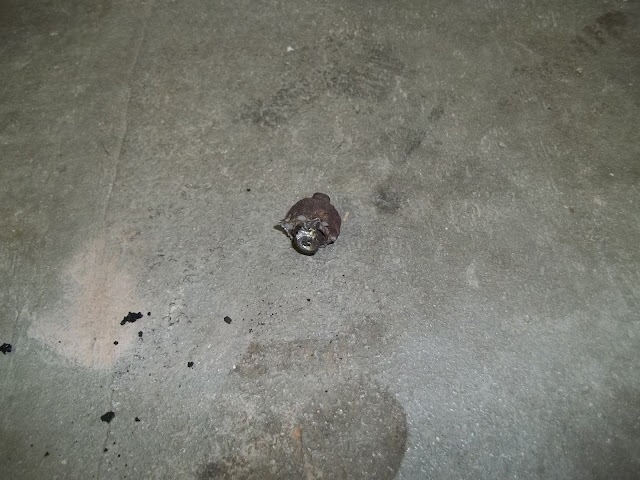
Well while removing the console, I finally found out why it always felt loose…the rear bracket was broken into 4 pieces.

100_1571.JPG


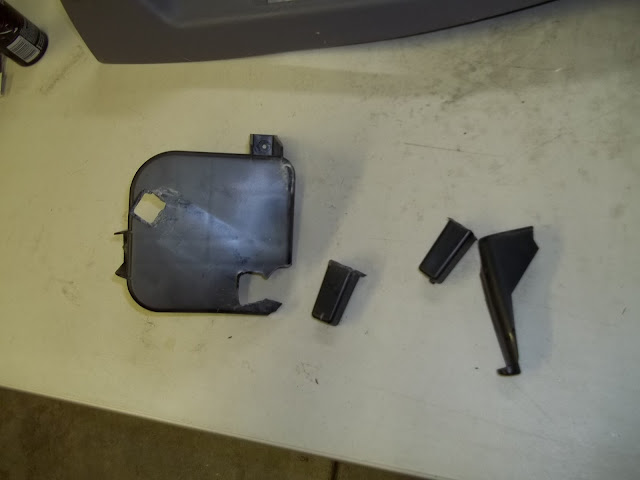
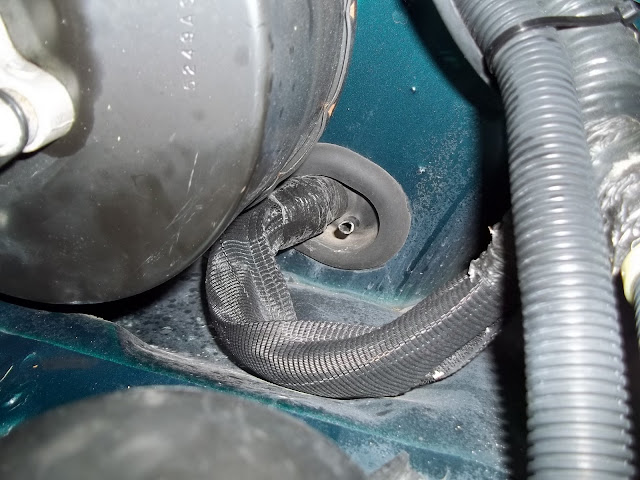
So this will have to be repaired before going any further, so I broke out my low wattage solder iron and some black tie wraps and did some plastic welding. Since its not something that’s seen I wasn’t to worried about how it looked or I would of done a little better job. But I did paint it and this is the results.

100_1574.JPG


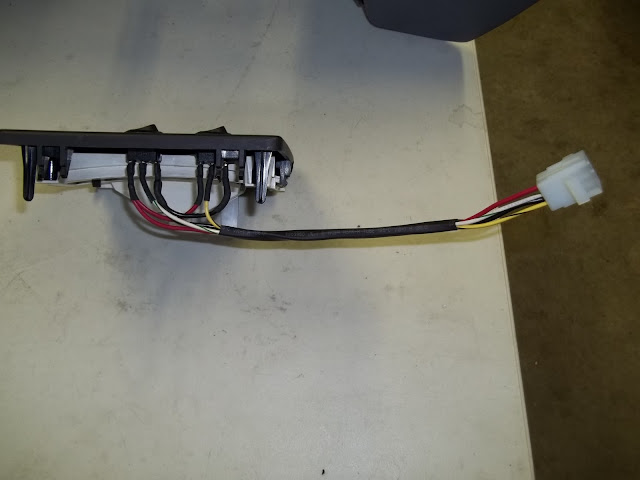
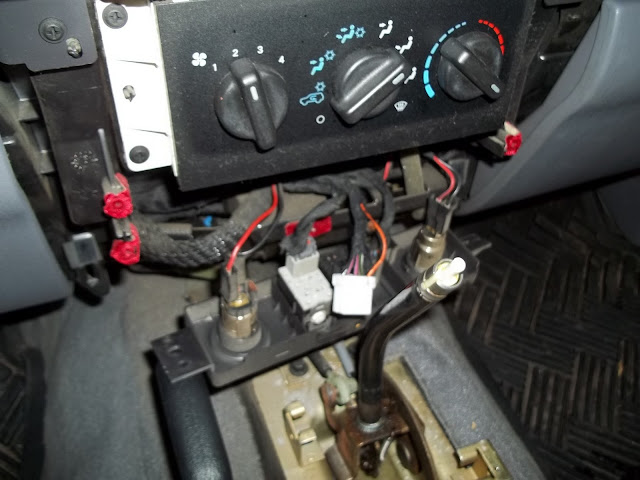
Well with that done It was time to move on to installing a couple of switches that I bought. I was going to install them in the dash to right hand side of the Instrument cluster, but thought that the bright blue LED on the switches would be annoying. So after much thought, I decided to put them on the shifter cover/bezel.

100_1572.JPG


100_1576.JPG


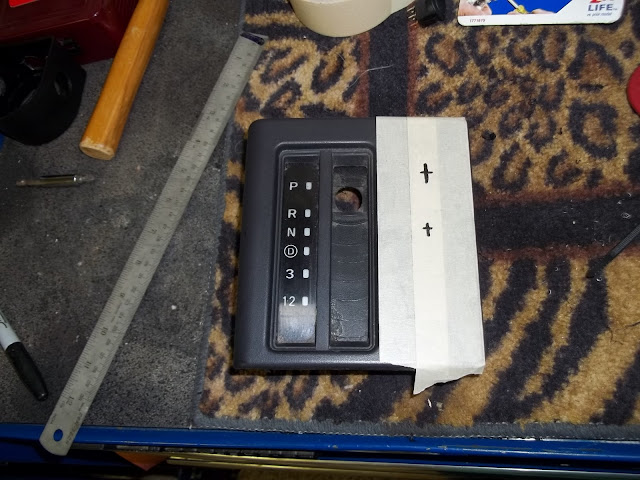
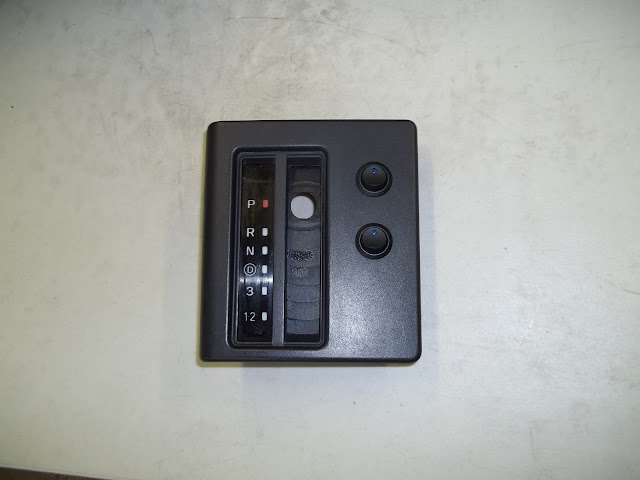
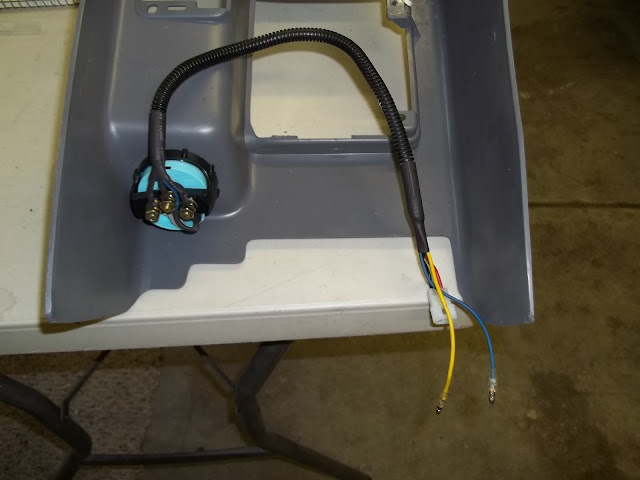
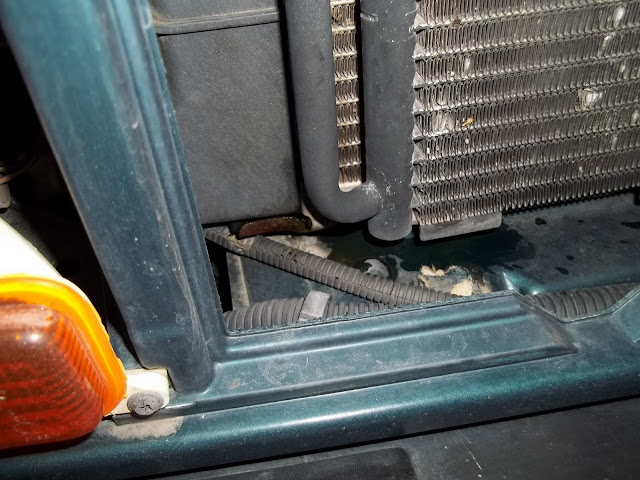
These switches are triggering relays for a couple different things so they are small and almost invisible except when they are turned on because of the blue indicator light. I taped off the Gauge as shown to paint the chrome trim ring something better suited for my interior color.

100_1577.JPG


Done for the evening!!! :smoker:
 
Friday 12/9/2011

Took the kids to school, and came home made Breakfast chilled a little and started out in the garage I first started with different colors on spare stuff laying around to see what color I would choose (shades of black) lol

Here it is in primer….

100_1579.JPG


While I was waiting for the primer to dry, I started on cutting the hole for the gauge in the console…you only get one chance at this so take your time…

100_1580.JPG


100_1581.JPG


Got it all painted and mounted and started building my wiring harness for the gauge and the switches. I wanted to make it so if the console had to come out I could just unplug a couple of things and walla it comes outs.

Here’s the console with gauge installed and wired, and the switches in the gear selector cover all wired up. I built my own 6 way molex plug for the switches,

100_1590.JPG


100_1586.JPG


With this all done it was time to build the other sides of the wiring harness and figure out where they would run, and where we would get power from, and the light circuit for the gauge…I tapped into the Cigarette lighter for my ground and hot. And tapped into the orange wire at the back of the wiper switch for the light circuit.

100_1589.JPG


I'll finish up some wiring and shoot a picture of the harness installed on Saturday, The pic above was when I started this part

Done for the evening, long day Saturday coming up lol :smoker:
 
Saturday 12/10/2011

Well Saturday Started off pretty well, I got out to the garage and cleaned up my mess from Thursday/Friday. I went and got the front of the jeep up on stands and the wheels removed. My plan was to Change out my Front shocks, Install my cooler, Drain the Trans fluid, and install the sending units for the gauge.

100_1591.JPG


Oh and put on my new center caps and lug nuts, that way the front would be done then go do the rear shocks…Finish off by reinstalling my console.

100_1593.JPG


Oh and a nice surprise when I pulled the front wheels……

100_1592.JPG


So I got my shocks done up front and went to on to remove the grill to start on the Cooler install

100_1608.JPG


…..and well let just say we will probably be doing the cooler install next week. I have always had a slight smell of coolant and it would normally disappear after a few minutes well I found out why. Looks like my seam is starting to seep until it probably gets hot enough to expand and seal itself.. That’s my thought as to why it goes comes and goes. A new radiator will be ordered Monday.

100_1596.JPG


So I moved on to installing the sensors for the Trans Temp Gauge, Draining the Trans Fluid and finishing up the console,

100_1597.JPG


100_1598.JPG


I built another wiring harness, This one will run around the engine compartment I put a few extra wires in the loom for future use.

100_1599.JPG


to be continued!!!!
 
Saturday 12/10/2011....CONTINUE!!!!


I removed the panel under the steering column and got my tool out for poking thru rubber grommets This tool is hollow and has a point on it so you can poke thru the grommet run your wire thru it and then remove the tool and the grommet will seal around the wire.

100_1601.JPG


100_1602.JPG


100_1604.JPG


And the wire loom is thru firewall and secure…

100_1605.JPG


Here I split my loom and part will run down to the sensors, the other will run off by the fuse panel for future use.

100_1609.JPG


Now its all ran, along with all the other wires in the engine compartment blends right in and looks like its always been there, and down at the sensors it all hooked up

100_1610.JPG


100_1612.JPG


Now back up top, finishing securing the wires under the dash, and hooking everything up, then re-install the console and make sure it all works…

Here’s a picture of the other side of my console harness built Friday to allow the console to be removed easily

100_1615.JPG


The relay for the gauge, Now let me explain the reason for the relay. I installed two sensors for the trans temp gauge, I wanted to see what the temp was coming out of the trans and how effective the cooling was once the cooler was installed. Why? Just because I can I guess and thought it would be unique and functional.

100_1616.JPG


So with everything back in place its all finishing and working.

100_1620.JPG


Now if you look at the next two pictures you can see the gauge reading different temperatures with just the flick of a switch.

Switch OFF reads trans temp coming out of the trans
100_1621.JPG

Switch ON reads out of the cooler
100_1622.JPG


Next I mounted my GPS, using a bracket from Bracketron. I haven’t driven it yet to see how functional it will be and if it moves or vibrates I’ll find that out over the next couple of days. I have loaded a complete TOPO map for Utah/Nev/AZ onto it so when I’m off trail riding in the desert I can switch from City Navigator to the TOPO and have some trail data.

100_1623.JPG


Finally finished (well never really finished it is a jeep) but its looks good and working

100_1627.JPG


Sunday I’ll put the rear shocks on and clean up the mess lol
 
More info on the GPS mount please

I used a universal bracket kit from Bracketron
http://www.bracketron.com/products/gps-universal-dash-mount-kit

I located it on the bezel itself after trying to make it work for awhile this ended being what I came up with. I drove it today and it vibrates a very little so since I bought them on clearance and bought a few of them I'll probably mount it a little different but we'll see.

Where did you get the sender and the fittings from to tap into the line and what was the cost?

The original sender and fittings came with the gauge, I purchased an additional sender from Summit Racing's eBay store, B&M part# 80214, I bought an additional tee fitting and connector here locally at ACE and a plumbing store. the cost of the additional parts was about $23.

If you guys need any more info please ask.
 
I used a universal bracket kit from Bracketron
http://www.bracketron.com/products/gps-universal-dash-mount-kit

I located it on the bezel itself after trying to make it work for awhile this ended being what I came up with. I drove it today and it vibrates a very little so since I bought them on clearance and bought a few of them I'll probably mount it a little different but we'll see.

Thank you for the link, at $2 each, I ordered 4 so I could modify as I saw fit.

I have been looking for a solution for my Nuvi that doesn't block half the view from the driver's seat on the dash/windshield mount.
 
Sunday…12/11/2011
Started the morning off just kind of relaxing, Figured cleaning up and installing a couple of shocks wouldn’t take long….LMAO boy was I wrong

I finally made it out to the shop and cleaned it up from the last few days, turned the jeep around and got it all jacked up and on stands. Grabbed some tools and took the wheels off. Climb under and removed the lower shock mount bolts, and started to remove the upper bolts and then the fun began…………..


100_1629.JPG


Yes they broke off 3 out of the 4……ugggg, so I broke out my extractor kit and went to work…well I busted one of the welded nuts loose….ugggg, so I broke out my Air Hammer and busted out the other 3 even the one that didn’t have a broke bolt in it. Got some 3/8 bolts and with help of my 8 yr old boy and his tiny hands we got two of them in, the drivers side was being a pain so I made this, Pattern after a Receiver special tool used to get bolts into the frame.

100_1633.JPG


And got them in, Installed the shocks and secured everything. What a PITA…oh well new shocks feel great and I loss a lot of sqeaks and noise

The old shocks and their lovely worn out bushings….

This is one of the fronts but you get the idea.
100_1630.JPG


This is the bushing out of one of the rears….

100_1628.JPG


Here’s one of the new ones

100_1631.JPG


So my weekend came to a close I’m really glad its over. I just ordered my new radiator and it will be here in a few days and we will start the next weekend with a cooling system refit and finally the trans cooler will be put in…
 
Thank you for the link, at $2 each, I ordered 4 so I could modify as I saw fit.

I have been looking for a solution for my Nuvi that doesn't block half the view from the driver's seat on the dash/windshield mount.

That's funny I bought 4 also....:cheers:

it will take about 3-5 days to get them well worth the money IMO
 
Back
Top