- Location
- San Diego
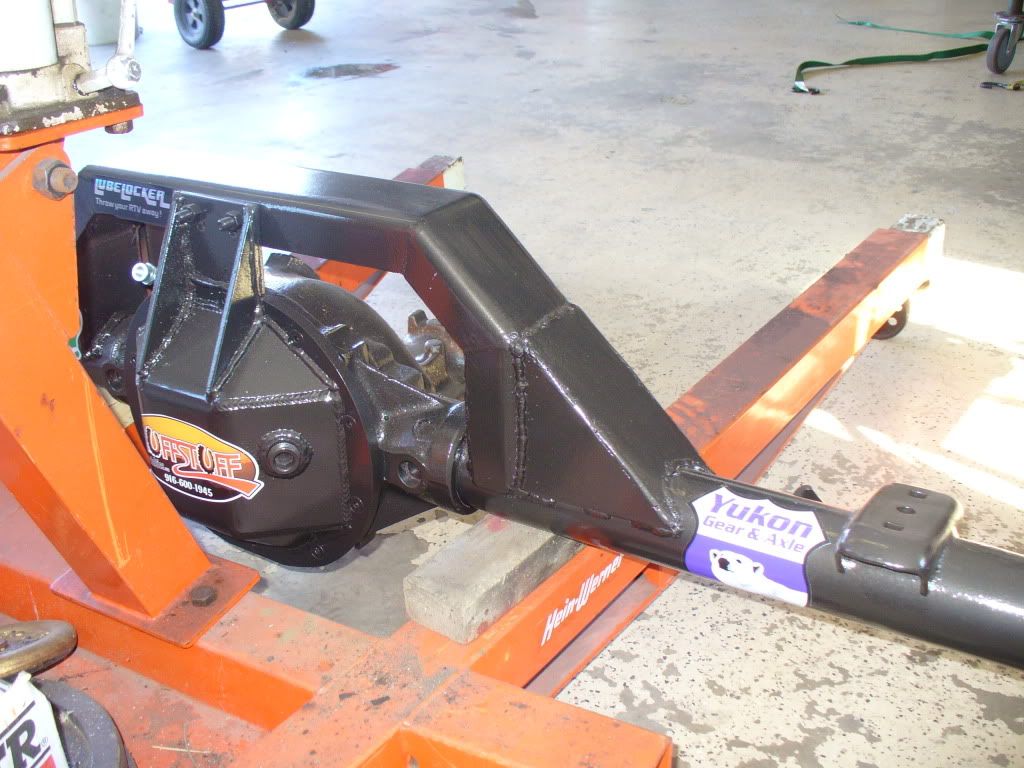
anyone out there trussed their Chryco?
I am planning on this in the near future and wondering what you did about the vent and brake line.
my original plan was to drill a hole in the top of the truss for the vent tube and just run the hose through it, and then mount the brake lines to the top of the truss and re-bend them.
I see no reason why the breather and brake lines have to be together, I can easily just weld a nut to the inside of the truss and bolt the brake line splitter block to it...
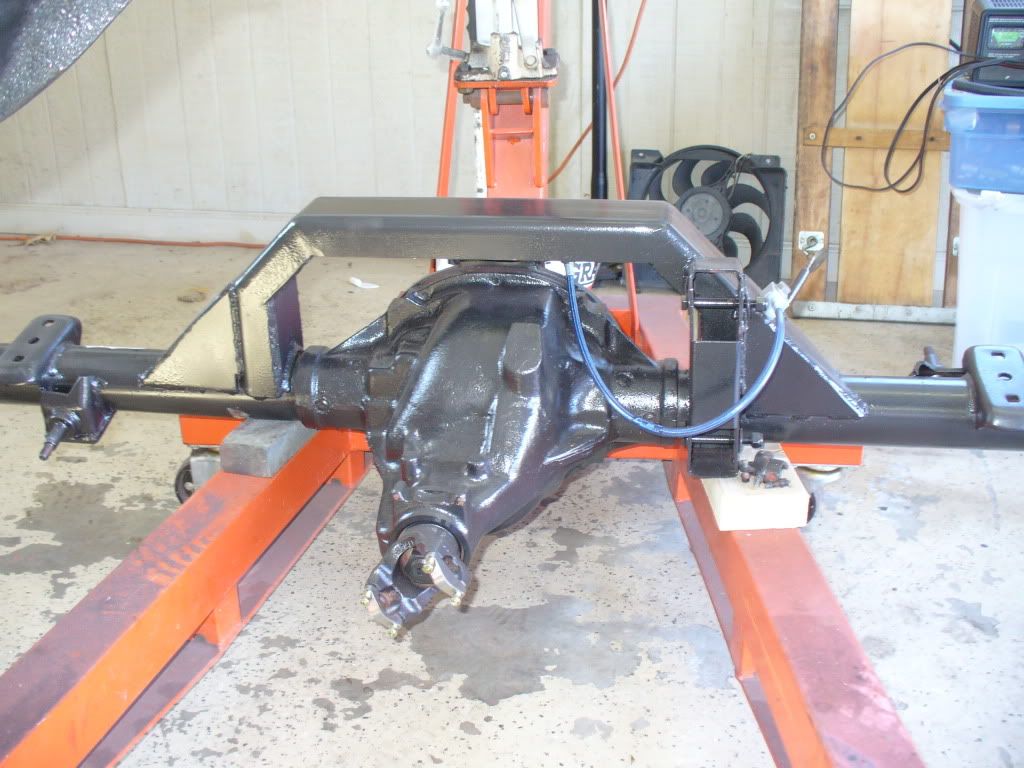
well, anyone with actual experience on the 8.25 have any thoughts?
I am planning on this in the near future and wondering what you did about the vent and brake line.
my original plan was to drill a hole in the top of the truss for the vent tube and just run the hose through it, and then mount the brake lines to the top of the truss and re-bend them.
I see no reason why the breather and brake lines have to be together, I can easily just weld a nut to the inside of the truss and bolt the brake line splitter block to it...
well, anyone with actual experience on the 8.25 have any thoughts?