robsjeepxj
NAXJA Forum User
- Location
- North Jersey
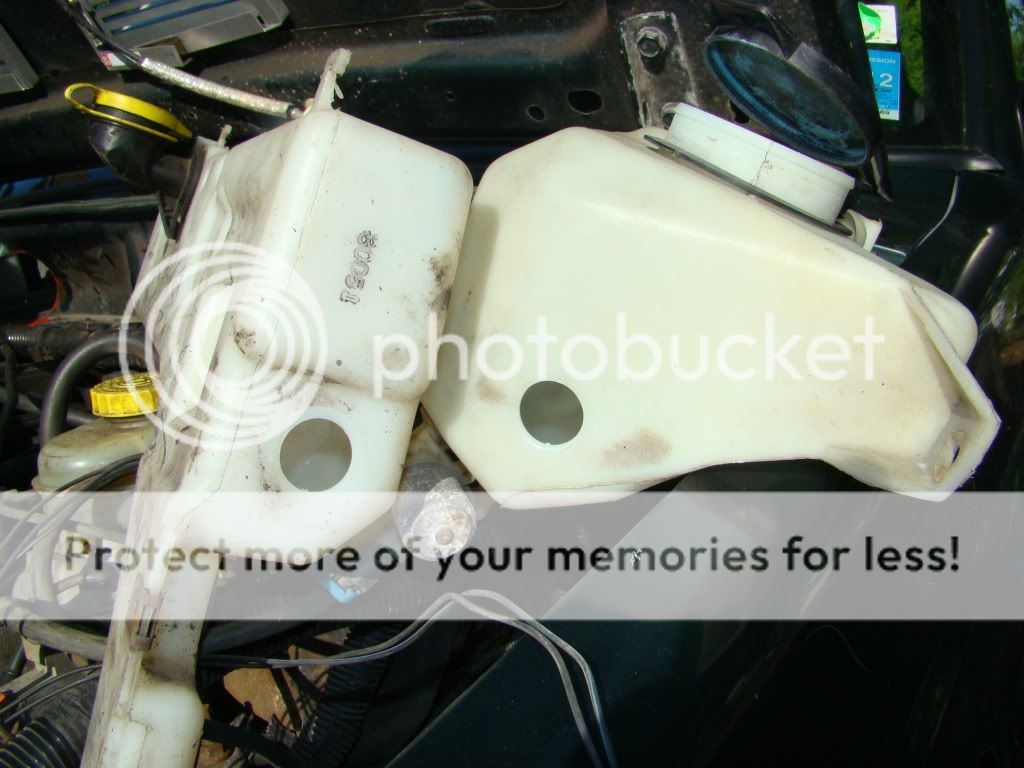
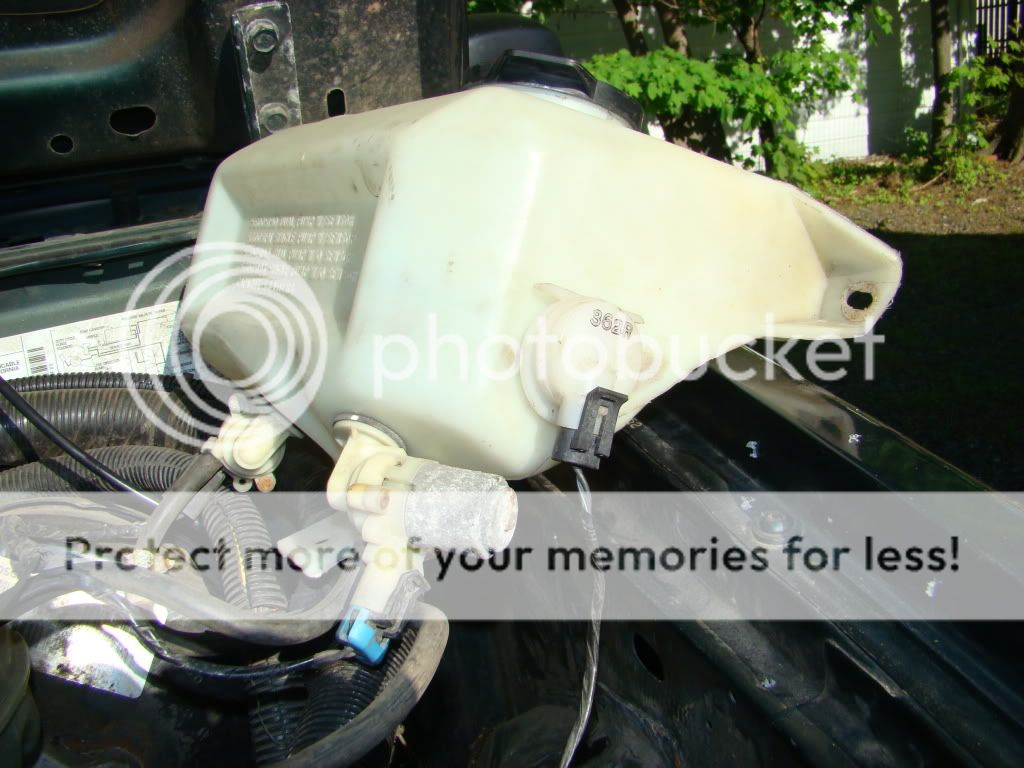
Ok so here we go. Both of these upgrade kind of go together since I couldn't fit the new washer bottle without getting rid of the old air cleaner housing first. The parts used are an intake tube from a TJ, a washer bottle from a ZJ and a K&N cone filter part # RU-3130.
The first thing I did was to remove the wipers and cowl panel cover. The wipers come off easily with a screwdriver, you just pry up on the part in the center of the picture to release the lock and lift them off.

Once the wipers were off I removed the cowl cover, it has 8 screws in it 5 on the passenger side and 3 on the drivers.

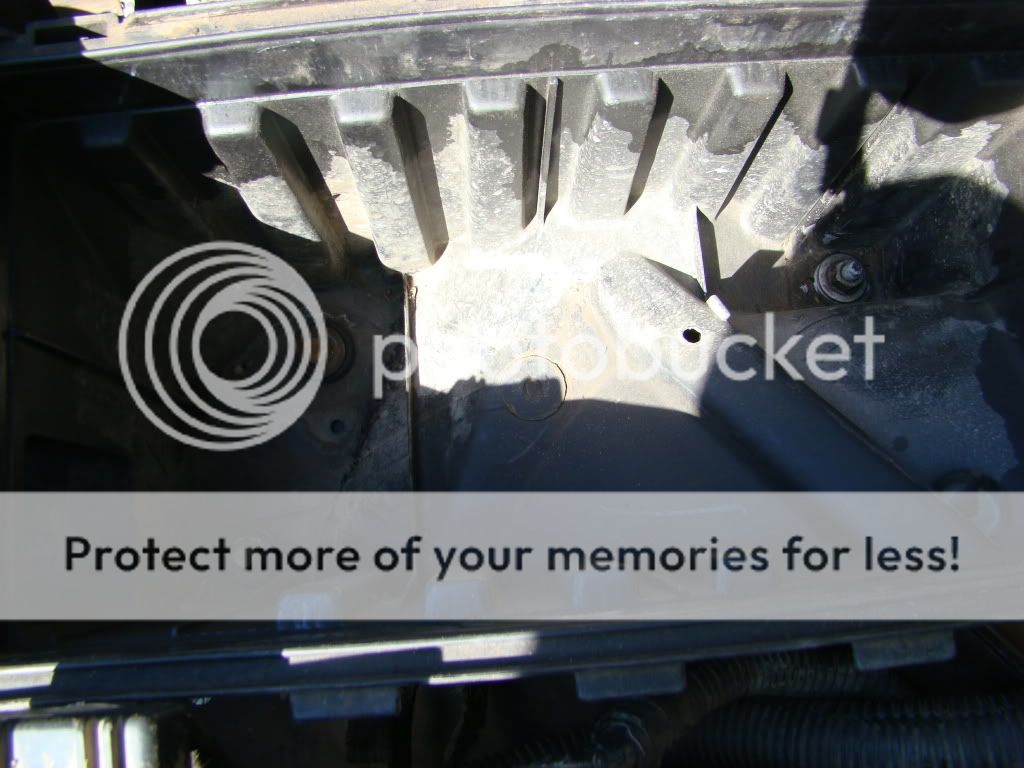
Next I disconnected the washer lines and started to lay out the cut needed to fit the filter I've read a bunch of threads on this on JeepForum and so I had a good idea how it's supposed to look. You can see the area I cut out here.
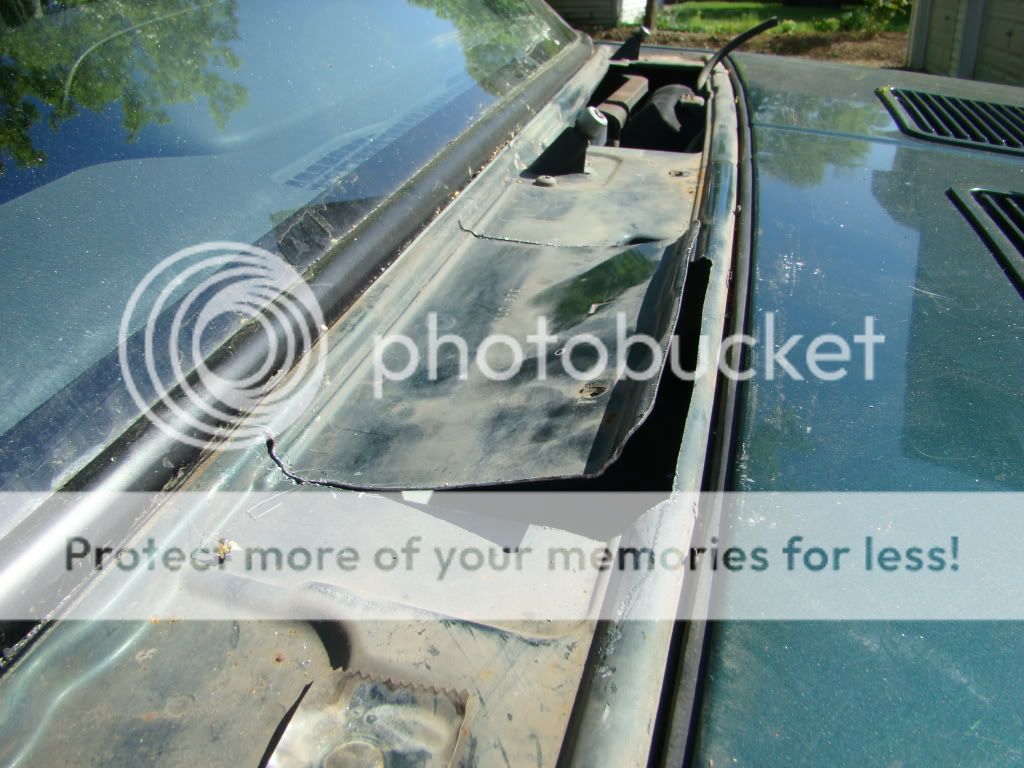
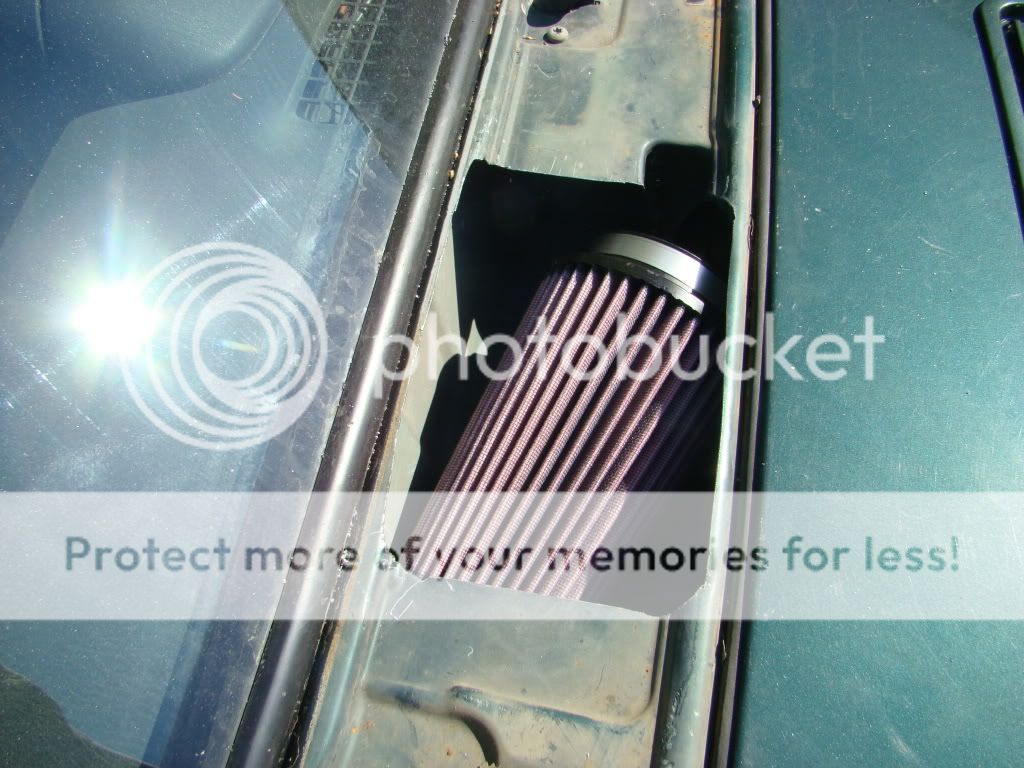
I cut 3 sides with a jigsaw and did the part along the windshield with a sawzall. You can see the filter fits well inside the cowl with plenty of room to spare.
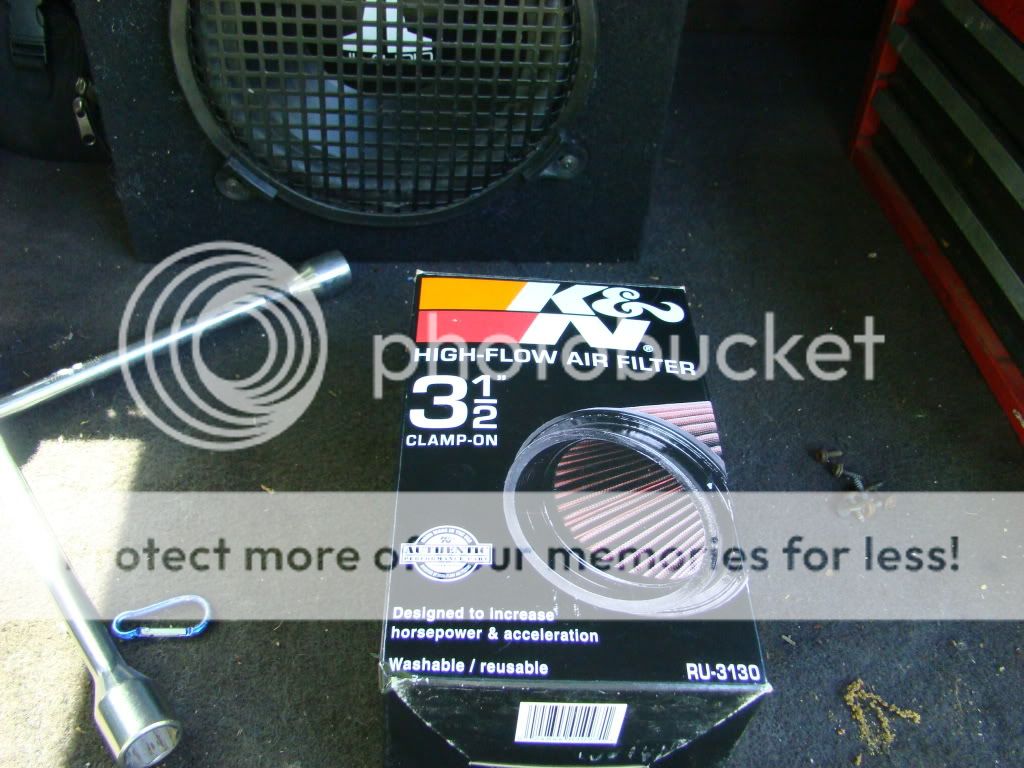
This is the filter I used, it's a K&N RU-3130. It's the biggest filter that would fit.
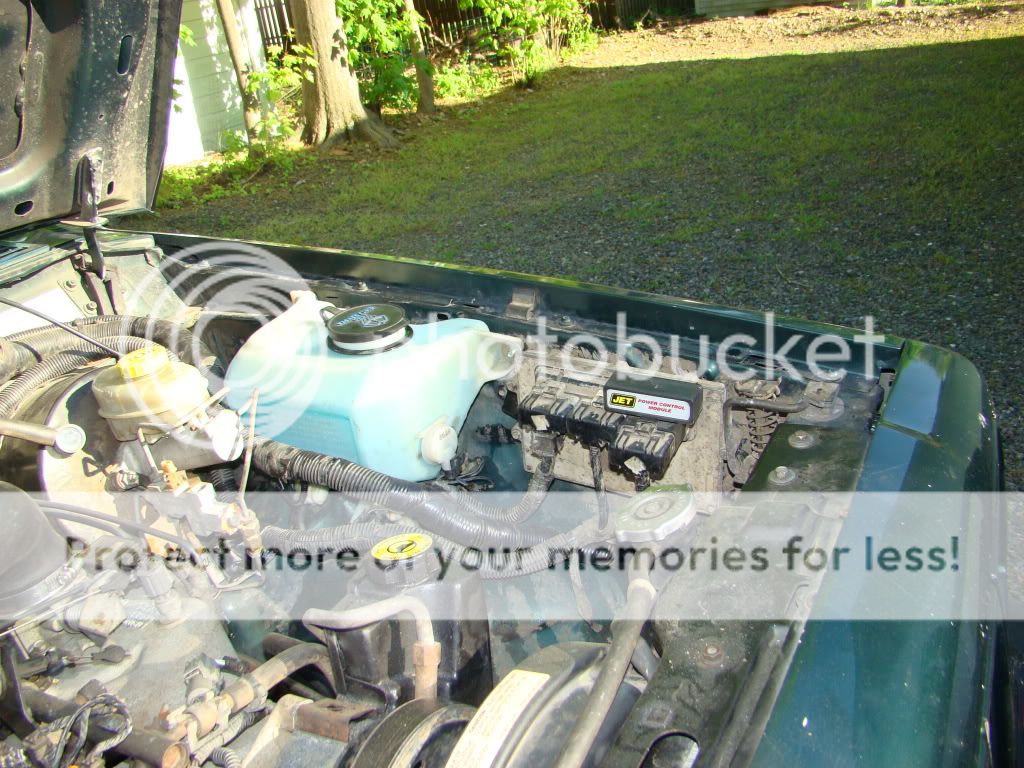
Ok so here's what it looks like under the hood before I started, notice the locations of the stock air box and intake tube and washer fluid fill.

And here's after so you can see what we're going for here and how to get there.

The stock air box unbolts with 3 bolts inside that go into the fender, I removed that next as well as the air tube.
After a trial fit of the TJ air tube I found that I wouldn't be able to close the hood without trimming it a little because it was too tall coming of the throttle body, So cut off about 2" or so. Now the TJ air tube was flared at the end from the factory so after I cut it the opening was too small then so I heated up the tube until it was pliable enough then forced it on and tightened the clamp to hold it in place. It worked great but then I had a new problem, it was hitting the throttle bracket now.

So "clearanced" it with a flapwheel. Nice.

Next I cut the stock XJ air tube so it was pretty much straight but left enough curve to be able to let the air filter sit in the cowl at the correct angle.

The XJ are tube is just the right size to fit inside the K&N filter, with a little finagling, and provide a good seal once the clamp is tightened down. I may put some silicon on it later but for now I think it's good.

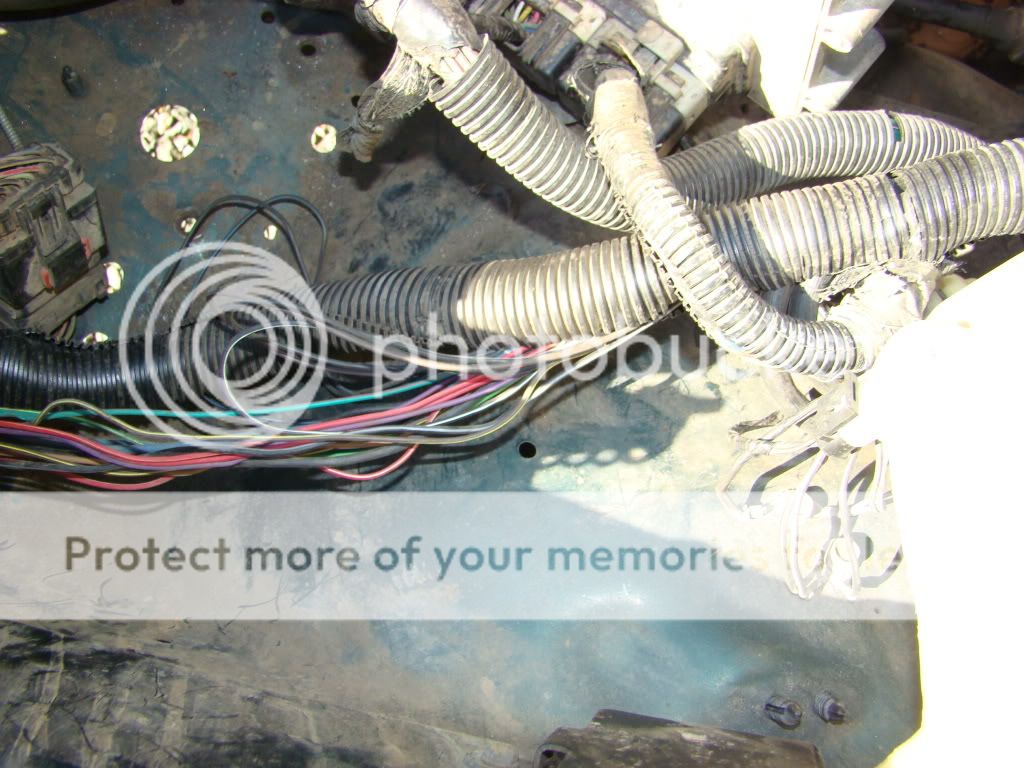
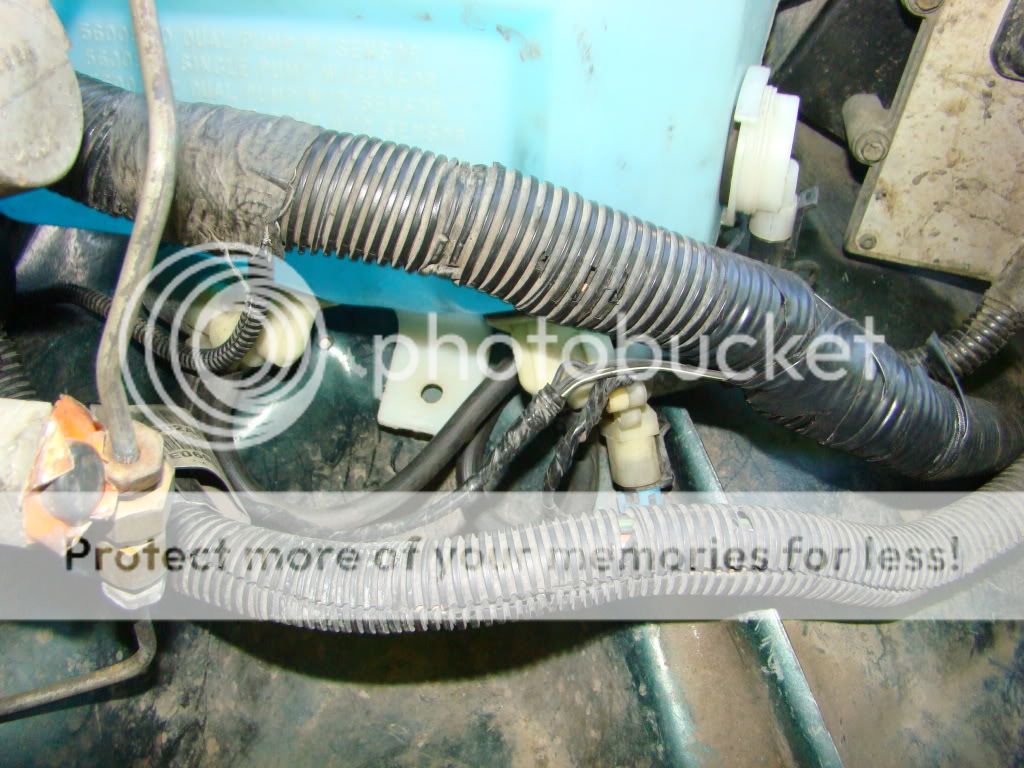
Next I cut the whole in the cowl. To do this I had move the wiring harness down some. The hole I drilled was a little low so it cut into bottom the cowl a little bit. I filled the hole with some silicon and it was good as new. Don't do that.

The first thing I did was to remove the wipers and cowl panel cover. The wipers come off easily with a screwdriver, you just pry up on the part in the center of the picture to release the lock and lift them off.
Once the wipers were off I removed the cowl cover, it has 8 screws in it 5 on the passenger side and 3 on the drivers.
Next I disconnected the washer lines and started to lay out the cut needed to fit the filter I've read a bunch of threads on this on JeepForum and
so I had a good idea how it's supposed to look. You can see the area I cut out here.
I cut 3 sides with a jigsaw and did the part along the windshield with a sawzall. You can see the filter fits well inside the cowl with plenty of room to spare.
This is the filter I used, it's a K&N RU-3130. It's the biggest filter that would fit.
Ok so here's what it looks like under the hood before I started, notice the locations of the stock air box and intake tube and washer fluid fill.
And here's after so you can see what we're going for here and how to get there.
The stock air box unbolts with 3 bolts inside that go into the fender, I removed that next as well as the air tube.
After a trial fit of the TJ air tube I found that I wouldn't be able to close the hood without trimming it a little because it was too tall coming of the throttle body, So cut off about 2" or so. Now the TJ air tube was flared at the end from the factory so after I cut it the opening was too small then so I heated up the tube until it was pliable enough then forced it on and tightened the clamp to hold it in place. It worked great but then I had a new problem, it was hitting the throttle bracket now.
So "clearanced" it with a flapwheel. Nice.
Next I cut the stock XJ air tube so it was pretty much straight but left enough curve to be able to let the air filter sit in the cowl at the correct angle.
The XJ are tube is just the right size to fit inside the K&N filter, with a little finagling, and provide a good seal once the clamp is tightened down. I may put some silicon on it later but for now I think it's good.
Next I cut the whole in the cowl. To do this I had move the wiring harness down some. The hole I drilled was a little low so it cut into bottom the cowl a little bit. I filled the hole with some silicon and it was good as new. Don't do that.
Last edited: