• Welcome to the new NAXJA Forum! If your password does not work, please use "Forgot your password?" link on the log-in page. Please feel free to reach out to [email protected] if we can provide any assistance.

Dual Battery Install

playwithit

NAXJA Forum User
Location
Fairfield, CA
Had an idea to add a second battery for some time now. The planning and collecting bits and pieces began last fall.

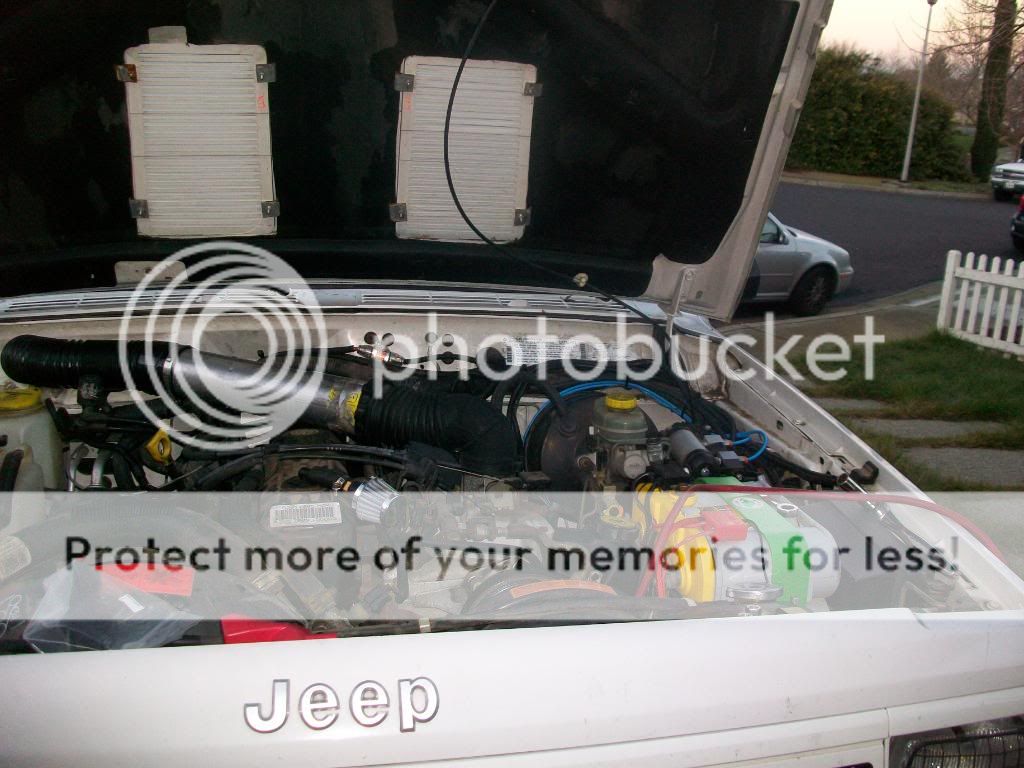
I knew I wanted the second battery under the hood for many obvious reasons. This meant getting rid of that huge air box. I opted for the cowl air filter. Here's a picture with it about done.
100_2584.jpg


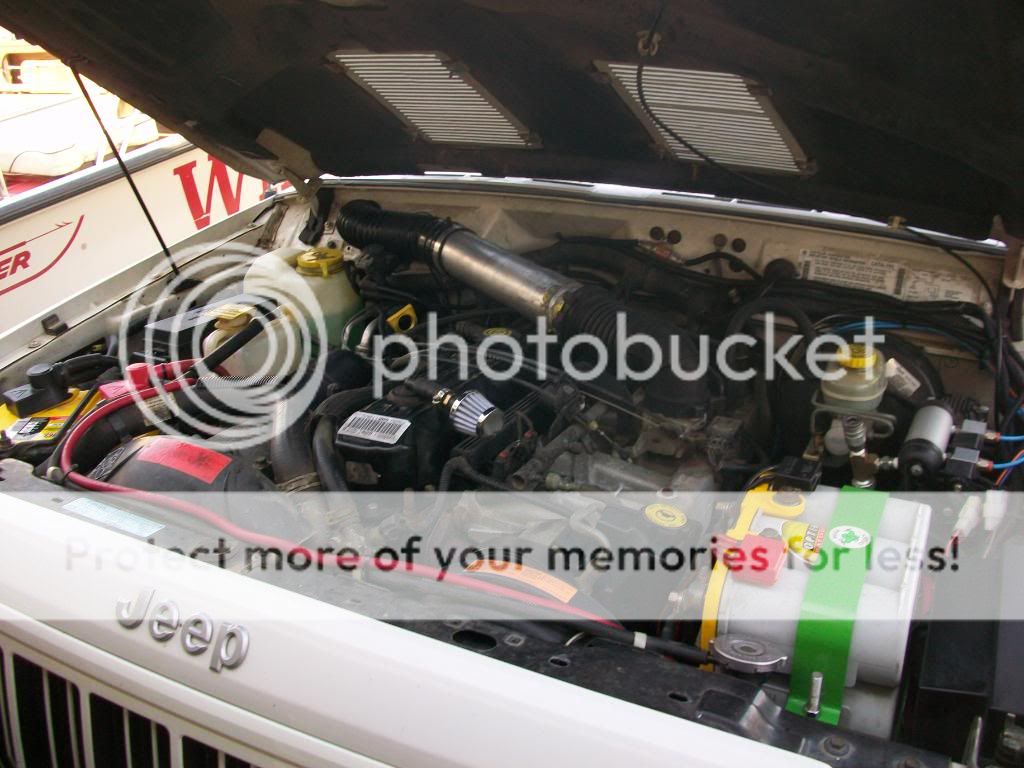
Now the air box gone.
100_2593.jpg


I lucked out and found a Mean Green battery tray. Thing mounted beautifully. Only had to drill one hole and this thing is solid.
100_2600.jpg


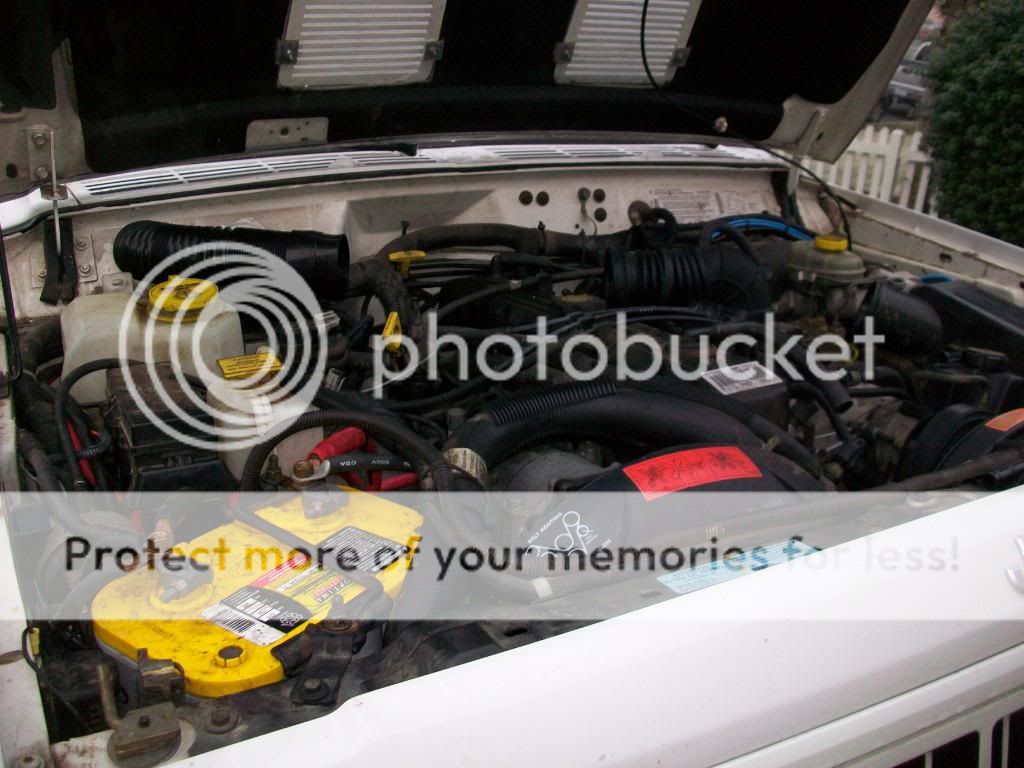
The rats nest of wires created by adding accessories over time was an untidy eyesore and down right dangerous.
100_2603.jpg


The work really began with rerouting and cleaning up the wiring. All of the accessories including the front and rear winch power, auxiliary lighting, rock lights, compressor, inverter, fridge, amplifier and 12 volt utility all had to be rerouted to the drivers side.
100_2619.jpg


The original plan to control the batteries was to us voltage sensing relay which closes at 13.7V and opens at 12.8V. This will make sure I have good voltage on the starting battery before the axillary battery is tied in. Then a 200A solenoid would be used in conjunction to assure batteries are isolated when the key is off.
100_2618.jpg


After thinking this through, I decided not to use the vsr and use a three way switch in the cab to allow isolation, combined key on and combined always. Isolation will be used for normal operation, combined key on is to charge axillary battery with alternator (136A) and combined always for battery charger/jump.

Unfortunately it started raining and this is as far as I made it today.

100_2622.jpg


Stay tuned and I will provide updates.
 
So... You'll be investing in some split conduit for that wiring, right? ;)

(Sorry, couldn't resist. I'm anal about tidy wiring, but understand it's a work in progress. Not ragging on you by any means.)

Appreciate the photos; I've been toying with the same idea using a Mean Green battery tray and that gives me a pretty clear idea of how it all goes together. Option two is the battery tray from the 2.5TD export models, but that's now edging it out.
 
It will be clean. Pictures soon.
 
Good work. I like the VSR idea. I too uses a VSR for my dual battery setup. The one I use was made for the marine industry and is a bit more compact. It also have the ability to do an 'on always' which could be used as a self jumper, an 'off always' if one do not want the second battery to charge and 'automatic'. The VSR closes at 13.3 volts instead of 13.7 volts which is much prefered here in South especially in the Summer when charging voltages sometimes do not get upto 13.7 .
 
I got a little work in on the battery project. I'm happy with the progress.
100_2628.jpg

100_2632.jpg


100_2639.jpg


100_2638.jpg


I have a little wiring left to do yet including the switch. Need to resolve that this week.
 
Looks good, but the battery looks really close to the power steering reservoir. Remember that the motor is going to move a bit under load... even with aftermarket rubber motor mounts. Its not going to contact the battery when it moves/shifts a bit is it?
 
Your a lucky bastard finding that Mean Green mount!
 
Looks good, but the battery looks really close to the power steering reservoir. Remember that the motor is going to move a bit under load... even with aftermarket rubber motor mounts. Its not going to contact the battery when it moves/shifts a bit is it?

Good point on the torque issue. It looks like I will have close to two inches (that what she said:shhh:) clearance. I will keep that in mind as I finish things up. The military battery terminal could be changed out for another type and I couls save another inch or so.
 
where did you find the battery tray?

Posted on Jeep Forum For Sale. Mean Green discontinued them. I don't know why, they fit perfect. Battery mounted up will rub on hood though.
 
:thumbup:
I like your choice in knife. I have a griptilian and mini griptilian.
Me too! That knife goes everywhere with me. Also, great job on the dual batteries. Looks almost as clean as the OE duals on my Dodge Cummins. :)
 
Job complete. Very happy with the end results. The battery fits nicely with more than enough room to mount the solenoid and the fuse block for the winch. It was a pain in the @#& relocating all the accessories, but the clean up was over due.

I brought a lead off the auxiliary side of the coil and the coil activation wire to a three way toggle in the cab. Hooking up to this switch allows me to connect the batteries with key on, isolated or always on for self jump or charging both batteries. A dual color LED will warn me of any position but isolated.

I noted when combined with engine running, the alternator (136A) was putting out 14.2-14.6V. This is with the batteries at 12.5-12.7V no charge. Prior to adding the second battery, I never got more than 13.7V out of the alternator.

I left the fridge on for three days straight, set at ice cold (for the beer) and still had good voltage on aux. battery and never worried once about getting home.
101_2641.jpg


101_2642.jpg


101_2640.jpg
 
could you draw a wiring diagram with the switches and sylenoids you used and part numbers and any recommendations after the fact and what you would have done differently
 
could you draw a wiring diagram with the switches and sylenoids you used and part numbers and any recommendations after the fact and what you would have done differently

Parts list:

Mean Green battery mounting kit (discontinued)

Optima 34/78 yellow top battery

Blue Sea Fuse Block with Cover 100A-300A
Mfr. Part#: 5001

Solenoid Kit Painless Wiring Mfr. Part#: PW40112APEM Switch; Toggle; Power; Single Pole; 3 Position Mfr. Part#: 4649A22UU


SloanLED Indicator, Pnl-Mnt; INDICATOR, Bi-Color 5mm 3 Leaded LED Red/Green, Mfr. Part#: 255-2-R/G

#2 Welding cable Black/Red

Various other wire #14, #16 and #18

Various fuse holders, fuses, lugs, shrink tube, solder, tie wraps and split loom

I drew a simple but crude schematic, I can scan it tomorrow but will probably be embarrassed by the sloppiness of the document.

Done different? Not sure anything. I'm happy but may find later issues that could be done different.

 
Back
Top