Snarky
NAXJA Forum User
- Location
- Chandler, Arizona
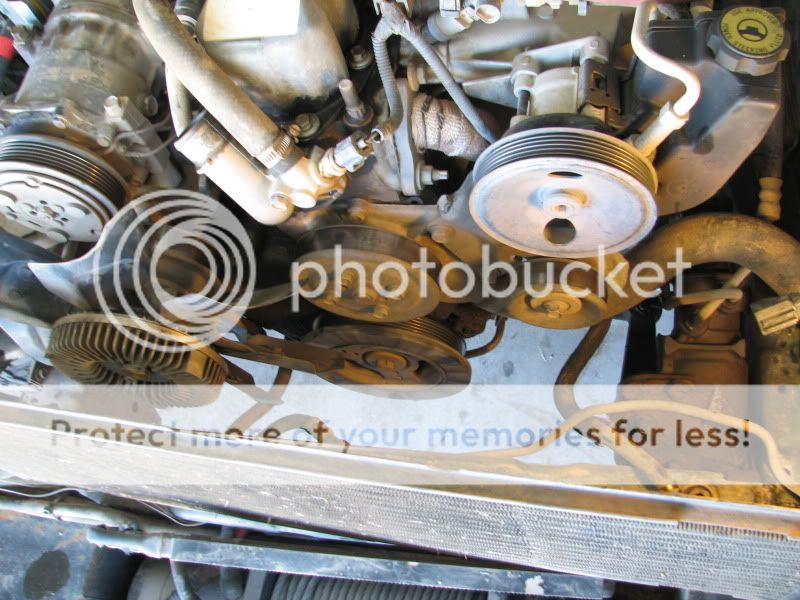
While dinking around in my engine compartment, while the engine was on, I noticed that my harmonic balancer had a huge wobble. At first, it freaked me out mainly because I had no idea what the hell that part was. All I knew was that part was the main thingy that drove the other thingy’s.
After a quick search on naxja, I found that this was a common part that goes bad. But after reading a few threads I found out that it was also a common thing to strip the threads on the bolt holding the damper. So I thought I would post my solution on how to avoid striping the threads. I also ran into a detail that was not mentioned, so made note of that in here
Random info
1998, 4.0, 170000miles, serp belt was still in good condition, I did not hear any unusual noises, bought the harmonic balancer from the dealer $80
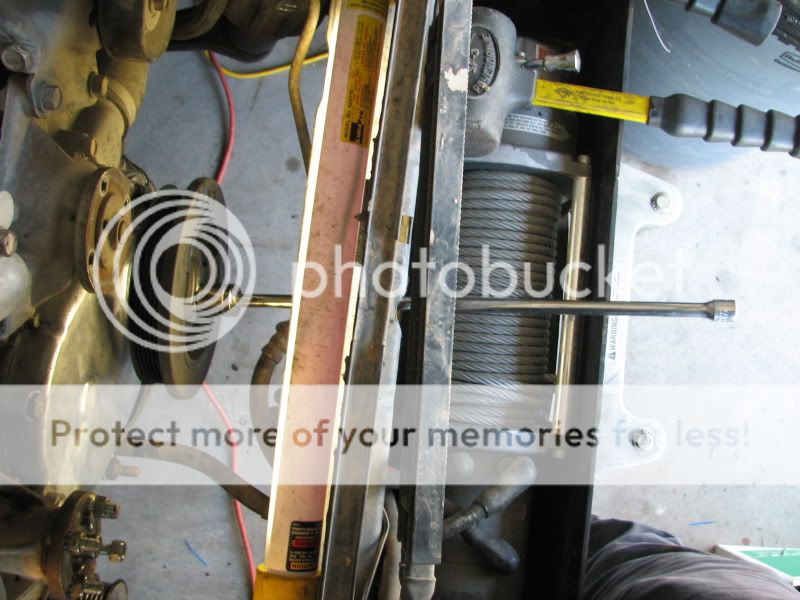
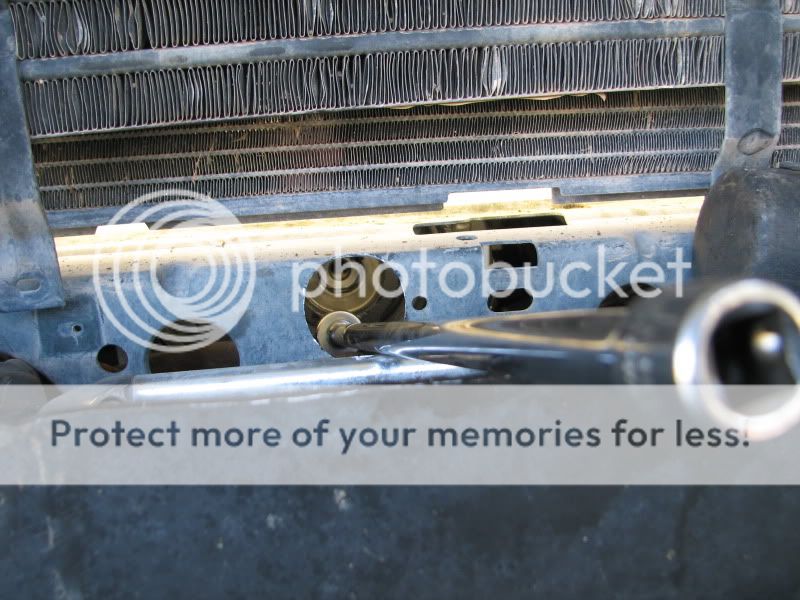
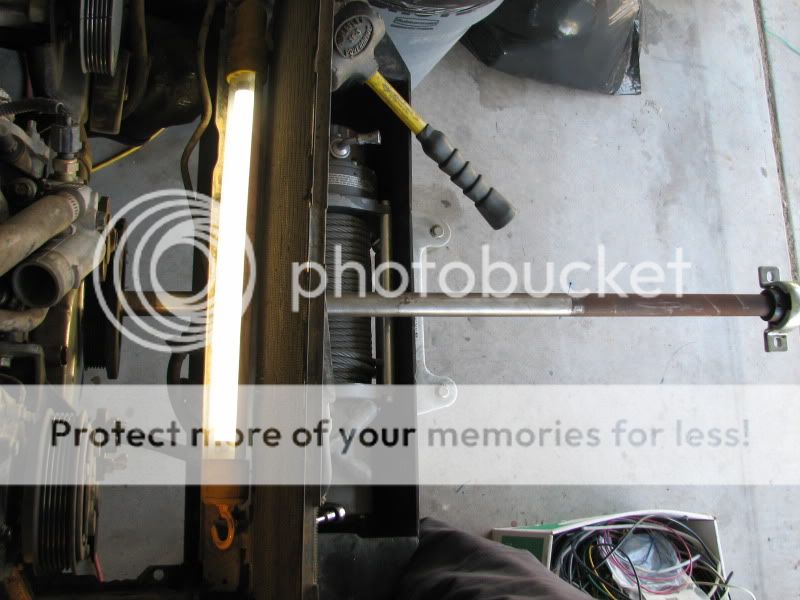
I ended up taking off my front clip and removing my radiator, although this is not necessary. It just makes it more convenient to work in.
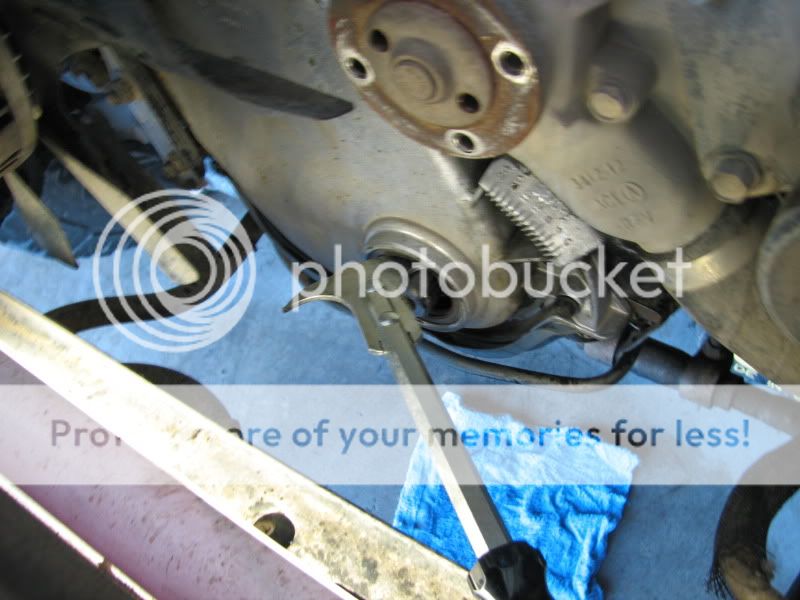
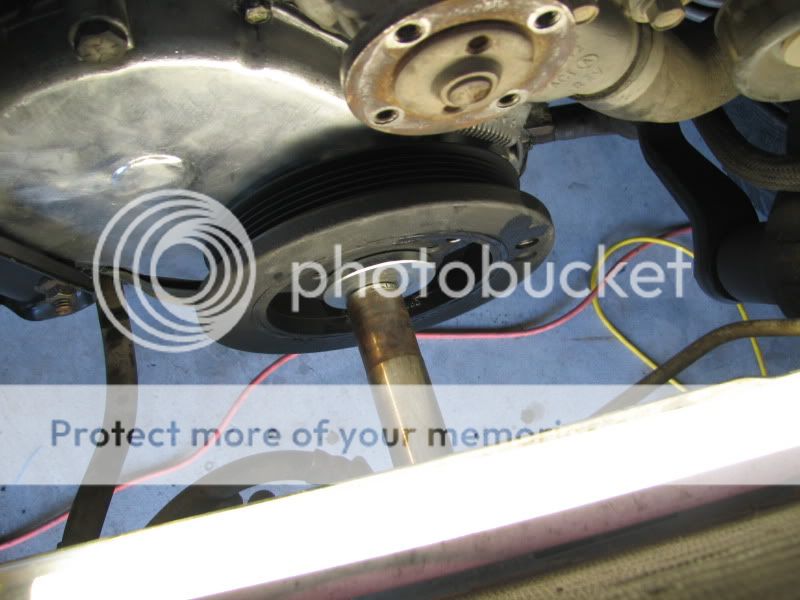
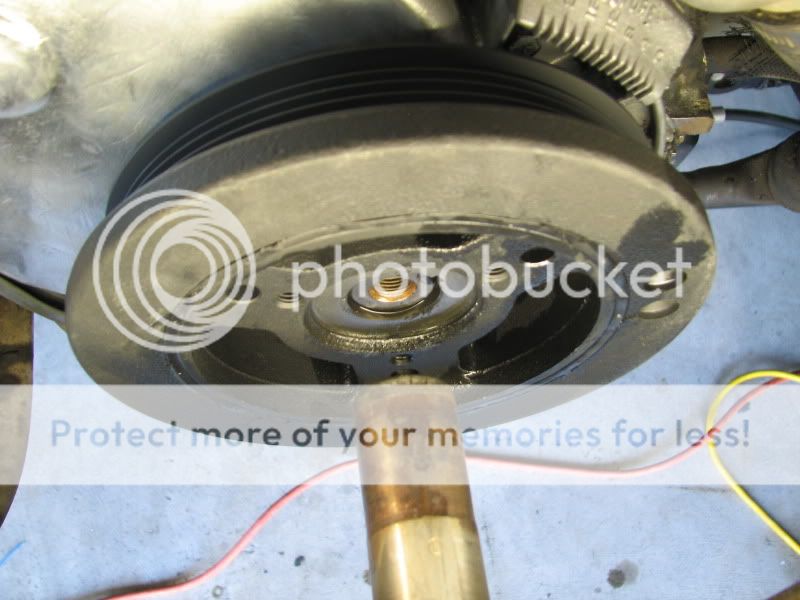
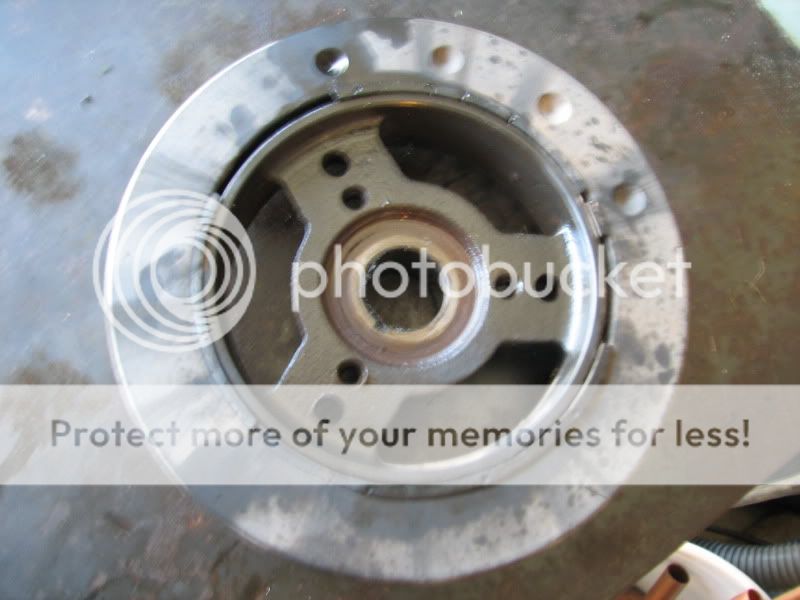
Bolt removed; notice how the face of the crank shaft is not flush with the damper. I did not notice this
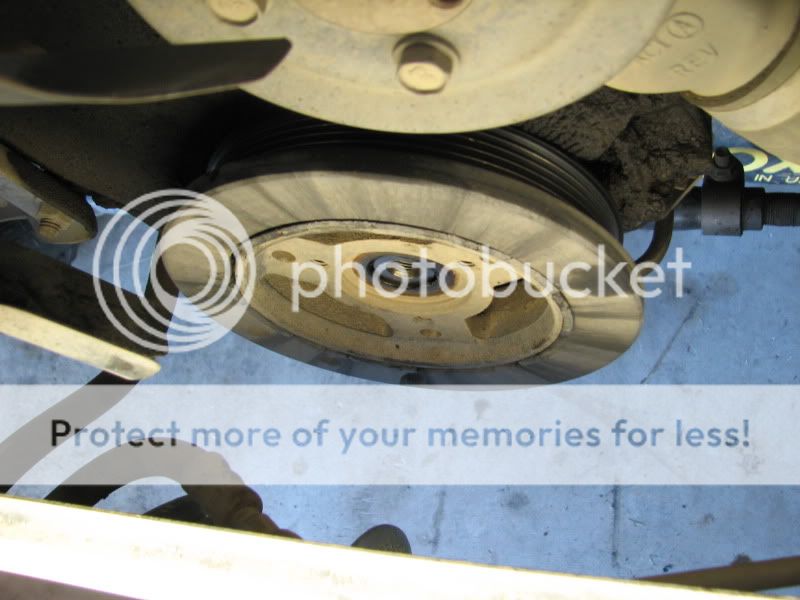
My camera refused to focus on the damper, so here are some fuzzy pics of the damper
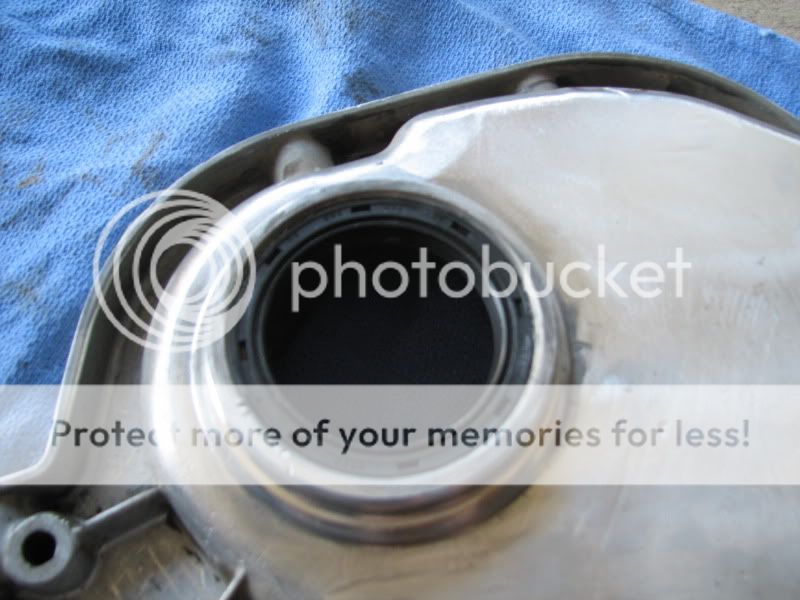
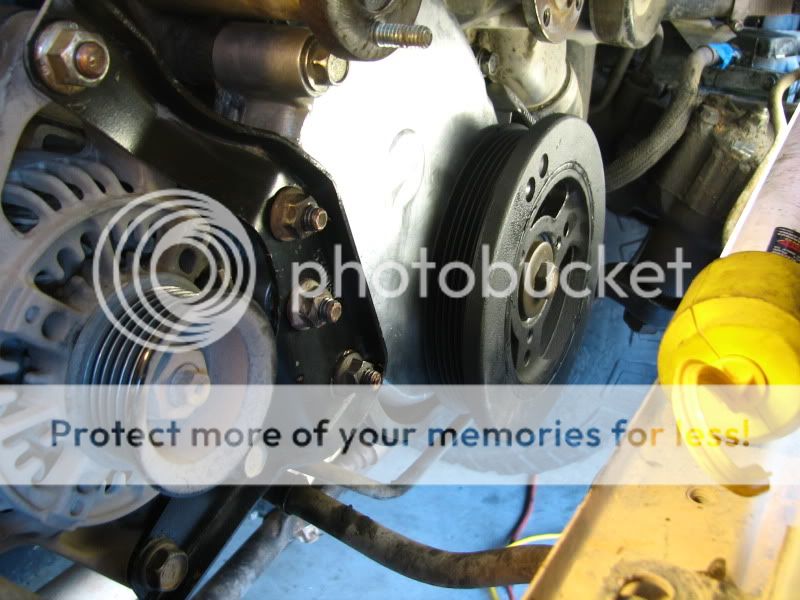
I barrowed a puller from Autozone and the damper came off easily. Notice the missing rubber.
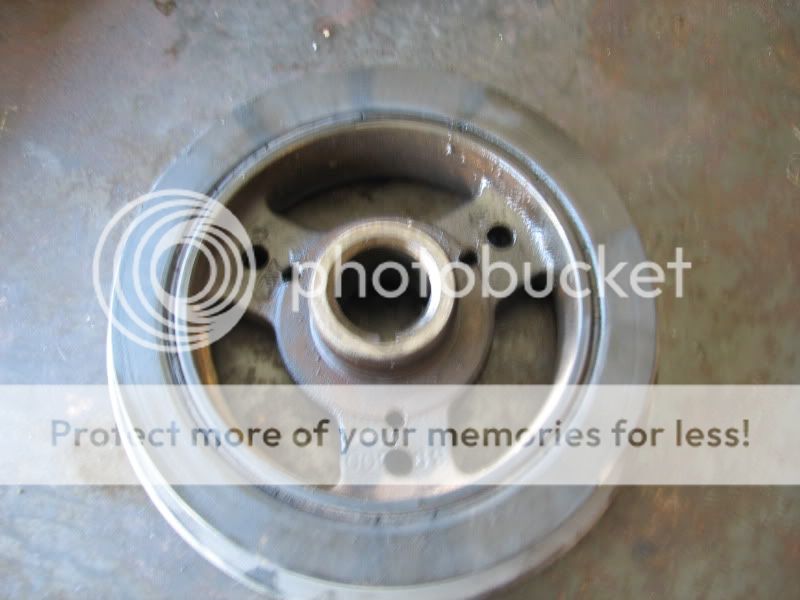
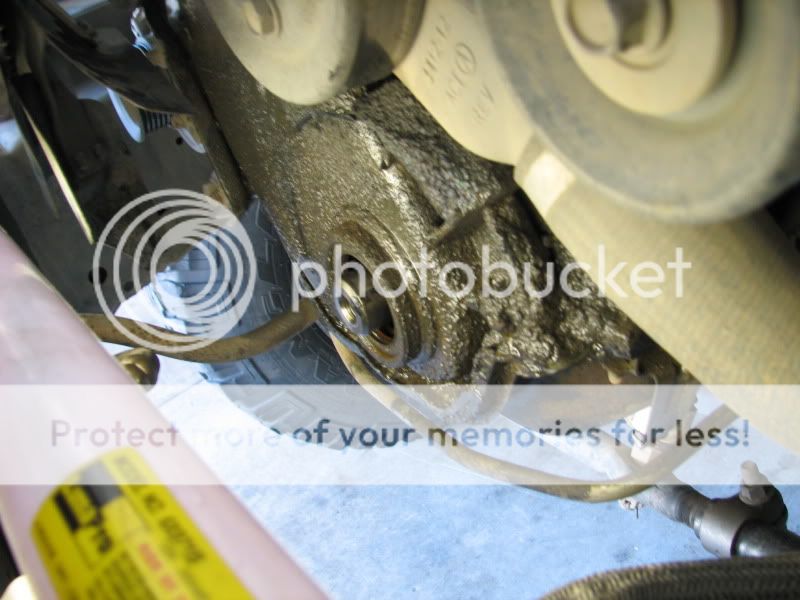
I think it was leaking….
After a quick search on naxja, I found that this was a common part that goes bad. But after reading a few threads I found out that it was also a common thing to strip the threads on the bolt holding the damper. So I thought I would post my solution on how to avoid striping the threads. I also ran into a detail that was not mentioned, so made note of that in here
Random info
1998, 4.0, 170000miles, serp belt was still in good condition, I did not hear any unusual noises, bought the harmonic balancer from the dealer $80
I ended up taking off my front clip and removing my radiator, although this is not necessary. It just makes it more convenient to work in.
Bolt removed; notice how the face of the crank shaft is not flush with the damper. I did not notice this
My camera refused to focus on the damper, so here are some fuzzy pics of the damper
I barrowed a puller from Autozone and the damper came off easily. Notice the missing rubber.
I think it was leaking….