• Welcome to the new NAXJA Forum! If your password does not work, please use "Forgot your password?" link on the log-in page. Please feel free to reach out to [email protected] if we can provide any assistance.

RC LA install write-up and flex pictures

muddeprived

NAXJA Forum User
Location
PA
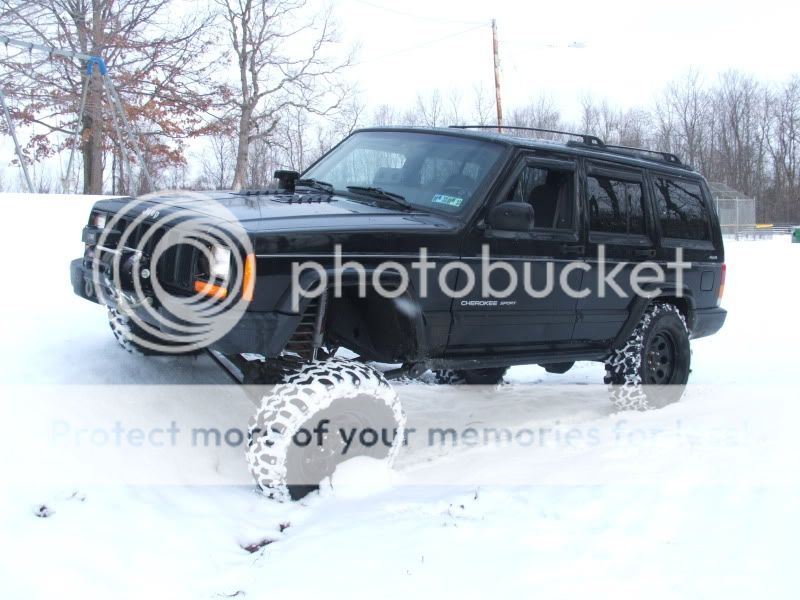
This is a writeup and product evaluation on Rough Country's new long arm kit. It's pretty fresh on the market so there's not a whole lot of info on it yet. Hopefully this thread sheds some light on it and answers any questions ya'all might have regarding this kit.

The Story:

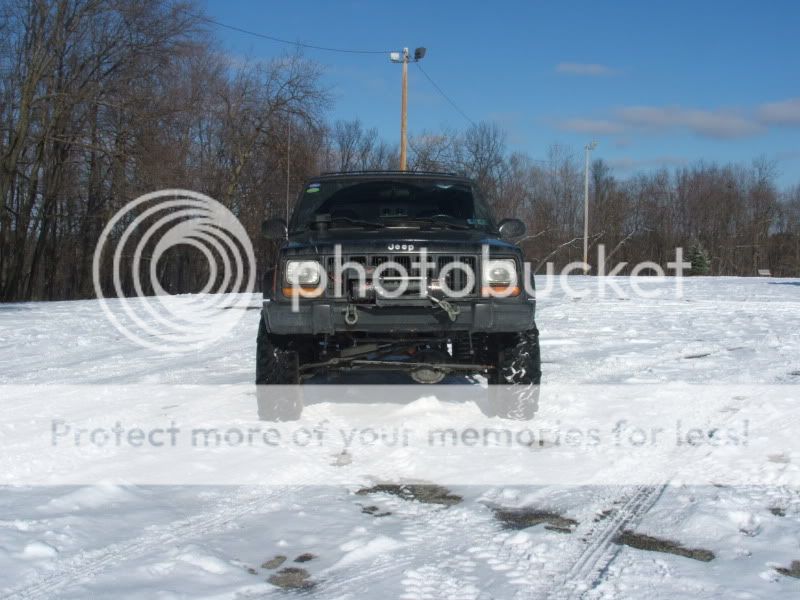
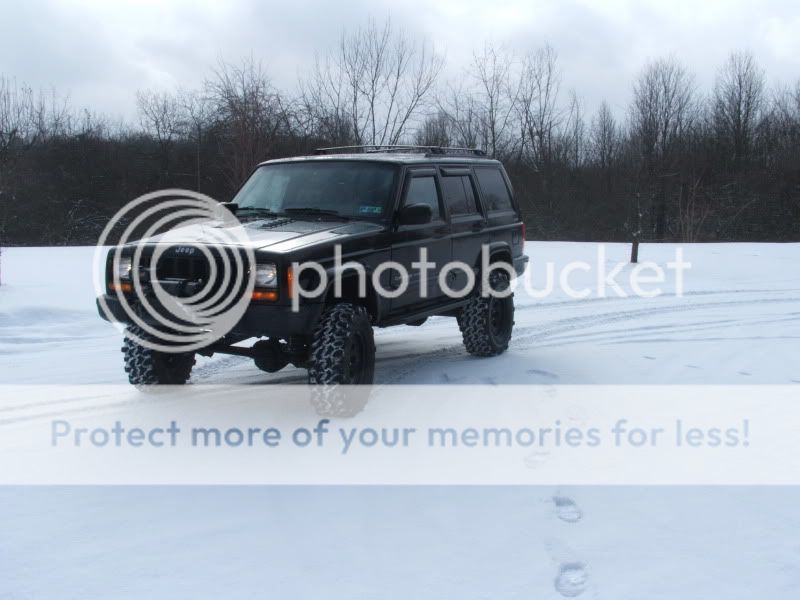
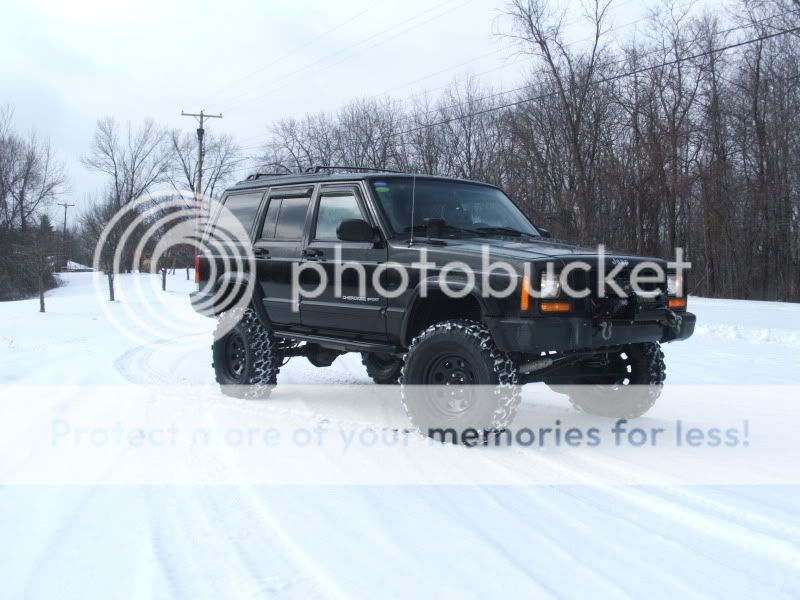
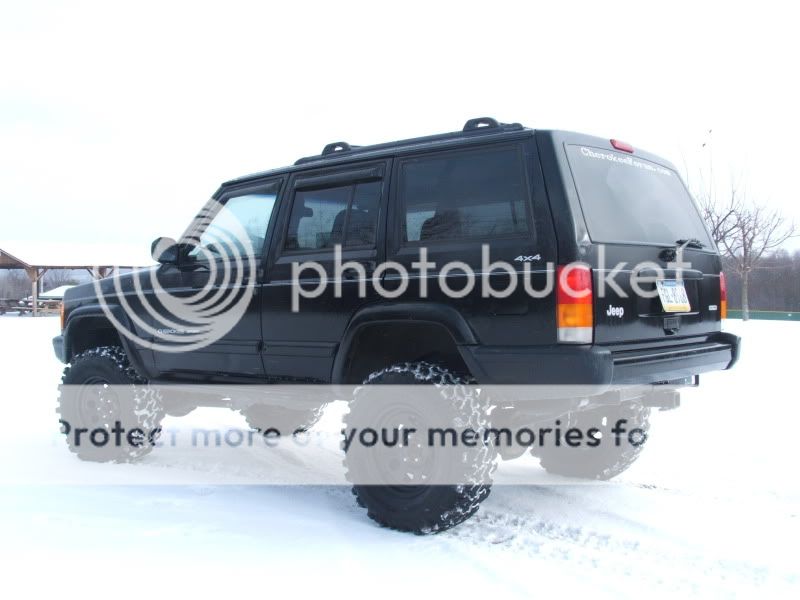
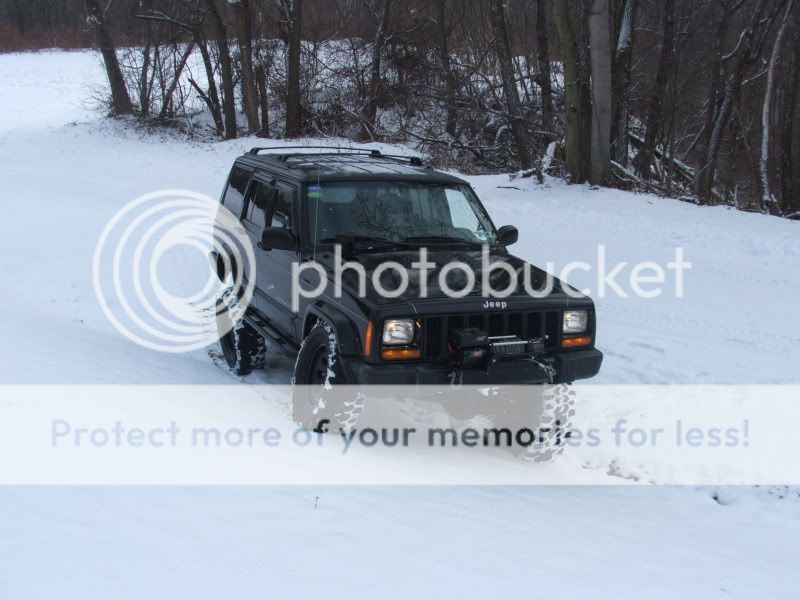
The jeep was once mine but I handed it over to the lady and I have future plans for a TJ. My goal was to get it riding as nice as possible (caddy-like......YES IT CAN BE DONE ON A JEEP! :p) and still be capable if she feels like getting it brown. I knew long arms were the way to go in order to achieve that nice ride quality. We had four options in mind: Frankz's LA's, Trek's, RC's upgrade, or RK 3-link and ended up settling with RC's upgrade. A little later I received some money from stock at my old job and we figured since we have a little more cash that we'd just get the full kit. Yeah...why not? :rofl: Next thing I know I got an order for the 4.5" LA kit through 4wheelingplus.com. (Awesome company to deal with by the way and no this ain't no paid advertisement :D) It was backordered for a couple days but I got it within a reasonable amount of time. :thumbsup:

Bye bye short-arms forever.......:hi:

The Goodies.....

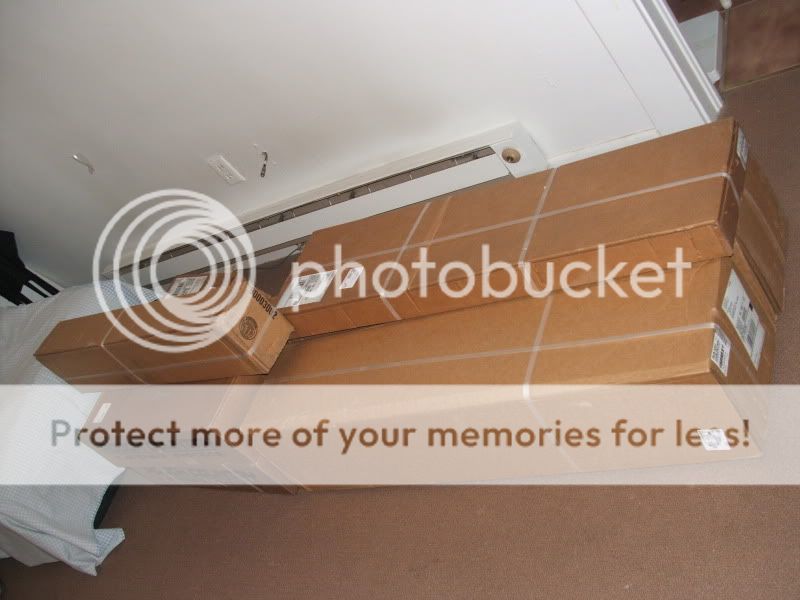
I went to do some last minute shopping today and came home to see 9 boxes stacked up like a pyramid in front of my door. They all had "Rough Country" labeled on them so I figured it must be for me. :D

After dragging em upstairs....

DSCF6764.jpg


Now a smart thing to do with all kits is to inspect all the hardware to make sure everything is there before you start tearing apart your rig. Out came the jeep knife specifically purchased to open boxes containing jeep parts.

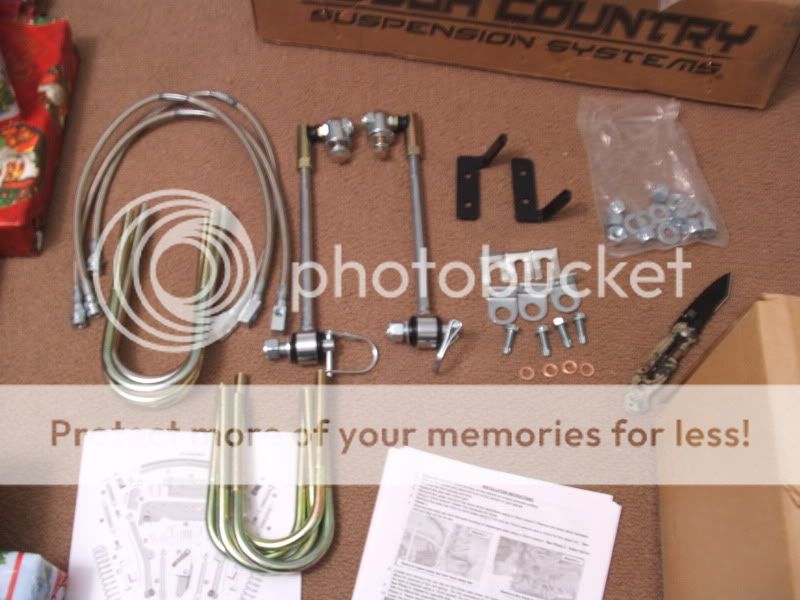
Box 1: Brake lines, U-bolts for either 35 or 8.25, sway bar discos, and what appears to be brake line brackets.

DSCF6765.jpg


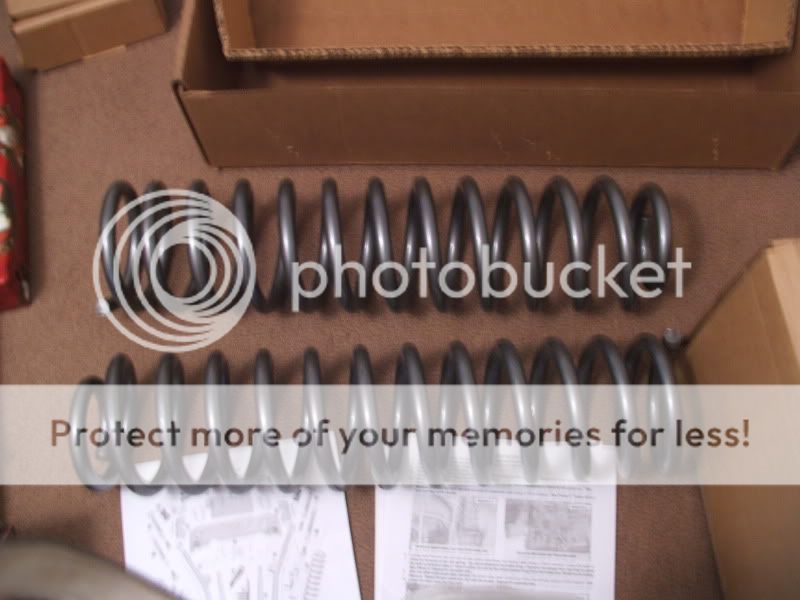
Box #2: Coil springs

DSCF6766.jpg


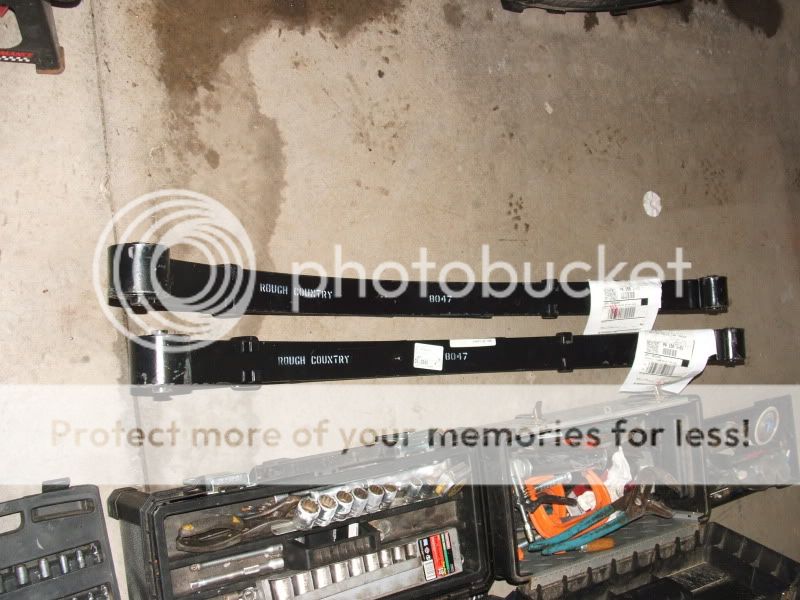
Box #3: AAL, center pints, and leaf spring clamps. I have no idea how much the AAL nets but I'm guessing 2.5" or so since my kit came with a 2" shackle. I will most likely sell the AAL and hardware cuz I already have 3" OME leaf springs and can use em with the shackles.

DSCF6768.jpg


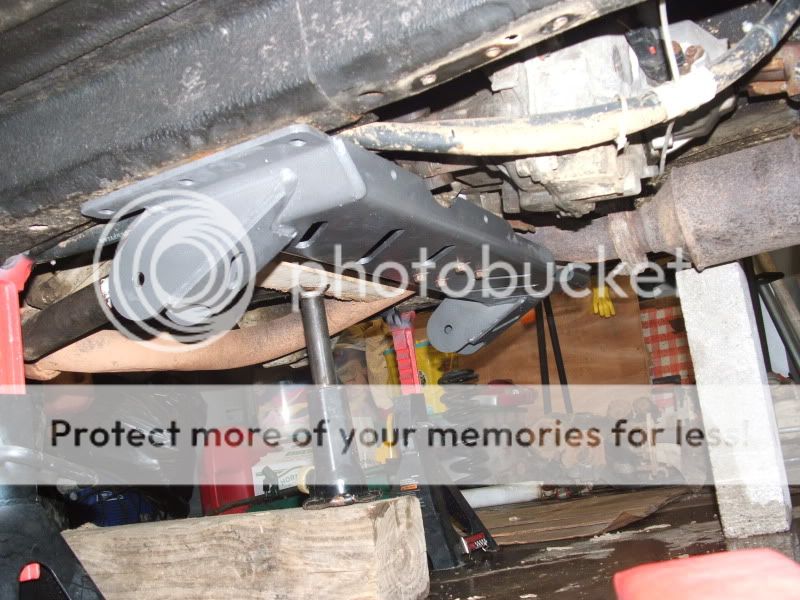
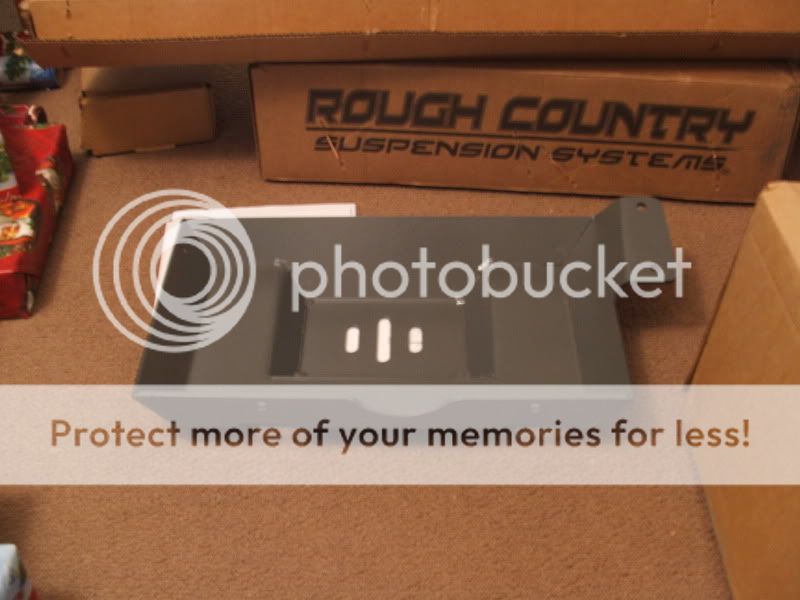
Box #4: Transfer case skid plate

DSCF6770.jpg


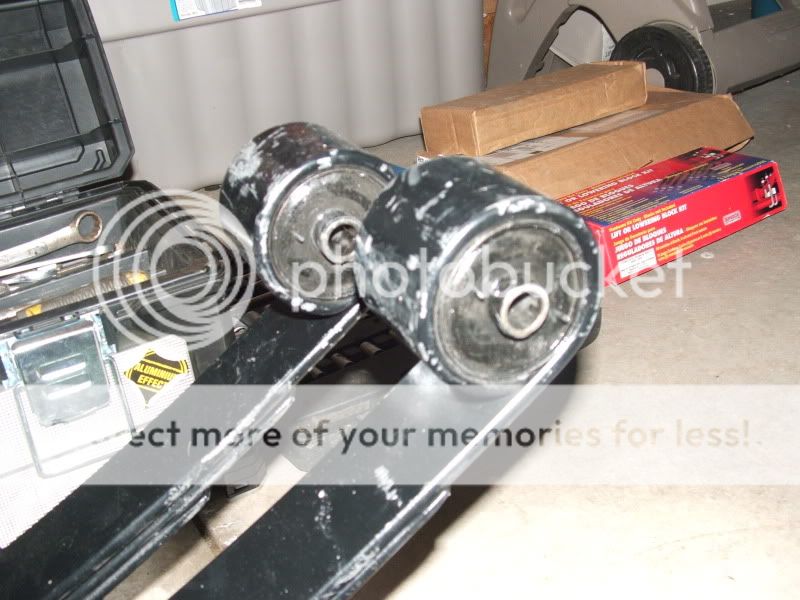
Box#5: Adjustable shackles and all hardware. Hmmm these seem very familiar......

DSCF6771.jpg


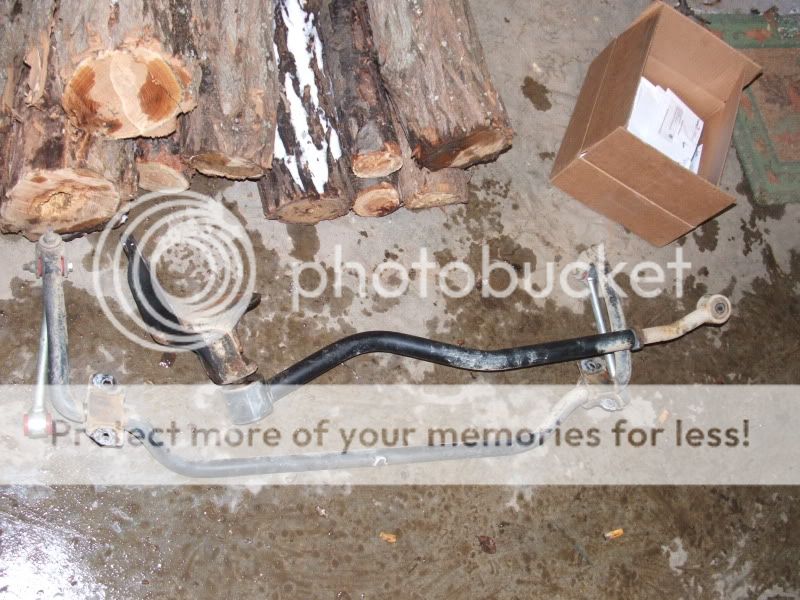
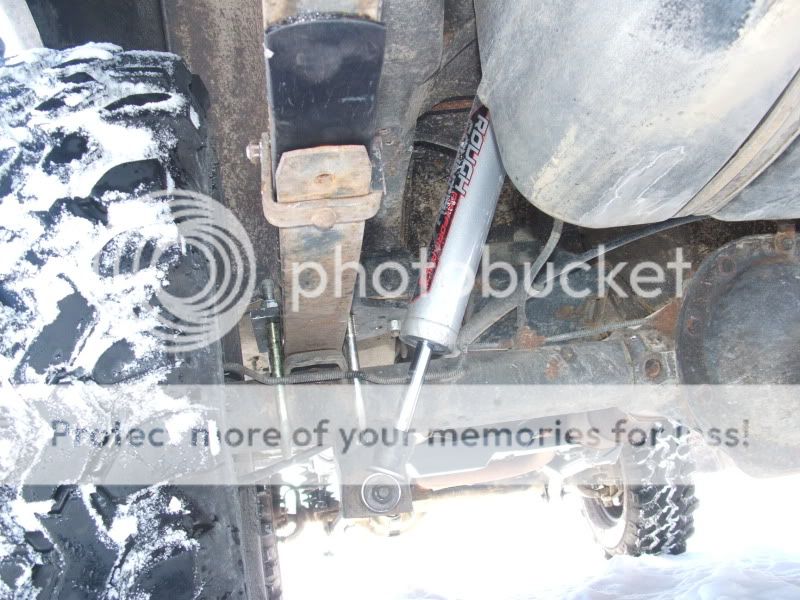
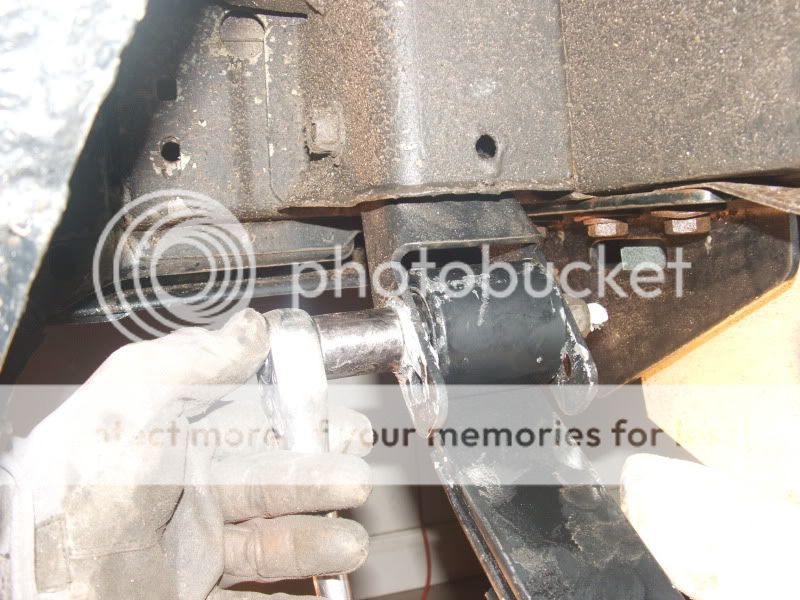
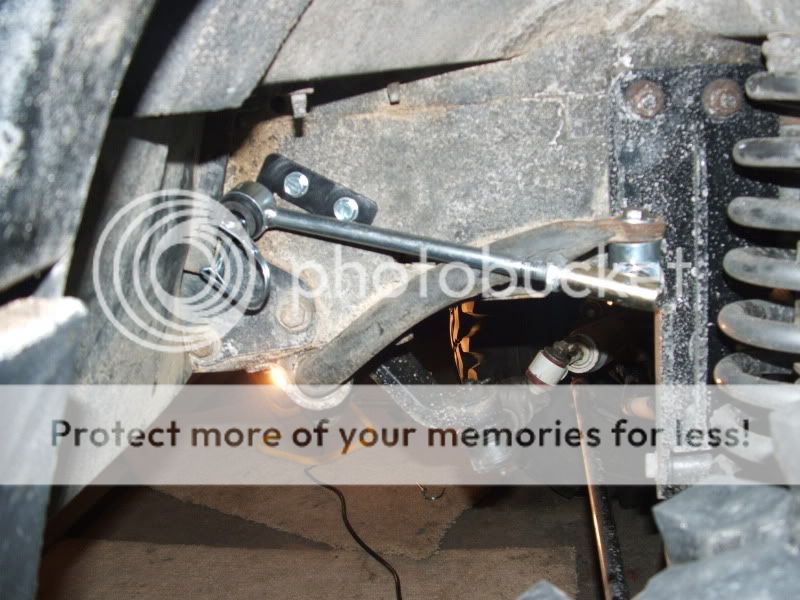
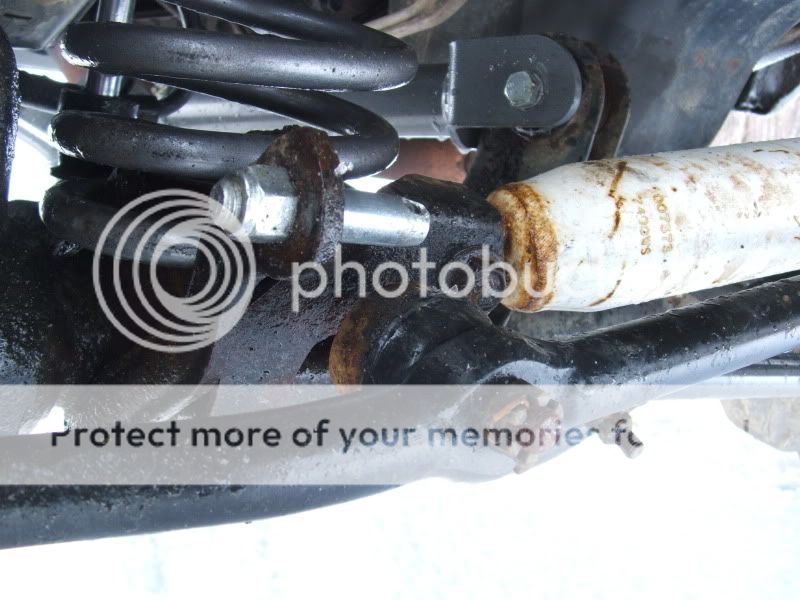
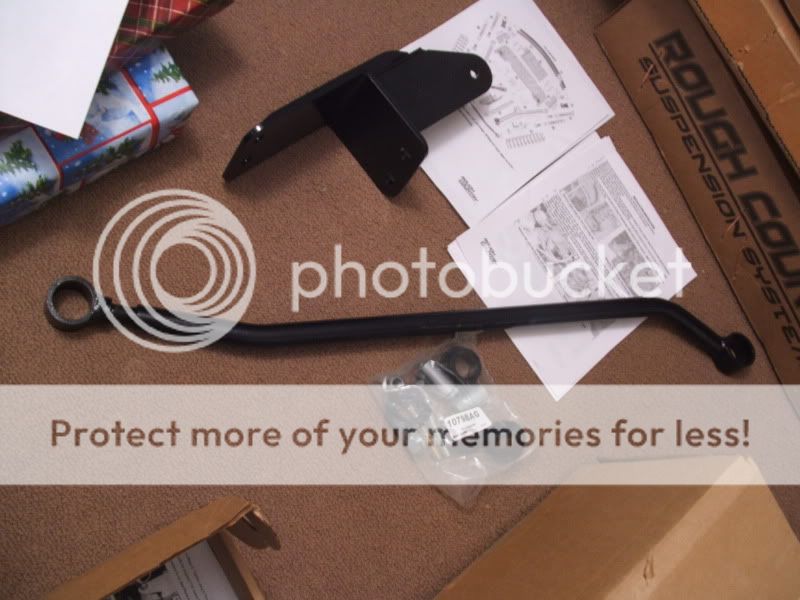
Box#6: Double sheer trackbar and drop bracket plus hardware. Something caught my eye when I took it out of the box. I noticed the bushing end was crooked a little. Maybe it was welded on that to compensate for angles...or not. I dunno yet but we'll find out. I will admit that the trackbar could've been made a little more beefier. It's rather small compared to my current JKS setup but if will be just fine for what my gf's driving style.

DSCF6777.jpg


DSCF6775.jpg


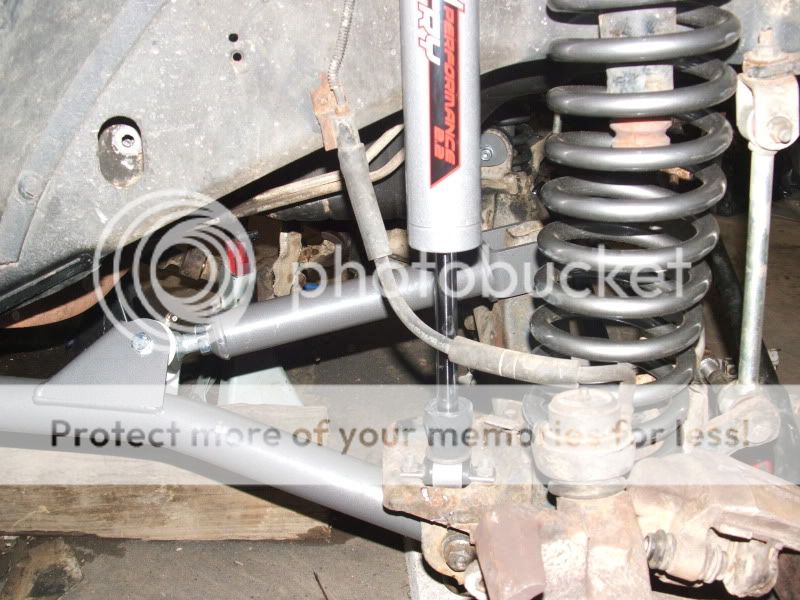
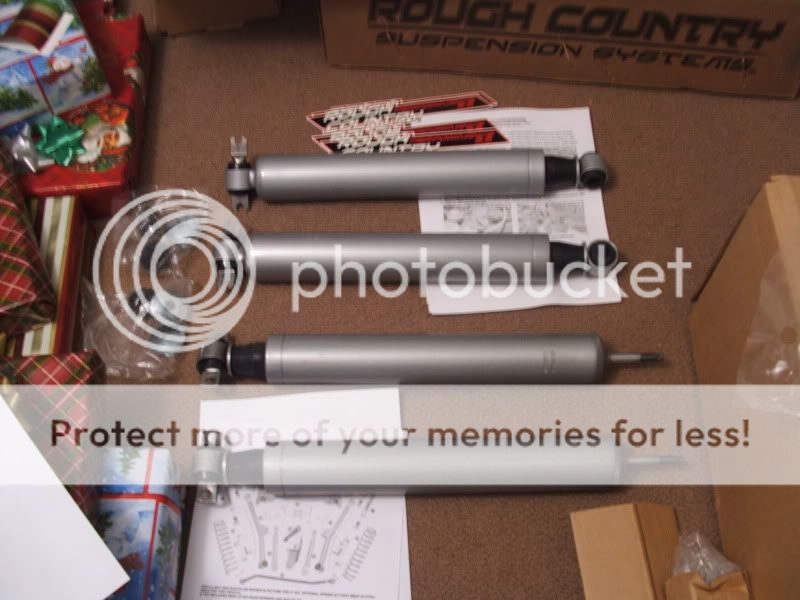
Box#7: Shocks and mounting hardware plus 4 cool stickers. When I took these out of their individual boxes, the first thing that comes to mind is jenny craig. These babies are FAT! The are much larger than ordinary shock absorbers and look cool as hell. I dig the rubber bumpstop on the shaft...that's neat. NOTE: these are mounted can up.

DSCF6778.jpg


Box#8: Lower and Upper arms, flex joints, t-case crossmember side brackets, pitman arm, and nutsert. My god these arms are BEEFY.

DSCF6779.jpg


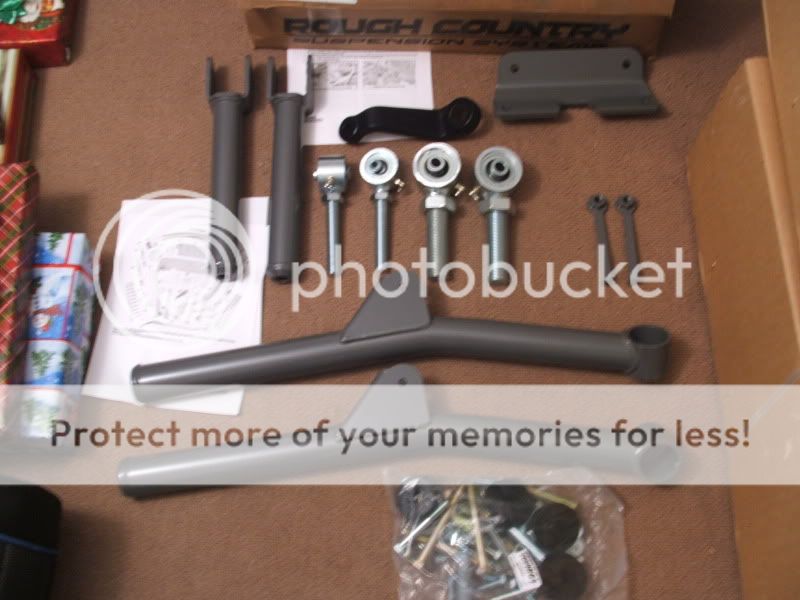
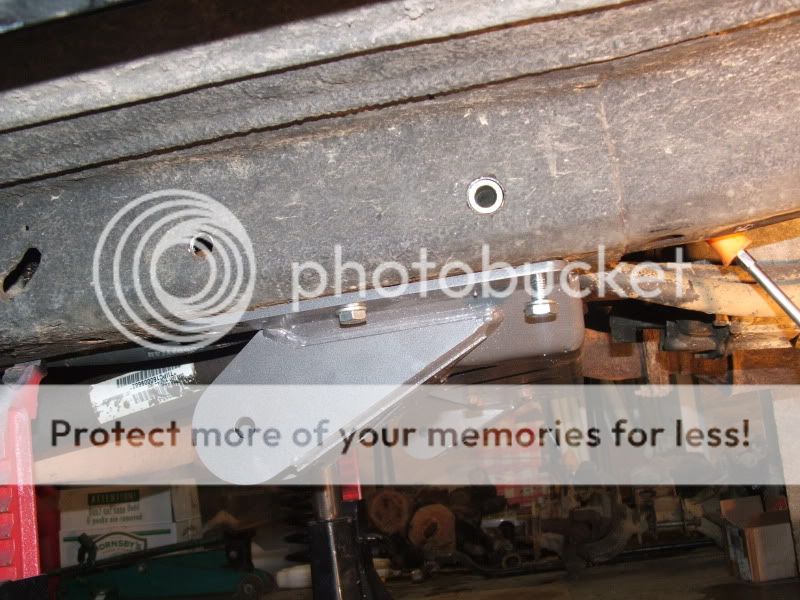
Box#9: The Crossmember

DSCF6781.jpg


Included were detailed instructions and part list. Everything was included, no parts were damaged, and all boxes were intact. Nice job gettin the product to me! :thumbsup: Parts seem to be very well made and welds are good. The only questionable component in the whole kit were the sway bar discos. I think it relies on a little horizontal ball and socket to handle the vertical forces of the sway bar/axle. I never used this type of setup so I can't really say for sure if it would cause problems so I just gotta wait and see. It'll probably be fine anyways.
 
I'm still waiting for my new rear springs to show up but here's what goes down when you install it:

My buddy lent me his garage for a couple days. He injured his knee and couldn't assist much so I was on my own.

Pulling in..
DSCF6783.jpg


My plan was to gut the entire front end, pulling out the axle and giving me more room to work on the t-bar and other parts.

First I had to remove the shocks. The upper bolts are in the engine bay:

DSCF6784.jpg

DSCF6785.jpg


Then the lower bolts on the axle are removed and shocks are off:
DSCF6786.jpg


The kit comes with new SS brake lines for the front and rear but I'm holding that off until spring when I do all the brakes together. So i'm just disconnecting the calipers and hanging em up out of the way:

DSCF6787.jpg


DSCF6788.jpg


Next comes the sway bar. The kit includes sway bar disconnects but I'm not sure if I want to use them or not. I'm sticking with the solid links for now. Remove the lower nuts with 18mm socket and upper 4 bolts with 15mm socket:

DSCF6789.jpg


DSCF6790.jpg


Driveshaft gotta come off too...

DSCF6791.jpg


I then disconnected the upper arms using 15mm socket and lower arms using 21mm socket:

DSCF6792.jpg


DSCF6797.jpg


Two other things to disconnect that I didn't get pictures of are the trackbar axle bolt and pitman arm. Once those are off then the axle slides out:

DSCF6798.jpg
 
Next came the trackbar bracket. The two lower bolts are 18mm and uppers are........i forget but I think 18mm too. :)

DSCF6793.jpg


DSCF6795.jpg


bye bye trusty JKS...

DSCF6796.jpg
 
Now we got this:

DSCF6799.jpg


The arms came off next using 21mm for the lower and 15mm for the uppers:

DSCF6800.jpg


DSCF6805.jpg


Bye bye short arms FOREVER:

DSCF6806.jpg


Now the fun part is removing the crossmember for the new one to be installed. Place a jack and piece of wood under the tranny pan:

DSCF6808.jpg


(those blocks are emergency blocks. I had a situation a while ago where the jeep just narrowly missed falling on top of me so i'm quite freaked about that still)

Remove the four tranny mount bolts and 4 framerail bolts:

DSCF6807.jpg


DSCF6810.jpg


Bye bye stock crossmember...FOREVER

DSCF6811.jpg


This is where you get excited and start installing the new parts. I started with the crossmember:

DSCF6812.jpg


Get that under there and secure it temporarily with the four tranny bolts:

DSCF6813.jpg


Place the side brackets on and bolt em down but do not tighten yet. Mark the holes on the side of the framerail.
DSCF6816.jpg


Drill both holes using a 17/32 drill bit and then enlarge the REAR HOLE ONLY using 25/32 drill bit. It appeared that I only had to drill the outer frame rail with 25/32 bit and leave the inner frame rail at 17/32 cuz the crush sleeve fits flush with the framerail:

DSCF6818.jpg
 
Reinstall the side plate and find those flag nuts included with the kit. The flag nut and bolt are used on the front holes:
DSCF6819.jpg


DSCF6820.jpg


DSCF6821.jpg


Go ahead and bolt it all down but don't tighten fully yet. The crossmember uses the two stock crossmember bolt holes PLUS one hole in front of them that already has a nut welded to the frame. My nuts were rusted up and I couldn't install that bolt until I re-threaded them. I ended up doing that two days later with a 10mm x 1.5 pitch tap and the bolts went right in, no problem.

Now this is where my camera battery light decided to start blinking. I had to choose which pictures to take in order to get some pix of the entire install before the battery died completely.

After you get the crossmember on, you gotta cut off the lower control arm mounts. You can use a plasma torch, cut off wheel, or sawzall. I used a cut off wheel, 4" and 7".

Bye bye CA mounts....FOREVER:

DSCF6822.jpg
 
Next comes installing the new arms. Press in the bushings and metal sleeves, bolt on the upper arms to the lower arms and then install it on the crossmember and axle. Lower arm length: 29 3/4 Upper arm Length: 15 1/4"

DSCF6823.jpg


Now the arms are on and I need to start connecting stuff back onto the axle. I went ahead and installed the trackbar bracket:

DSCF6828.jpg


and then the drop pitman arm:

DSCF6829.jpg


Once all the new parts are on I went ahead and installed the coil springs:

DSCF6831.jpg


This is me trying to reinstall my bumpstops but I'll modify and adjust em later on. They are my 3" bumpstops from my previous lift. Better than nothing.

DSCF6830.jpg


Next I installed the draglink into the new pitman arm:

DSCF6832.jpg


Then it was time for the shocks. They went on easily and then a sticker was stuck on em.

DSCF6833.jpg


DSCF6834.jpg


DSCF6835.jpg


Once all that stuff was done I mounted the tires and put it on the ground so I could center the axle with the new trackbar:

DSCF6837.jpg


Front end done and aligned:

DSCF6838.jpg
 
You are probably wondering where's the rear setup. Well you either get an AAL with shackles or full leaf packs with shackles. I planned on re-using my OME springs with two OME AAL but they aren't giving me the height I need back there so I installed the RC AAL and it rode like crap. It's all bouncy back there. I ordered up some RC 4" leaf springs from 4wheelingplus.com and i'll include the install here when I get them next week. But for now no rear write-up but I do have some pictures of the rear OME/AAL setup and shocks and some pix showing how the rear isn't high enough:

DSCF6842.jpg


DSCF6841.jpg


DSCF6840.jpg


DSCF6845.jpg


DSCF6843.jpg


Rear spring install to be continued.....

So far the front end is completely different. NO bumpsteer, NO wobble, NO shakes or shimmies, and it drives perfectly straight and true. The shocks and coil springs are perfectly matched. You don't feel those cracks and little bumps in the road anymore. The road noises that used to be transferred through the short arms to your feet are no longer there. It's nice and smooth and controlled.....except for the rear which likes to hop around thanks to the AAL.
 
I had some free time to install the rest of the lift and new springs. I needed to adjust the pinions, install the disconnects, and swap springs.

My pinion angles were really terrible. I followed RC's measurements on their instructions but it made my front pinion angle 6 degrees and driveshaft angle 14 degrees. No wonder I had major vibes. I set it using the adjustable uppers (which was a breeze by the way :thumbsup:) and now it's within 2 degree difference. No vibes. :) The rear pinion was set to 3 degrees down after the new springs were put in. No vibes. :)

First thing was the springs. I had old man emu 2" springs with RC's 2.5" AAL in it but it rode quite funky. It was bouncy and all that so I ordered up RC's 4" springs to use instead. They came within a week from 4wheelingplus. At first I was worried cuz of the arch they had. I thought they were gonna be stiff as hell......

Da springs that showed up in the snow on my porch..

DSCF6906.jpg


They come with rubber bushings. NICE! We all love using rubber don't we guys? :D

DSCF6907.jpg


Gotta disconnect the shocks so the axle can droop enough.

DSCF6908.jpg


Then support the vehicle with jack stands and use a jack under the pumkin to raise and lower the axle. Now take off the u-bolt nuts with a 3/4" deep socket. Impact gun (mine didn't work!:brickwall:) helps a ton here.

DSCF6909.jpg


After you get the u-bolt plate off one side, lower the axle until it separates from the spring. Now you can take off the leaf spring bolts using a 21 mm socket. Pictures are with the new springs cuz i forgot to take picture of the removal. :D

DSCF6910.jpg


DSCF6911.jpg


Pop out the old spring and pop in the new spring. Lightly tighten the u-bolts and leaf spring bolts

DSCF6912.jpg
 
Repeat on the other side. Once you get both springs in and semi-tightened, remove the jack stands under the body and use them under the axle and put the jeep down on it's springs. Check pinion angle. With my setup, I had to use a 4 degree shim to get my pinion within 3 degrees down from the driveshaft. Once you know which shim to use, put the jacks back under the body, unbolt u-bolts, lower axle, clamp springs with clamp, remove center pin, add shim, and reinstall everything. Put the jeep on it's springs again and then tighten everything down to specs.

All done:

DSCF6916.jpg


My plan was to use the RC 4" springs and stock shackles BUT this didn't work out. The RC springs would pull the shackle all the way forward where the bolt that's going through the shackle hits the frame/body. This was not gonna work. I think the springs had too big of a arch and too short for stock shackles so I had to use the adjustable shackles that RC included in the LA kit. I ended up with exactly 5.5" lift out back. It gives it an aggressive stance and I kinda like it.

Last thing I did was install the disconnects.

You need to press out the stock lower stud. I used a ball joint press and had em off in 5 minutes then installed the RC studs that bolt on instead.

DSCF6918.jpg


The top part confused me. I installed the adapter on the top and then realized it was supposed to go on the bottom.

Wrong:
DSCF6920.jpg


Right:
DSCF6923.jpg


Next I screwed in the rod and hooked it up. Nice!

DSCF6922.jpg


Think it's done? nope! what I thought was brake line brackets actually were sway bar disco mounting brackets. DUH ME! :brickwall: You gotta drill two holes with 1/4" drill bit and mount em using self taping screws.

DSCF6924.jpg


DSCF6925.jpg


What are they for?
DSCF6927.jpg


:thumbsup:

Tomorrow I'm taking it out for some poser/flex pictures and I'll post em up here.
 
Ok I was bored today and took it out for flex shots with a different WORKING camera.

The good: It flexes like mad. Disconnecting sway bar for flex is a breeze. No bumpsteer at all. Plenty more uptravel and downtravel but i'm limited due to fenders and brake lines.

The bad: I rub like mad LOL. My stock lowered brake lines limit my travel. I got plenty of more droop but my brake lines won't allow it. Tie rod end is crazy close to the sway bar bracket. I know it will hit if I turn when flexing. How the heck do I fix this? I know currie's steering will push the drag link out further but I'm not spending $400 just for that little fix.

DSCF6943.jpg


DSCF6944.jpg


DSCF6945.jpg


DSCF6947.jpg


DSCF6949.jpg


DSCF6951.jpg


DSCF6952.jpg


DSCF6953.jpg


DSCF6955.jpg
 
Looks good. I wanted these long arms, but it's a lot of effort cause I have frame stiffeners.

Good write up.

And I can report back tomorrow(Im going wheeling, and flexing a lot.)... but I don't think that tie rod should be that close.
 
looks like an ok kit. The track bar and bracket look really thin. Track bar is an important part of a lift and that doesnt look like its up to par. Almost looks like the rustys trackbars that have broke. Trackbar bracket looks super thin also.

Am I correct?
 
Looks good. I wanted these long arms, but it's a lot of effort cause I have frame stiffeners.

Good write up.

And I can report back tomorrow(Im going wheeling, and flexing a lot.)... but I don't think that tie rod should be that close.

I am currently installing this kit and, I have frame stiffeners too. What I have done is drill 7/8" holes and welded nuts inside the stiffeners instaed of using the crush sleeves and long bolts.
 
looks like an ok kit. The track bar and bracket look really thin. Track bar is an important part of a lift and that doesnt look like its up to par. Almost looks like the rustys trackbars that have broke. Trackbar bracket looks super thin also.

Am I correct?

bracket's 1/4" thick i think. That's a heckuva lot stronger than stock. The trackbar does seem rather thin and i'm not sure why they made it that way. I can always swap in another double sheer bar of my choice if I feel it's needed. This is my gf's jeep and she doesn't off road it hard enough to need a beefier bar.
 
Interested in selling your old arms? I need some adjustables for my drop brackets.
 
Damn already? I was diggin the flex joints. I'll think about the uppers. What brand?
 
Back
Top