stumpXJ
NAXJA Forum User
- Location
- Atlanta, Georgia
Figured I would post up a little laptop mount I fabircated. I have been wanting to make or buy a mount for my laptop since I can now use it for navigation, but the prices on the pre-made stuff (RAM, Etc) is a bit much. Especially since I am currently unemployed. I have a small machine shop at my house, and like little projects like this. Time I have, extra money I dont.
Everything I used I had a scraps. It is 90% finished, but I still need to:
Cut off about 2" of the vertical mount, as its a little too high.
Add a locking screw/pin for the rotating portion of the actual mount.
Make a quick disconnect for the entire mount, since it will only be used when I do road trips or exploring, not for daily driving.
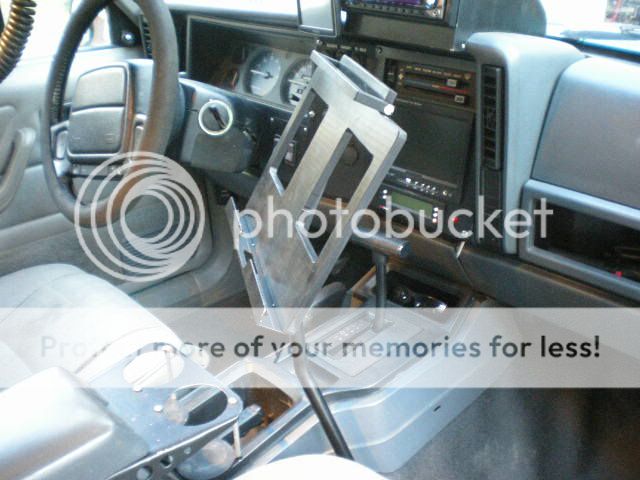
It can also be used by my passenger/navigator/wife for whatever (surfing, watching video etc) just by spinning the mount to that side.
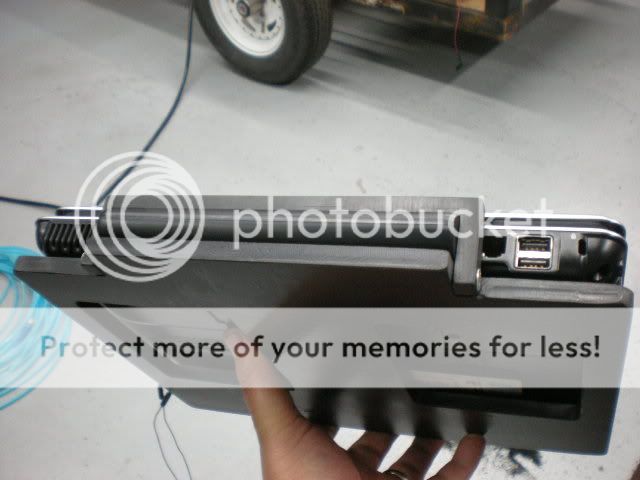
This laptop is a touchscreen/notebook type laptop, so it keeps the size down to a minimum, and can be easily used with the navigation software without needing the keyboard.
I drove around with it today, and its very stable, although the real test will be on some washboard roads. So far so good though.
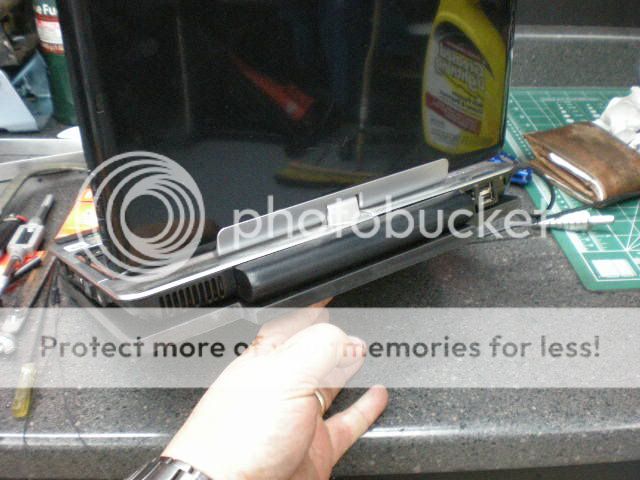
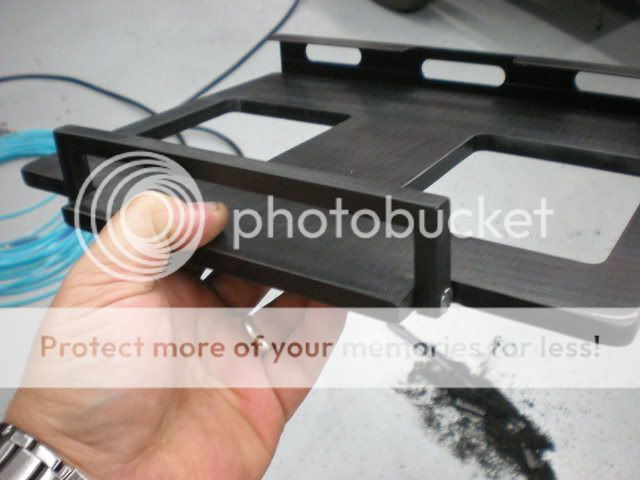
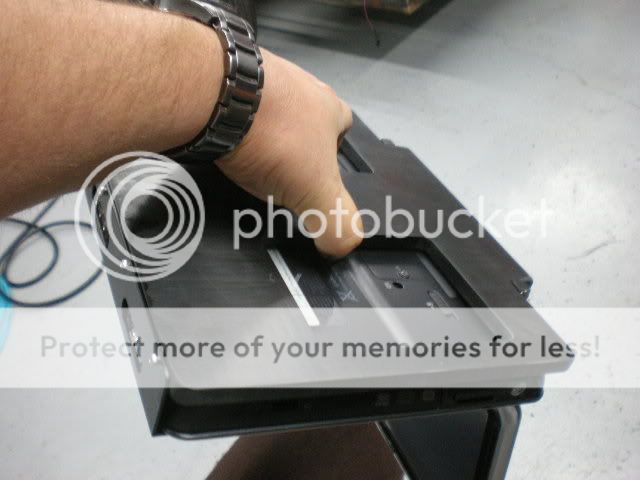
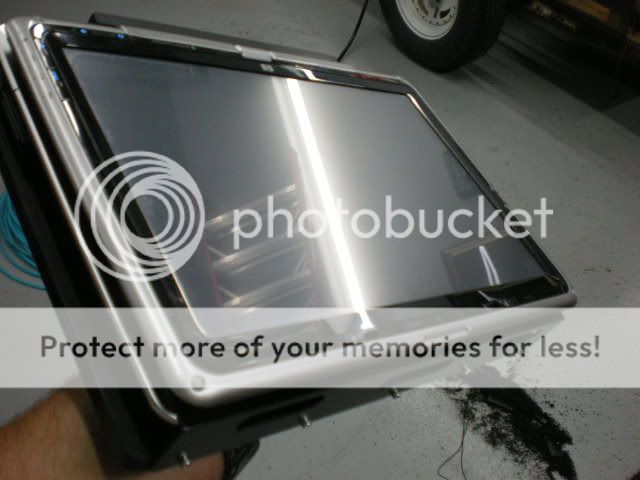
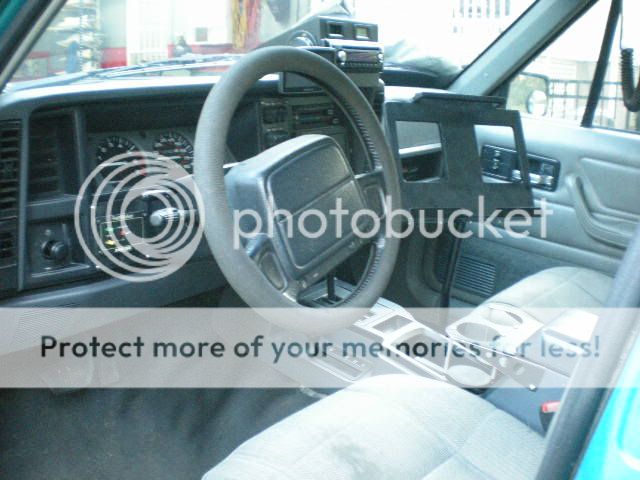
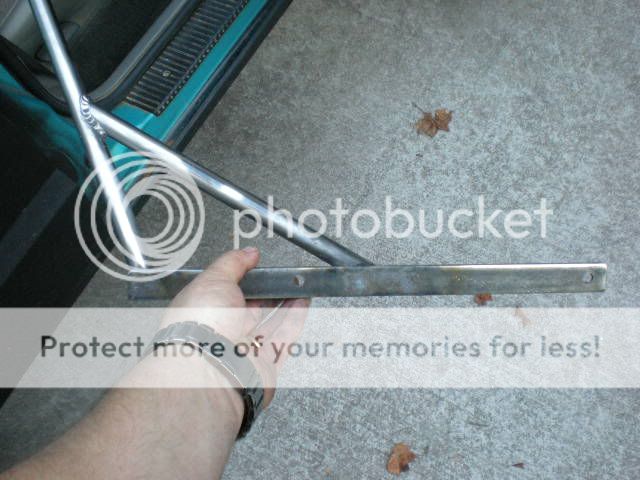
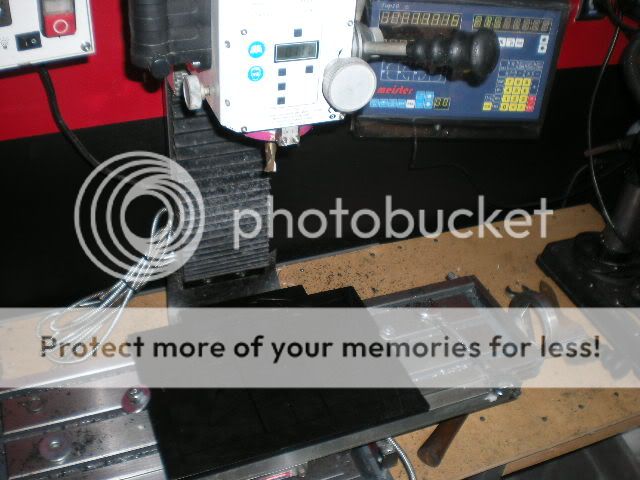
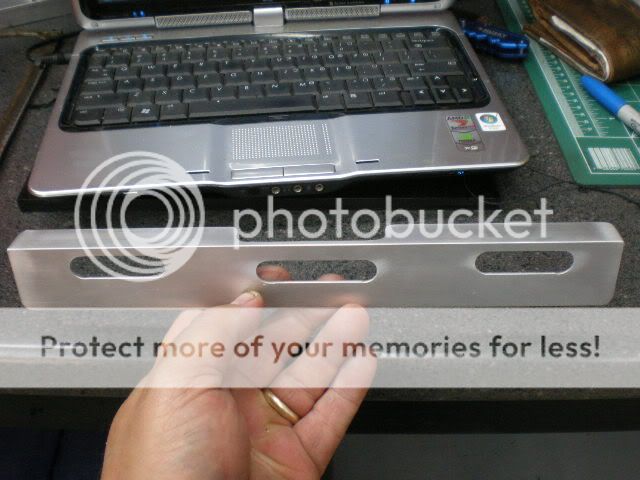
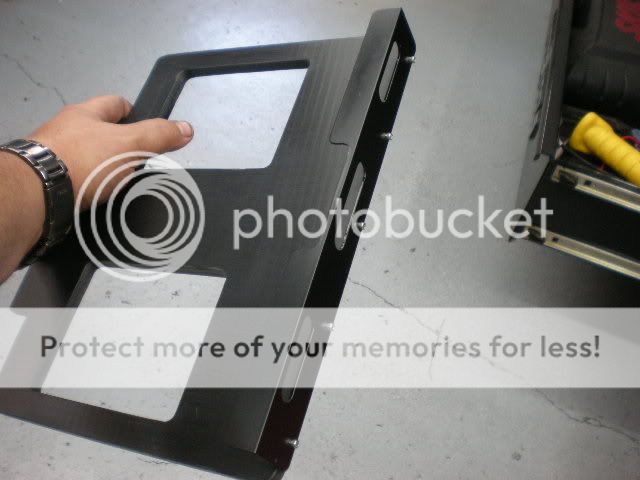
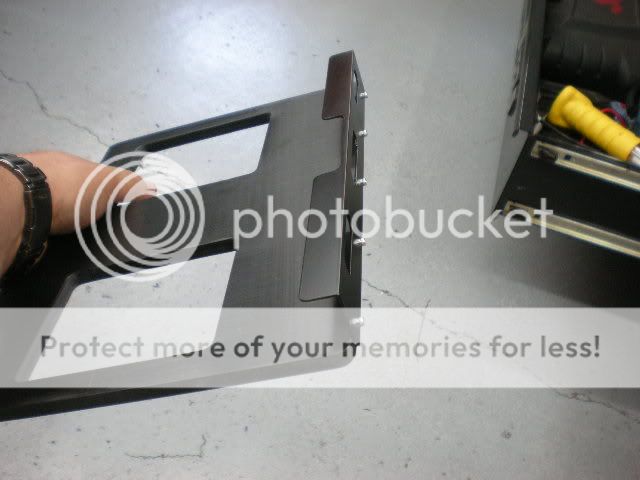
I think the pics will be self explanatory, but I will add info to a few. The round tubing is 3/4" HREW, and a piece of 1 inch 1/8th thick angle for the seat mount. The laptop tray is all machined Delrin. and holds the laptop very securely with the latch system on the rear. Obviously, doing this my self I was able to customize it to fit my computer, as apposed to a universal type mount.
I ran out of Argon in my Hobart MIG set-up, so I used my other welder with flux core. Crappy splatter, but I magaed to get most of it off.
The pics:


Everything I used I had a scraps. It is 90% finished, but I still need to:
Cut off about 2" of the vertical mount, as its a little too high.
Add a locking screw/pin for the rotating portion of the actual mount.
Make a quick disconnect for the entire mount, since it will only be used when I do road trips or exploring, not for daily driving.
It can also be used by my passenger/navigator/wife for whatever (surfing, watching video etc) just by spinning the mount to that side.
This laptop is a touchscreen/notebook type laptop, so it keeps the size down to a minimum, and can be easily used with the navigation software without needing the keyboard.
I drove around with it today, and its very stable, although the real test will be on some washboard roads. So far so good though.
I think the pics will be self explanatory, but I will add info to a few. The round tubing is 3/4" HREW, and a piece of 1 inch 1/8th thick angle for the seat mount. The laptop tray is all machined Delrin. and holds the laptop very securely with the latch system on the rear. Obviously, doing this my self I was able to customize it to fit my computer, as apposed to a universal type mount.
I ran out of Argon in my Hobart MIG set-up, so I used my other welder with flux core. Crappy splatter, but I magaed to get most of it off.
The pics: